| Please Wait Loading ..... |
 |
Quick Navigation
Welcome to our comprehensive guide on using the Keurig B-31 coffee maker. Whether you’re a coffee aficionado or a beginner, this article will walk you through the step-by-step process of operating your Keurig B-31 model. From setting up the machine to brewing your favorite cup of coffee, we’ve got you covered. Discover the convenience and simplicity of this brewing system as we provide clear instructions and expert tips to ensure you get the most out of your Keurig B-31 experience. Let’s dive in and explore the world of hassle-free coffee brewing with Keurig!
When utilizing electrical appliances, prioritizing safety precautions is crucial. Follow these guidelines to ensure secure usage:
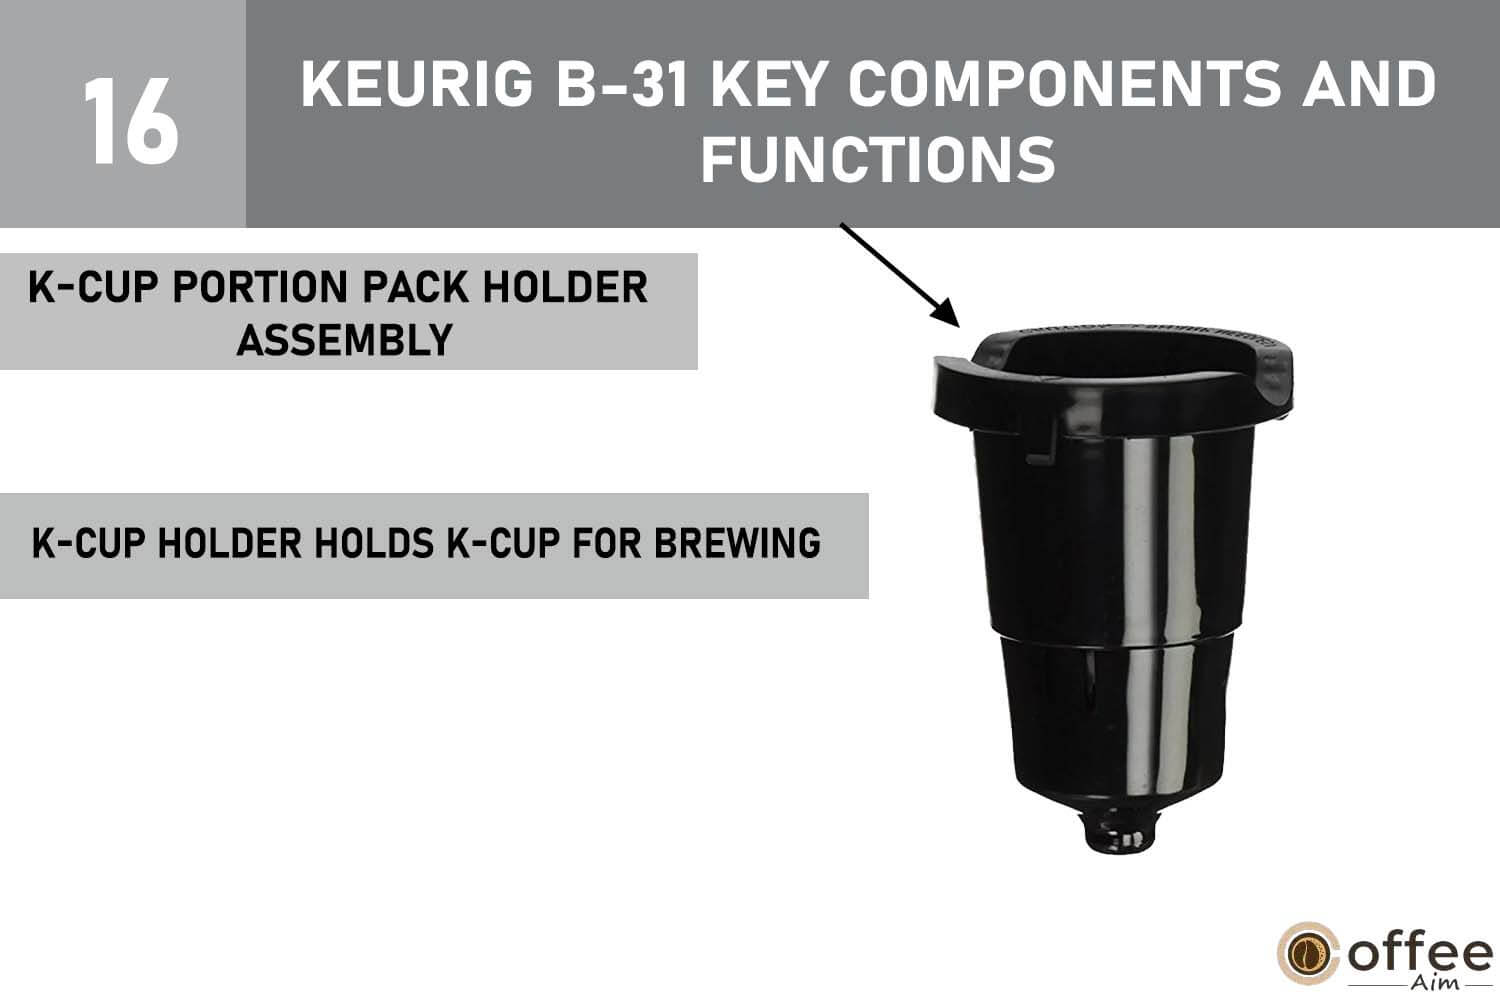
WARNING: Within the K-Cup Assembly Housing, there are two pointed needles—one above the K-Cup and the other at the bottom. Prevent injury by refraining from inserting fingers into the K-Cup Holder.
CAUTION: Hot Water Alert
Beware of scalding water within the K-Cup Holder while brewing. For safety, refrain from lifting the Brewer Handle or opening the K-Cup Assembly Housing during the brewing procedure.
Proper extension cord usage is essential for safety. When using an extension cord, ensure it matches the appliance’s electrical rating, avoids tripping hazards, and has a grounded plug.
Warning:Store plastic bags out of children’s reach.
Warning:This item includes substances, including lead, acknowledged by the state of California to lead to cancer, birth defects, or reproductive issues
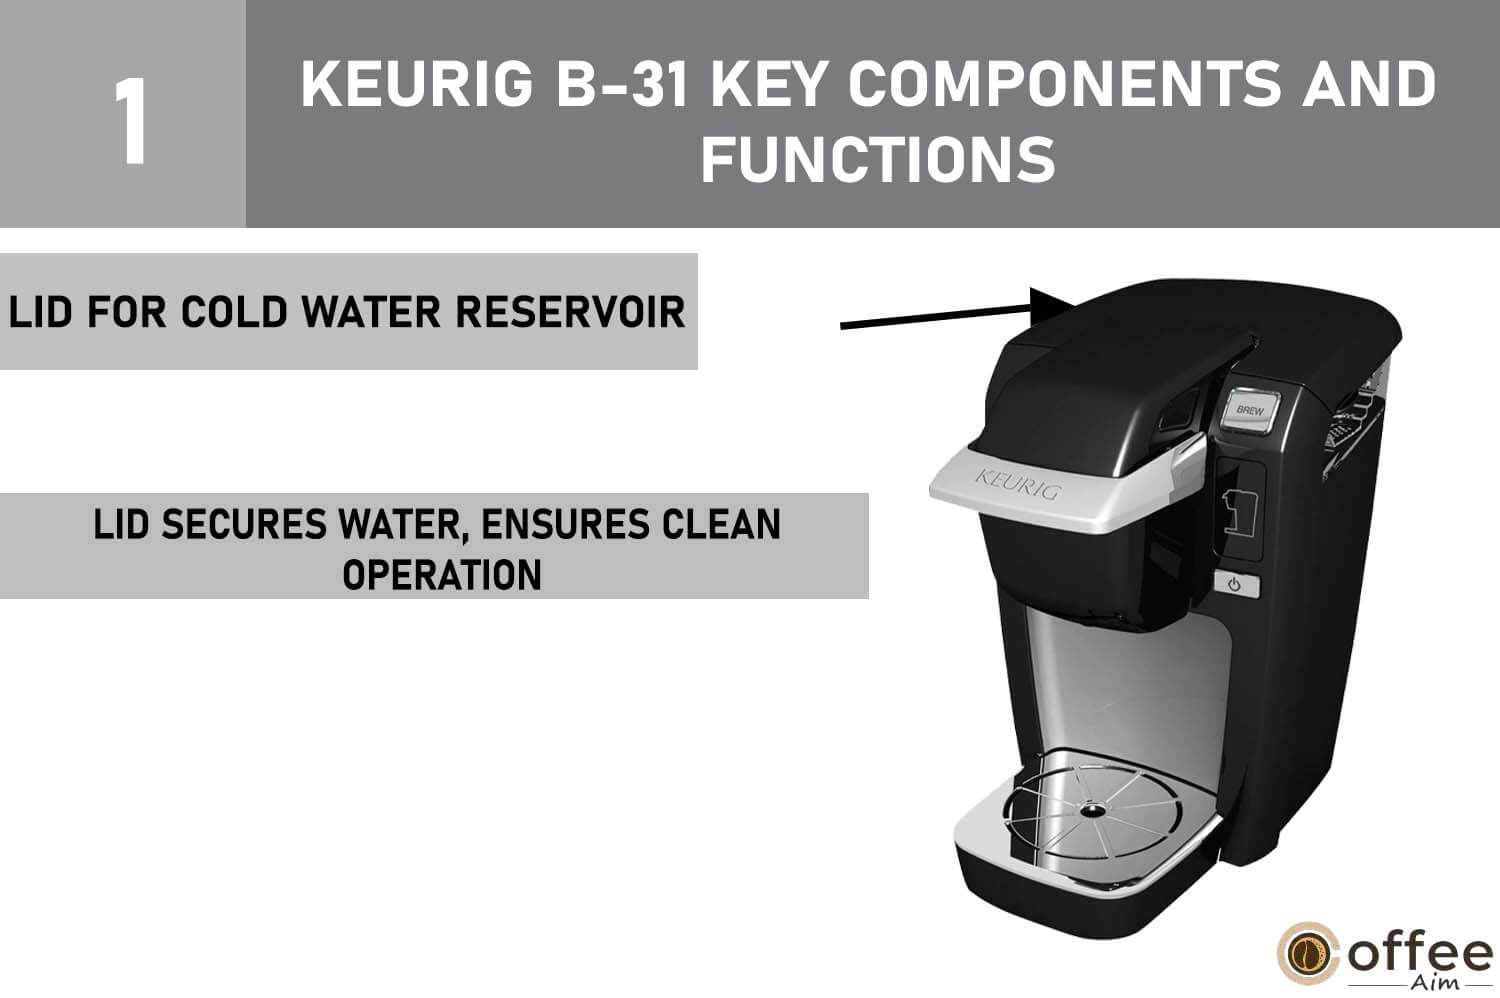
The Lid for Cold Water Reservoir safeguards the water and prevents contaminants from entering, ensuring clean and safe operation.
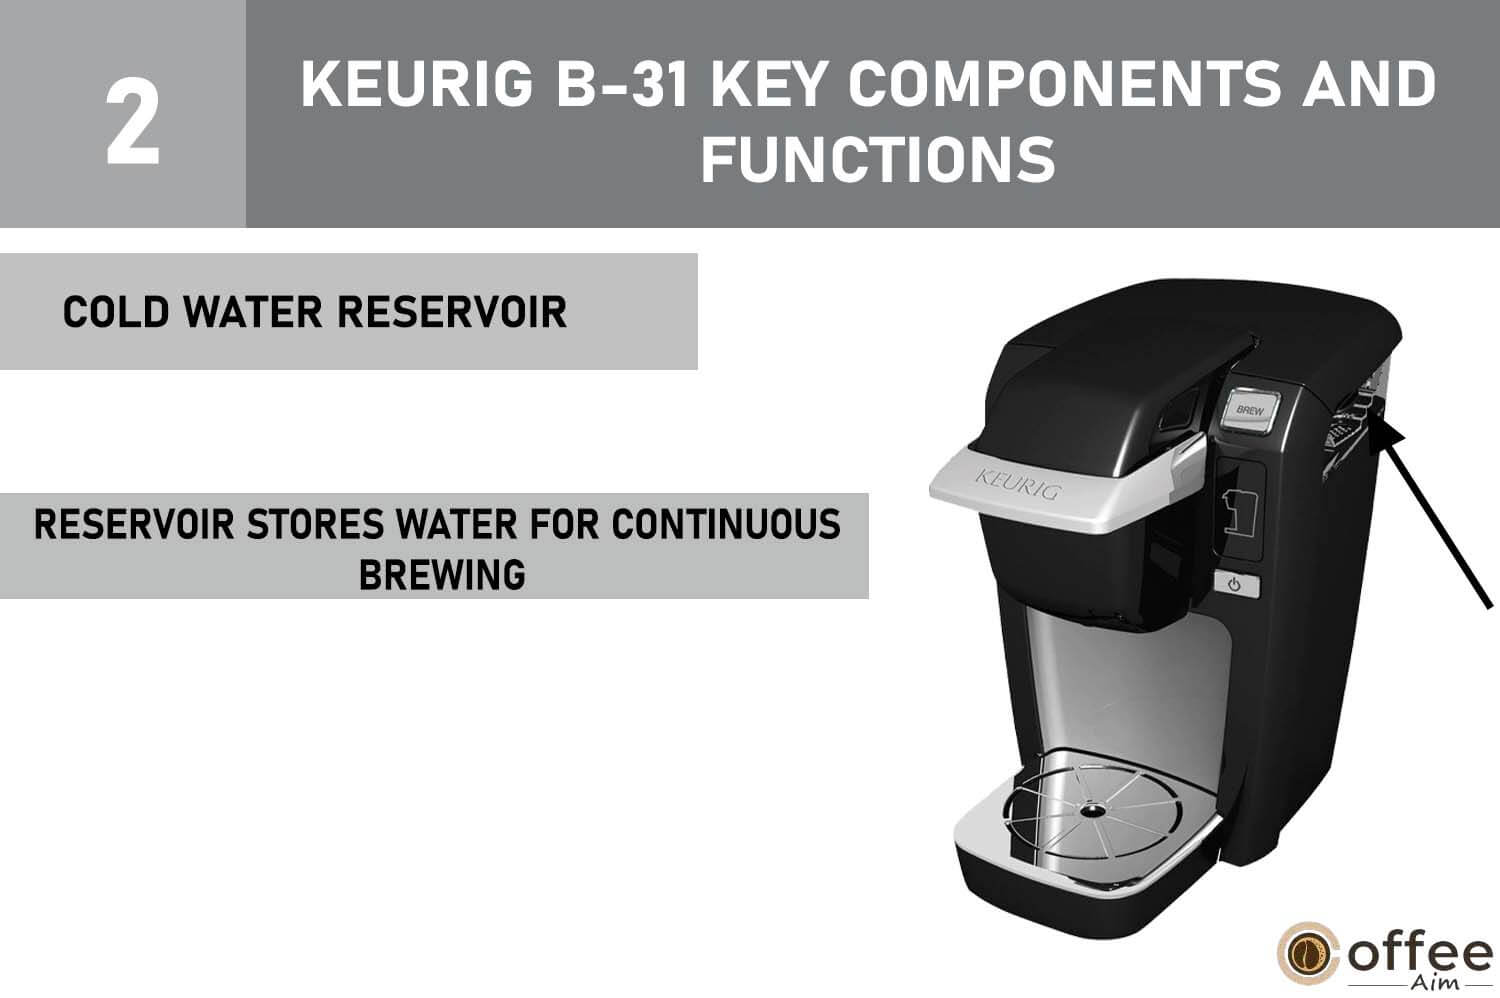
The Cold Water Reservoir stores water for brewing, ensuring a steady supply for making beverages with your Keurig B-31.
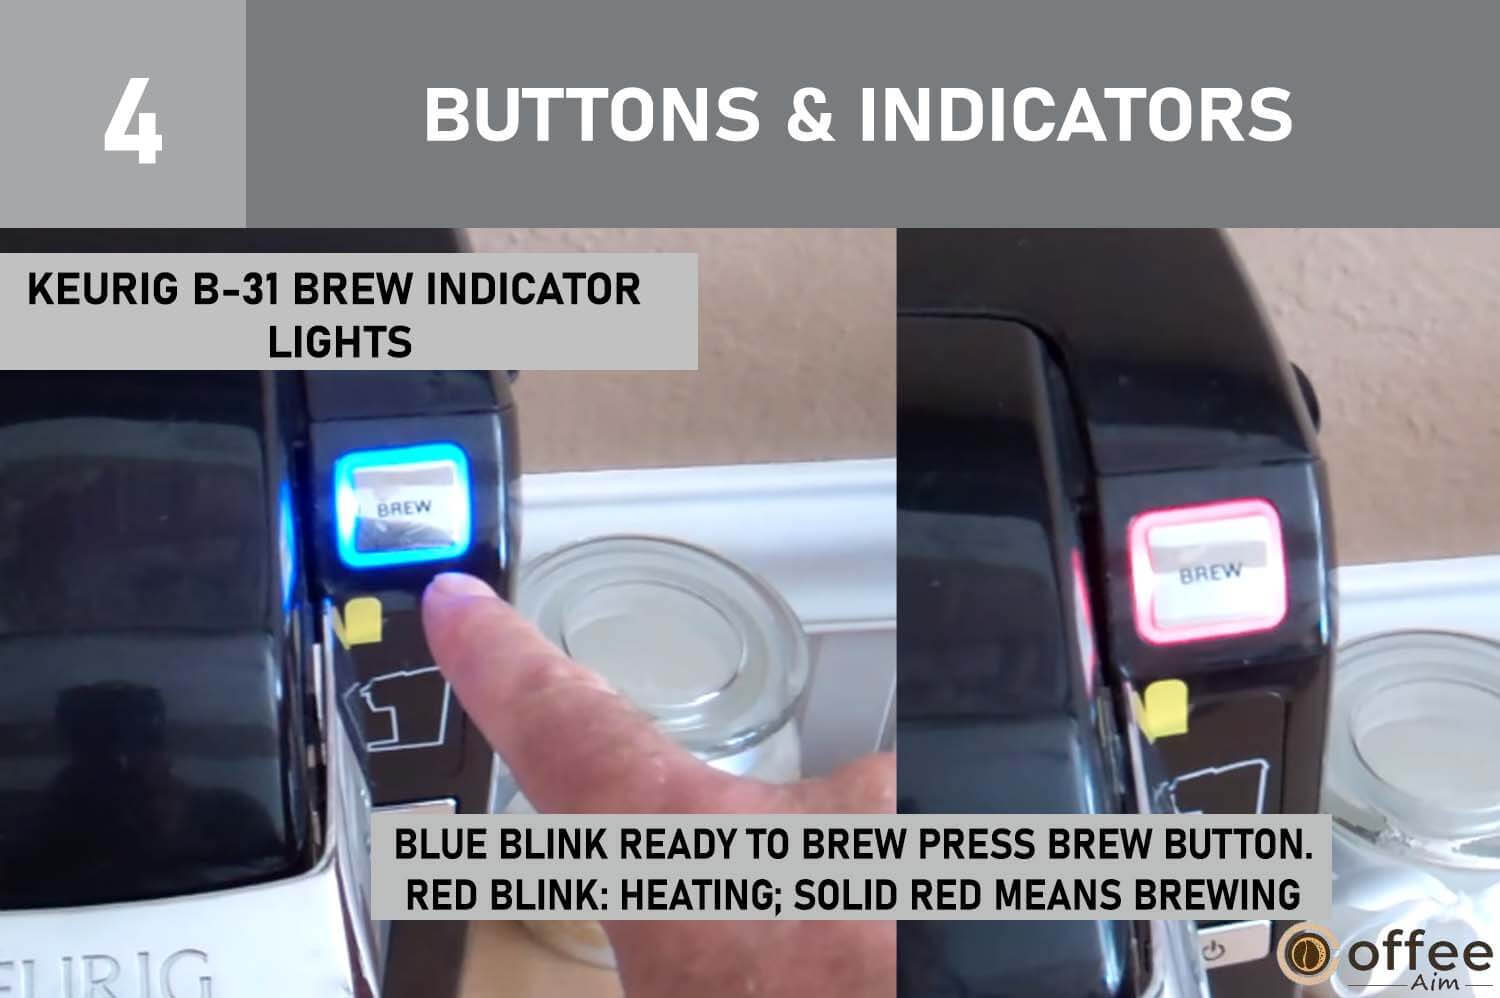
Press the “BREW” button to initiate the brewing process and enjoy your favorite beverages quickly and effortlessly.
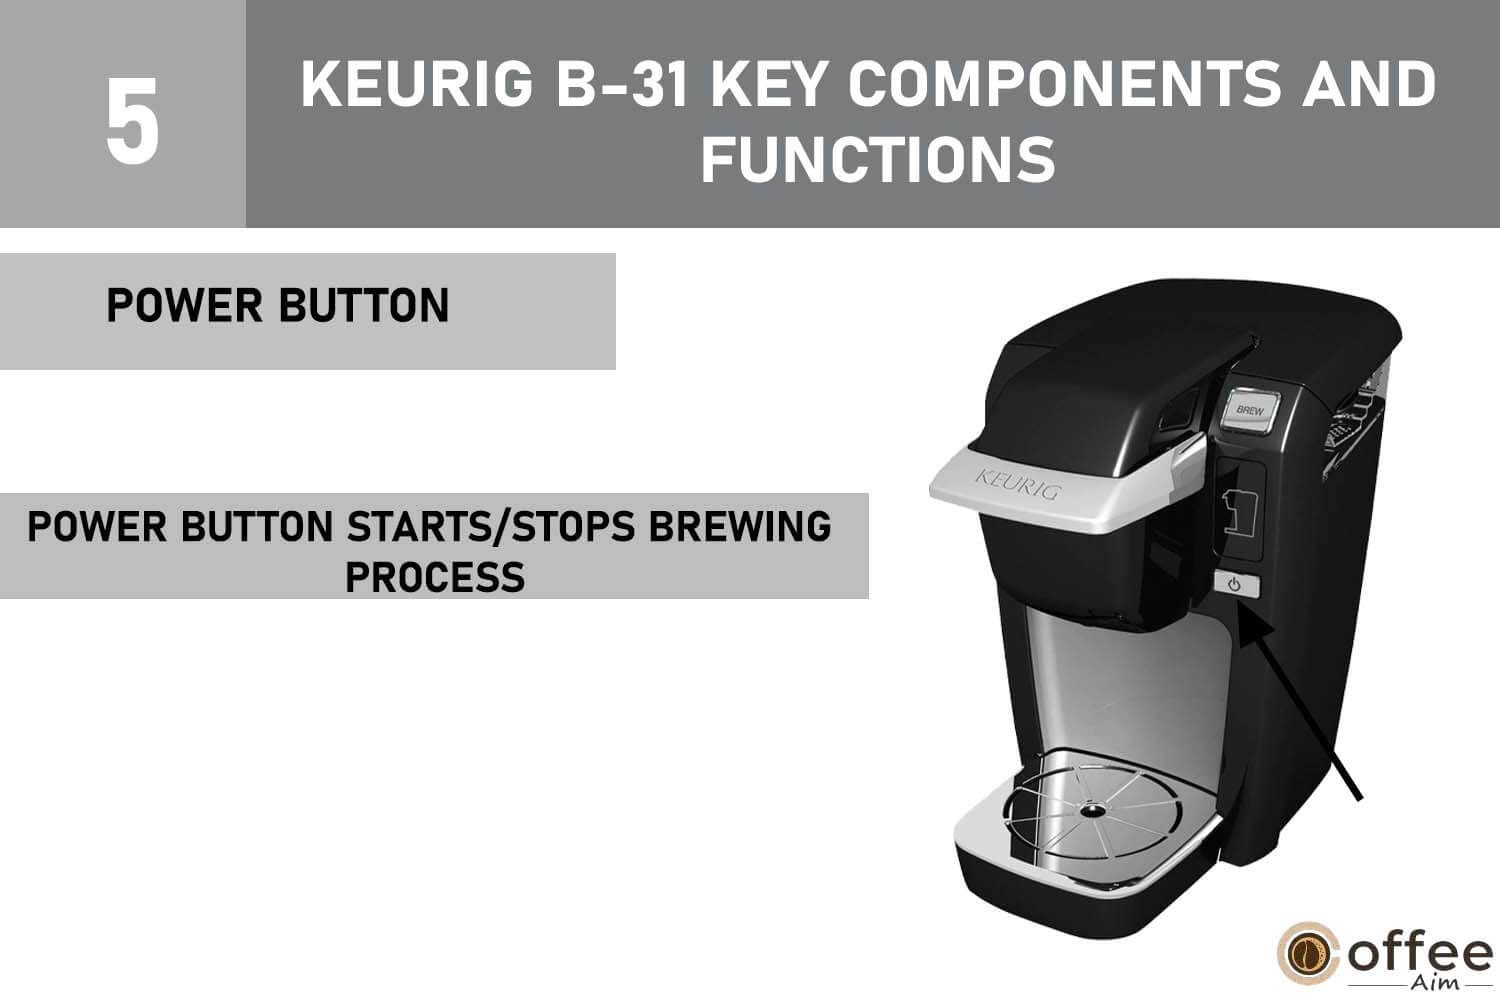
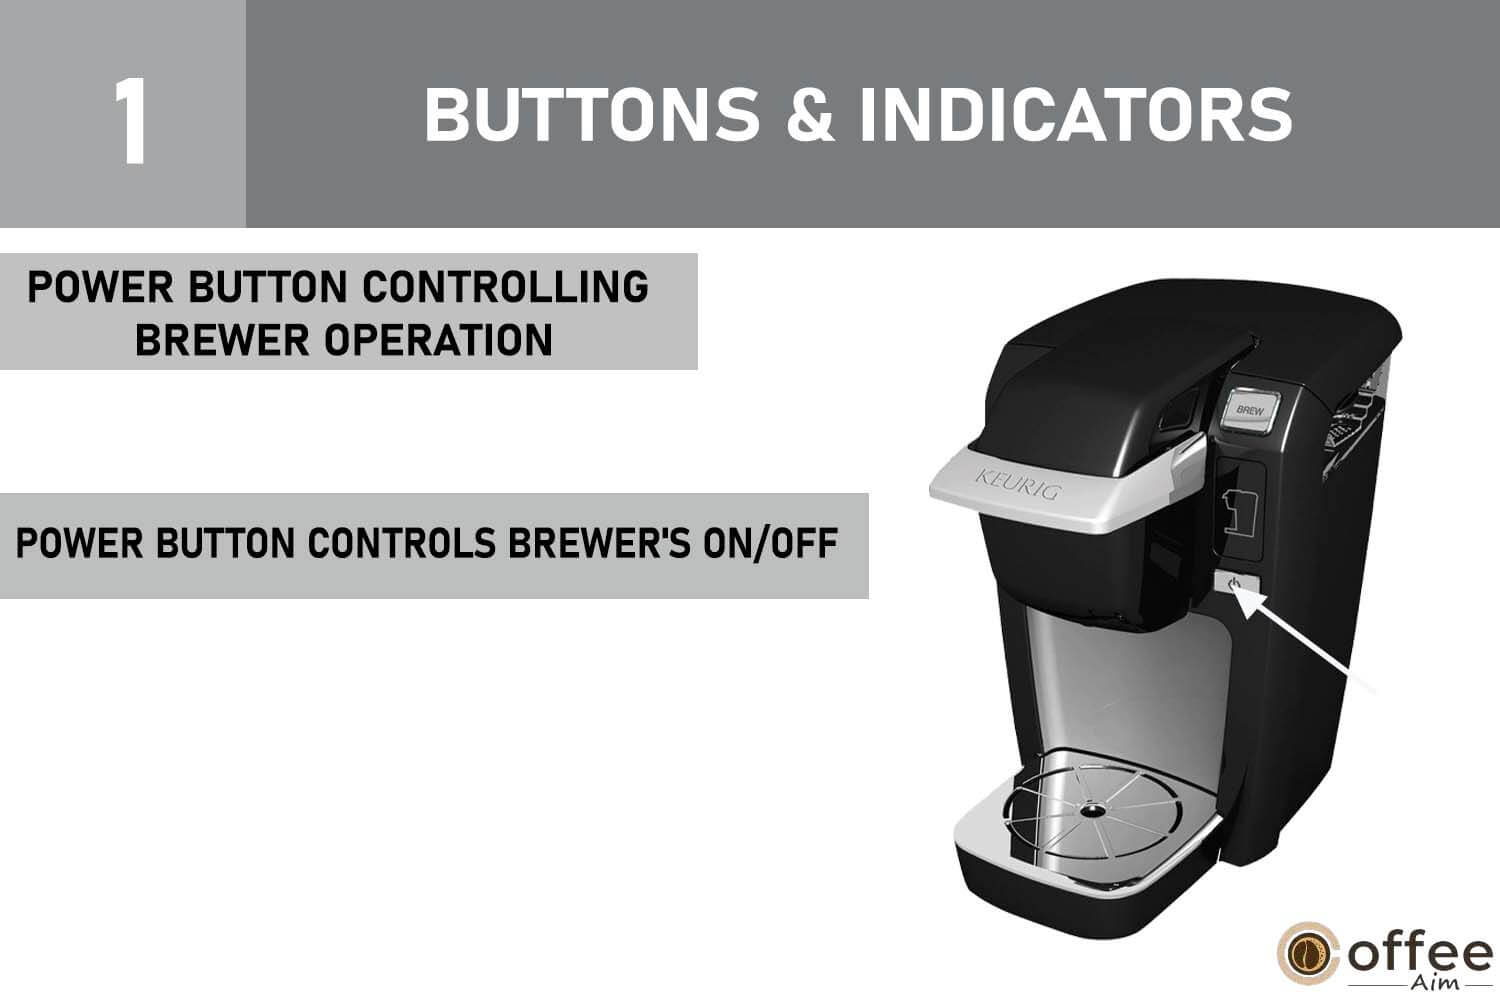
The Power Button activates or deactivates the Brewer. Use it to start or stop the brewing process easily.
The power cord connects the Keurig B-31 to a grounded outlet, ensuring safe and reliable operation of the appliance.
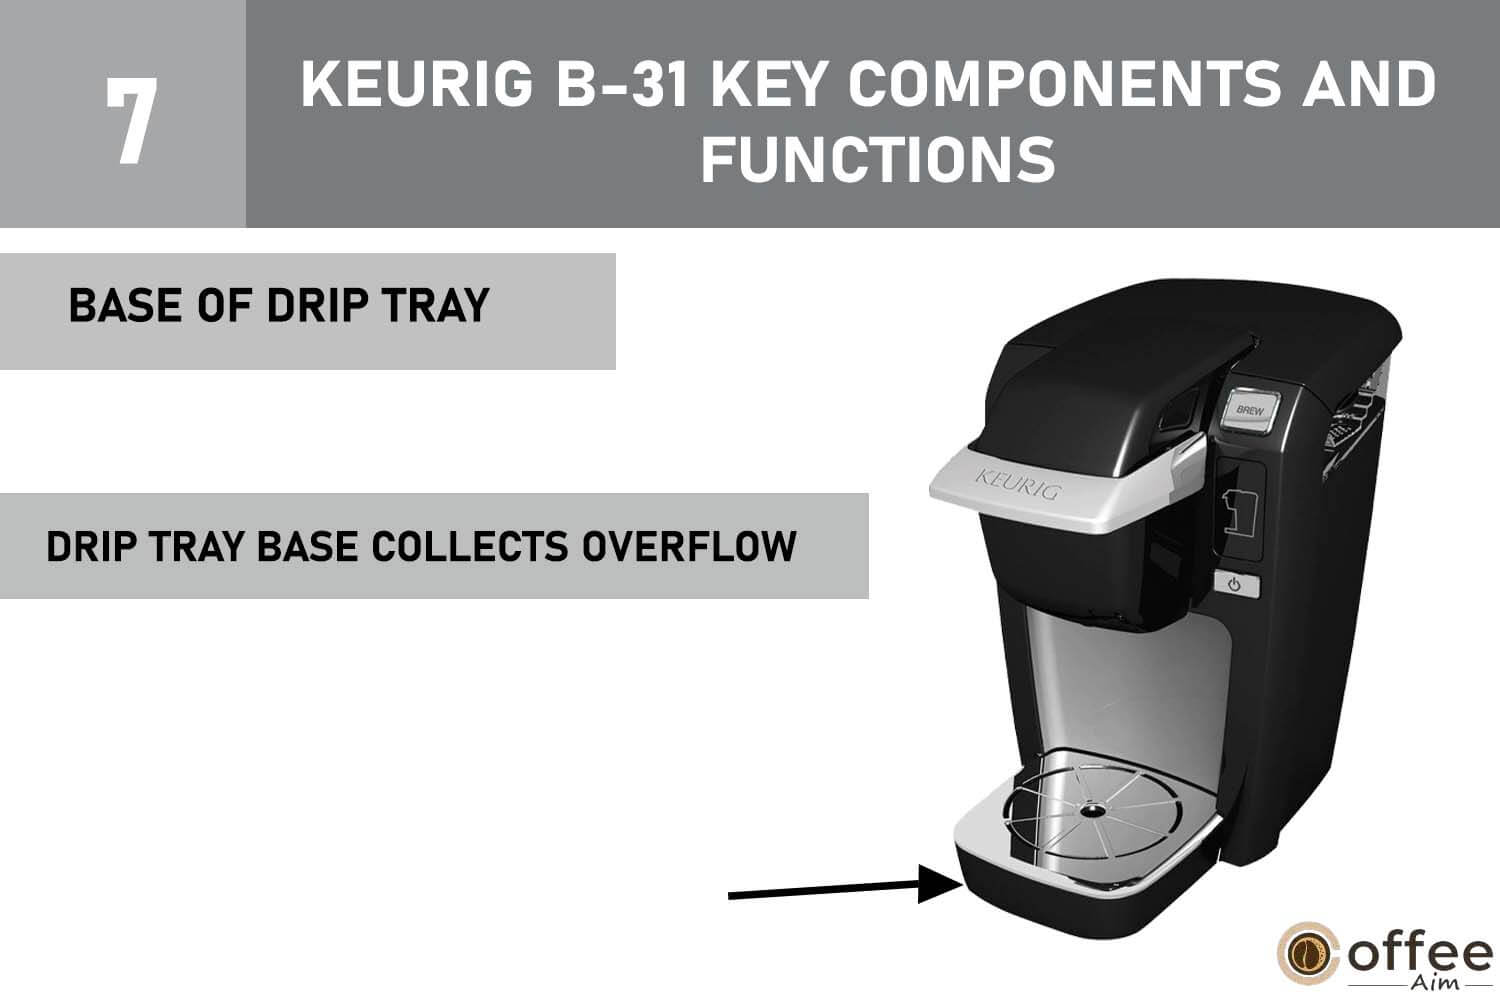
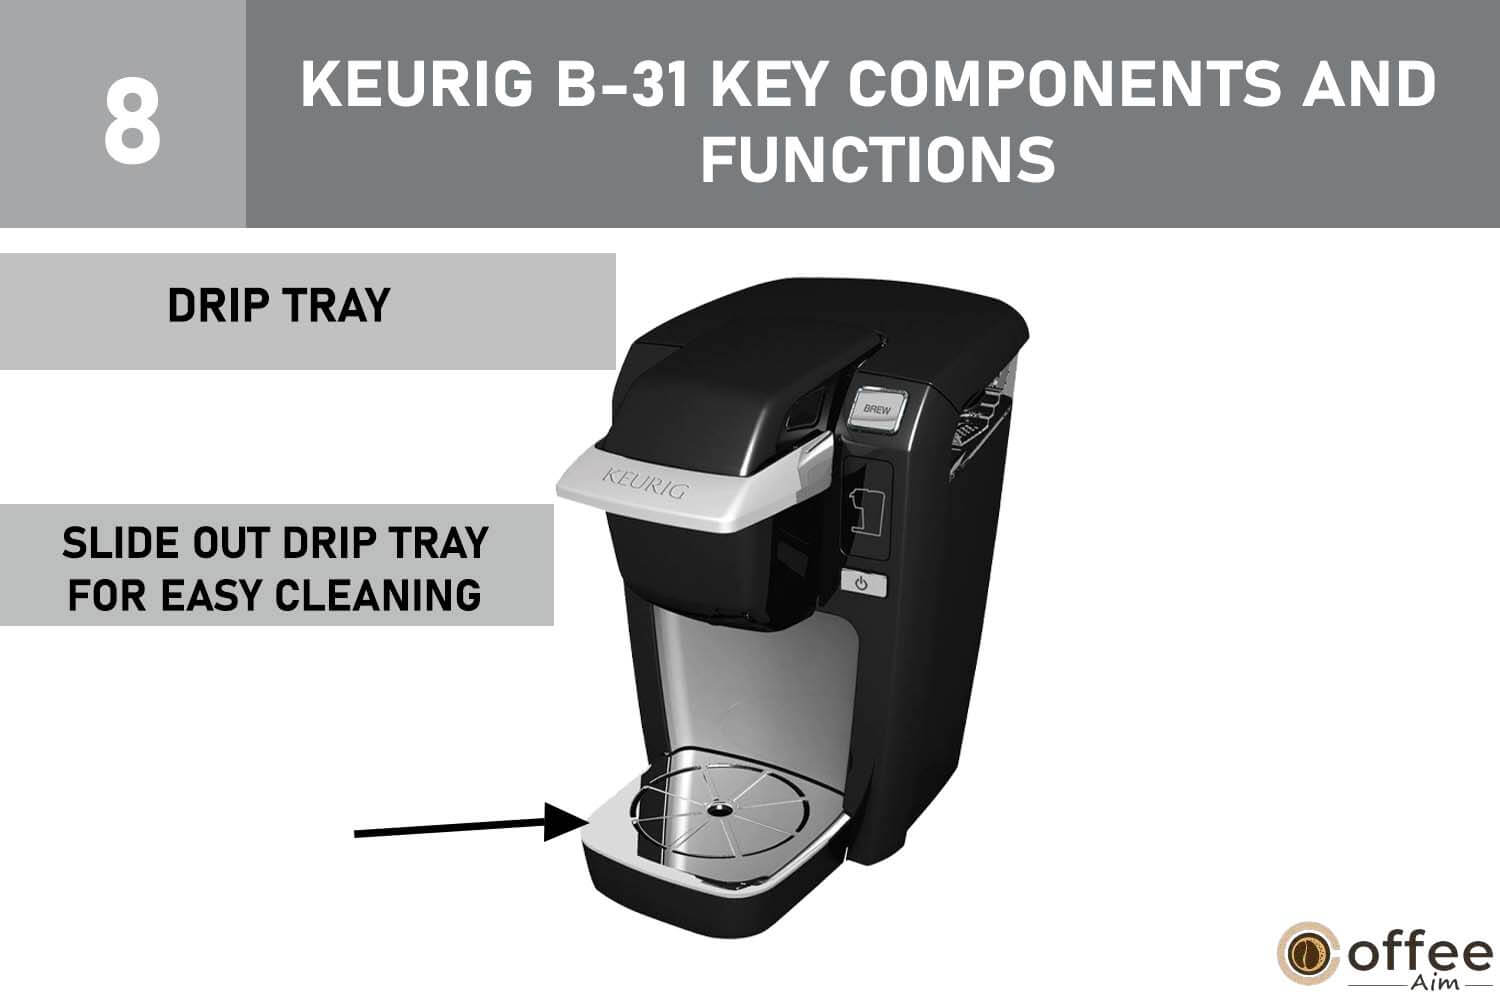
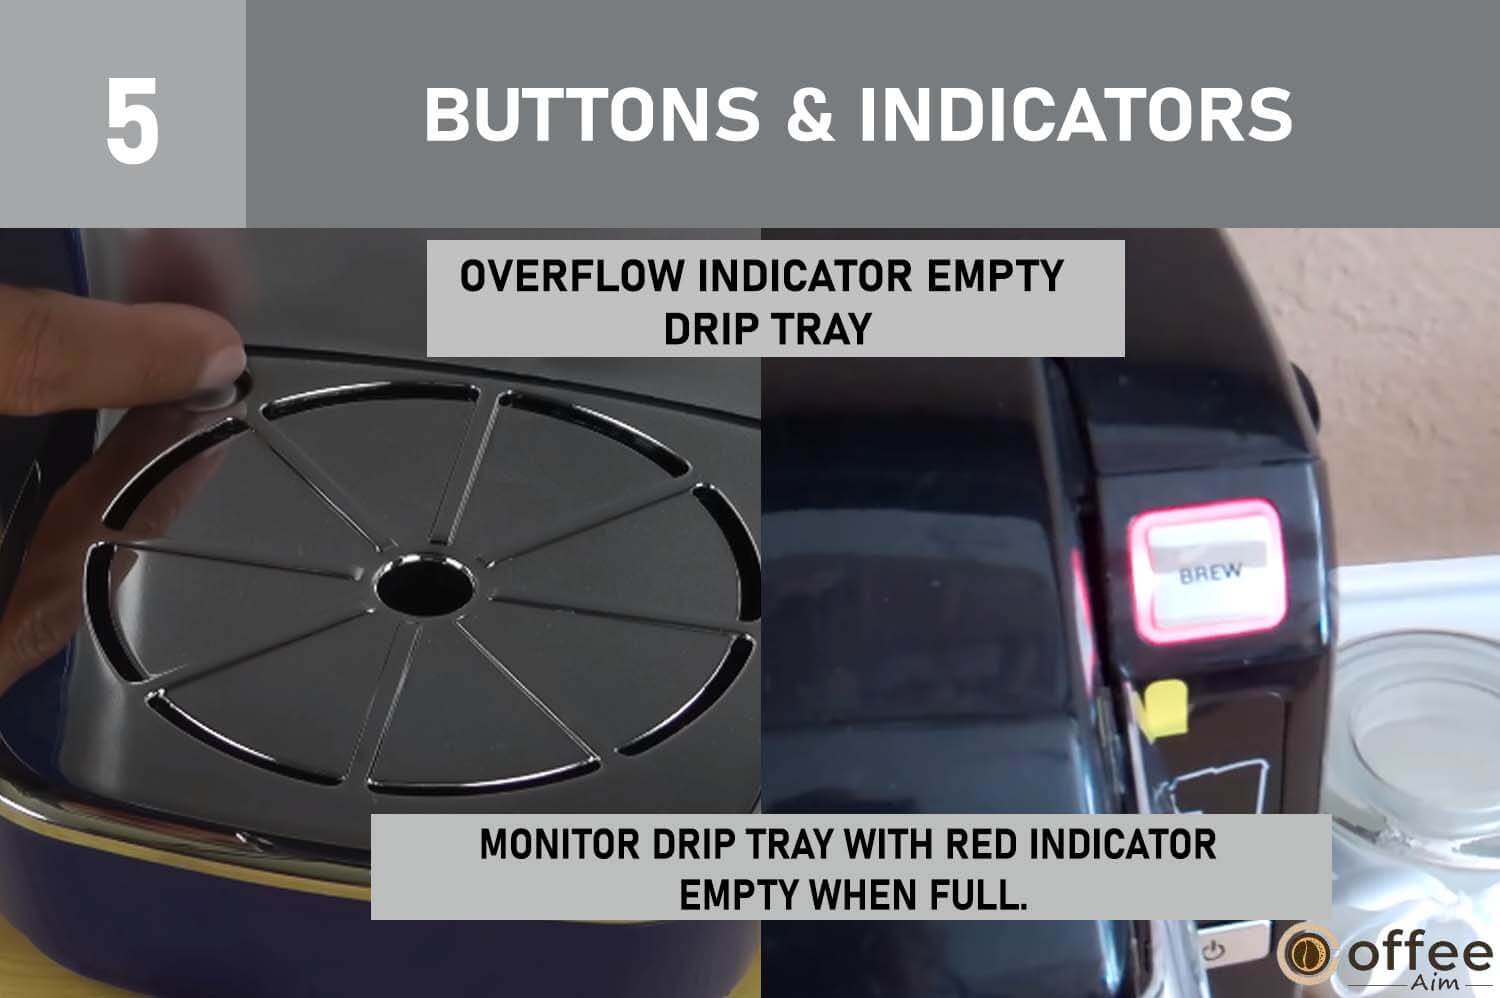
The Drip Tray collects overflow; easily slide it out for cleaning, keeping your brewing area tidy and convenient.
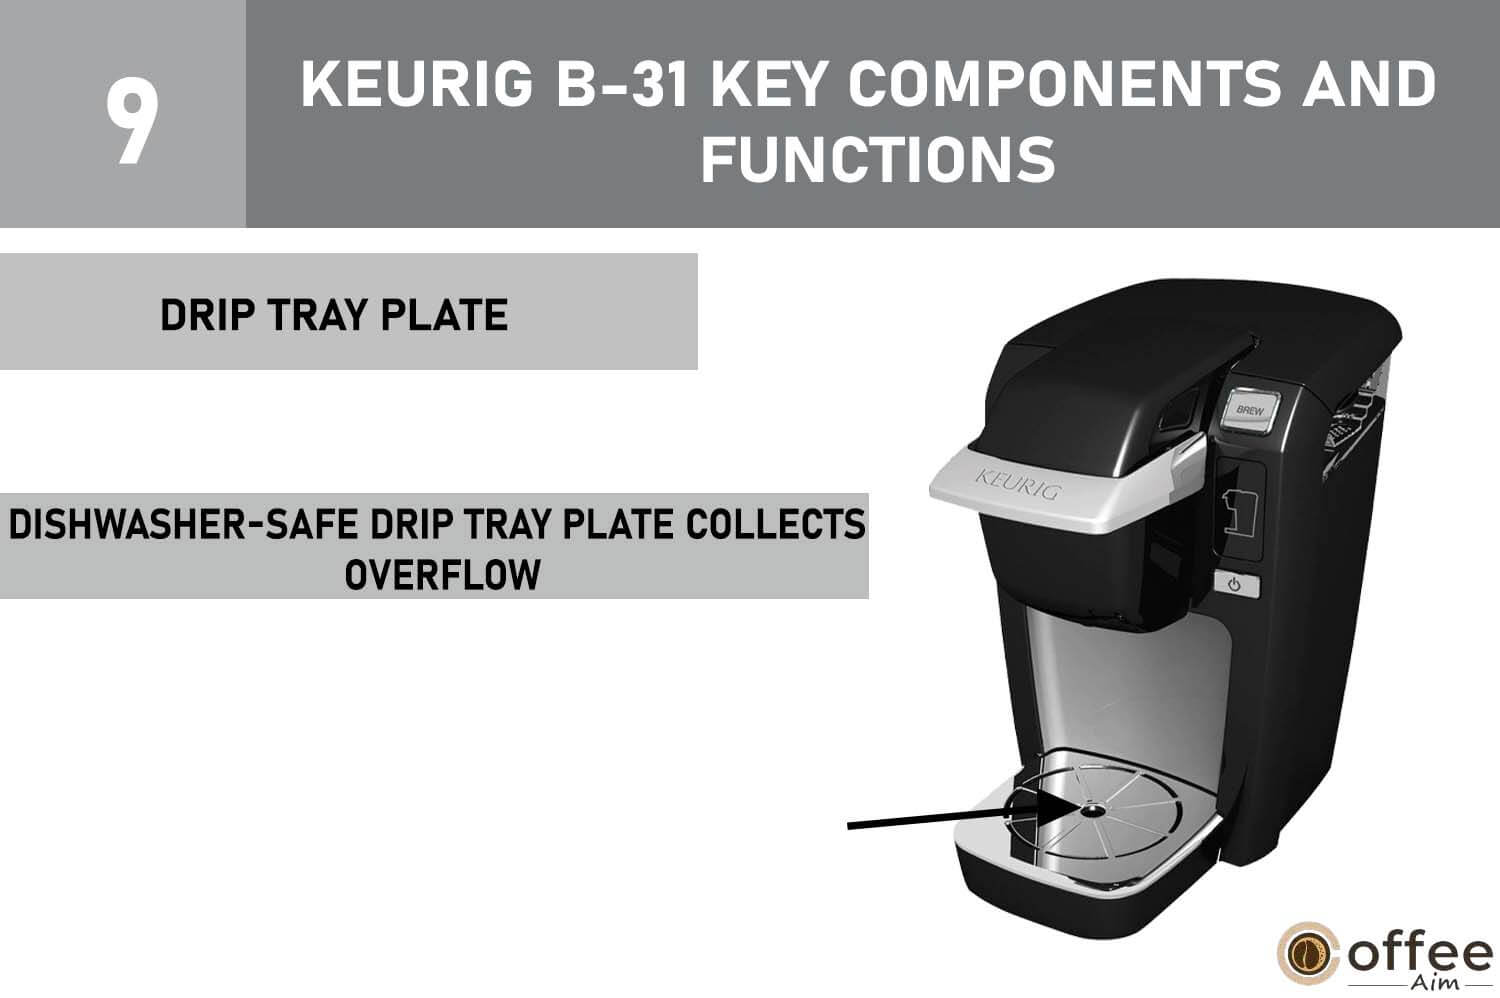
The Drip Tray Plate collects overflow and is dishwasher-safe for easy cleaning.
Drip Tray Overfill Warning Indicator signals excessive liquid accumulation. Empty the tray promptly to prevent spills and malfunctions.
The Power Button operates the Brewer’s On and Off functions.
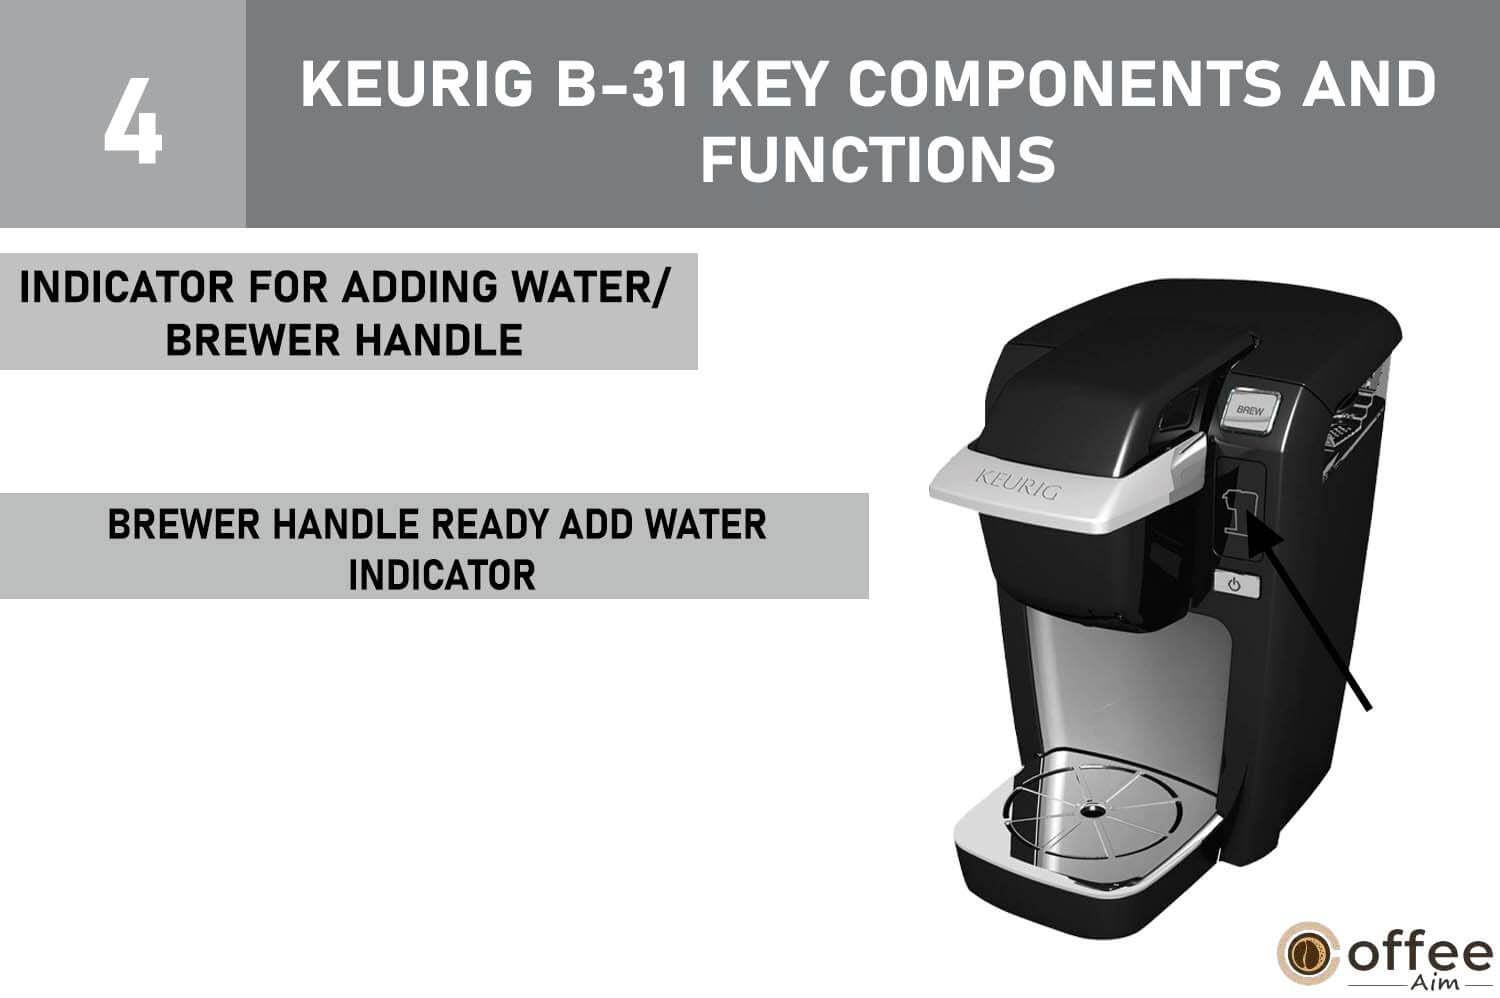
Blinking blue light signifies the need to add water to the Cold Water Reservoir.

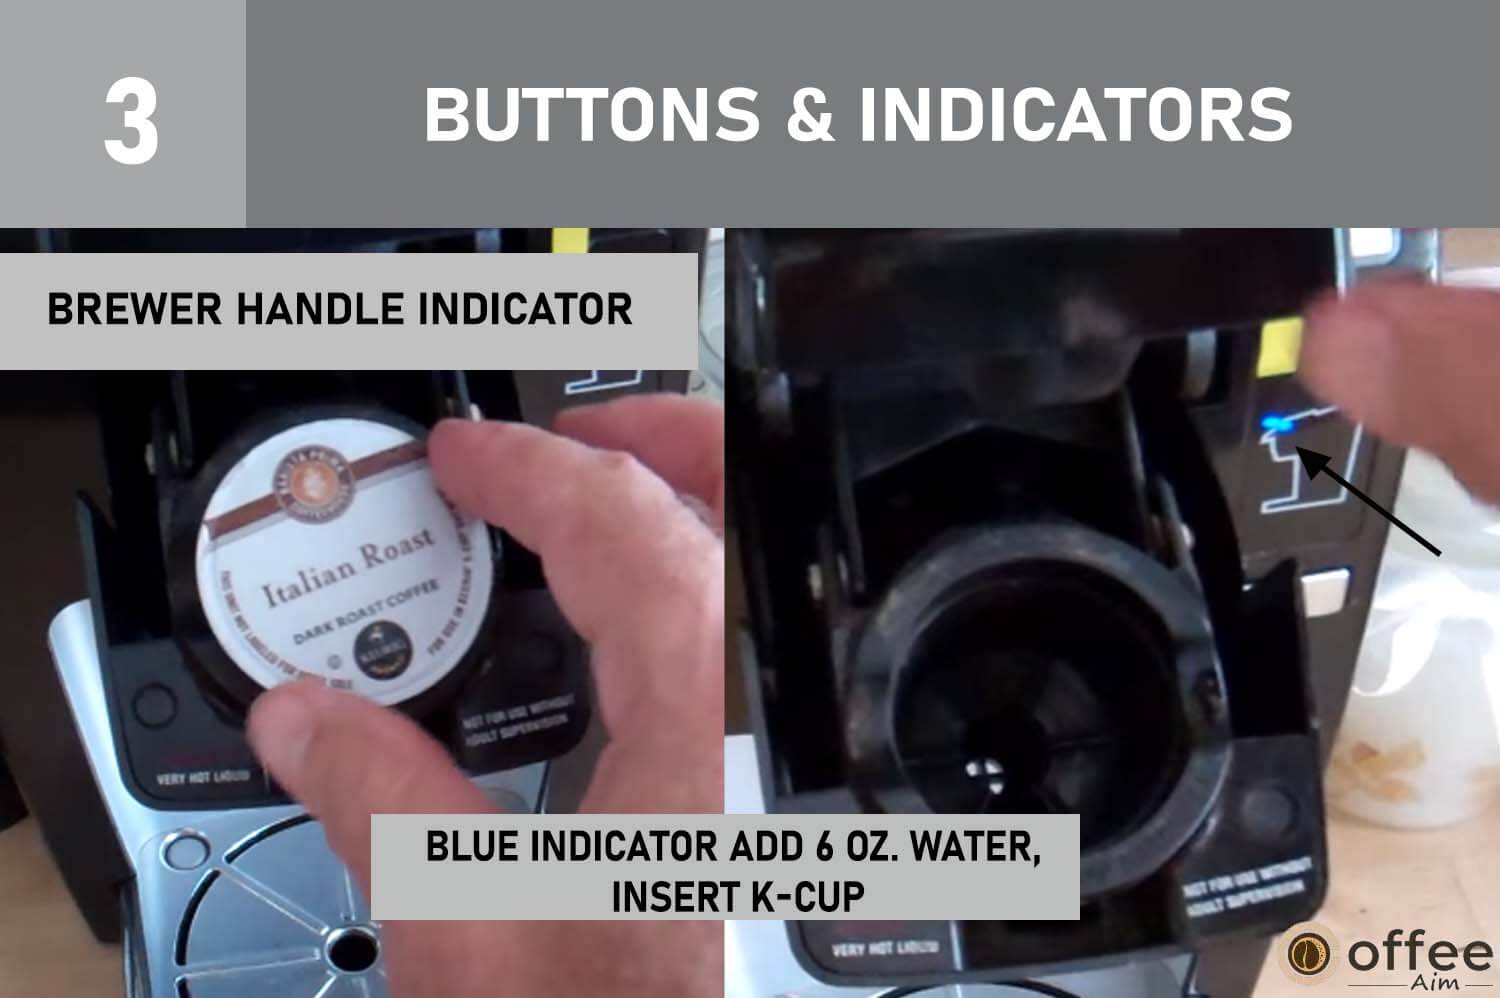
Blue Indicator Low Water Alert— Signals when the Cold Water Reservoir is filled with at least 6 oz. of water, prompting K-Cup insertion. Lift Brewer Handle, insert K-Cup, and securely lower the Handle.
Keep an eye on the Drip Tray’s status through the red float indicator that appears when it’s nearly full. To prevent overflow, gently pull out the Drip Tray and dispose of its contents.
After the current brewing cycle finishes, your Keurig B-31 Brewer is set for the next cup. Simply start the process anew by adding fresh water and inserting a fresh K-Cup® portion pack. This way, your Brewer remains ready to provide you with another delightful beverage whenever you desire.
The Brewer will automatically turn off after 90 seconds of inactivity. Press the Power Button to reactivate it.
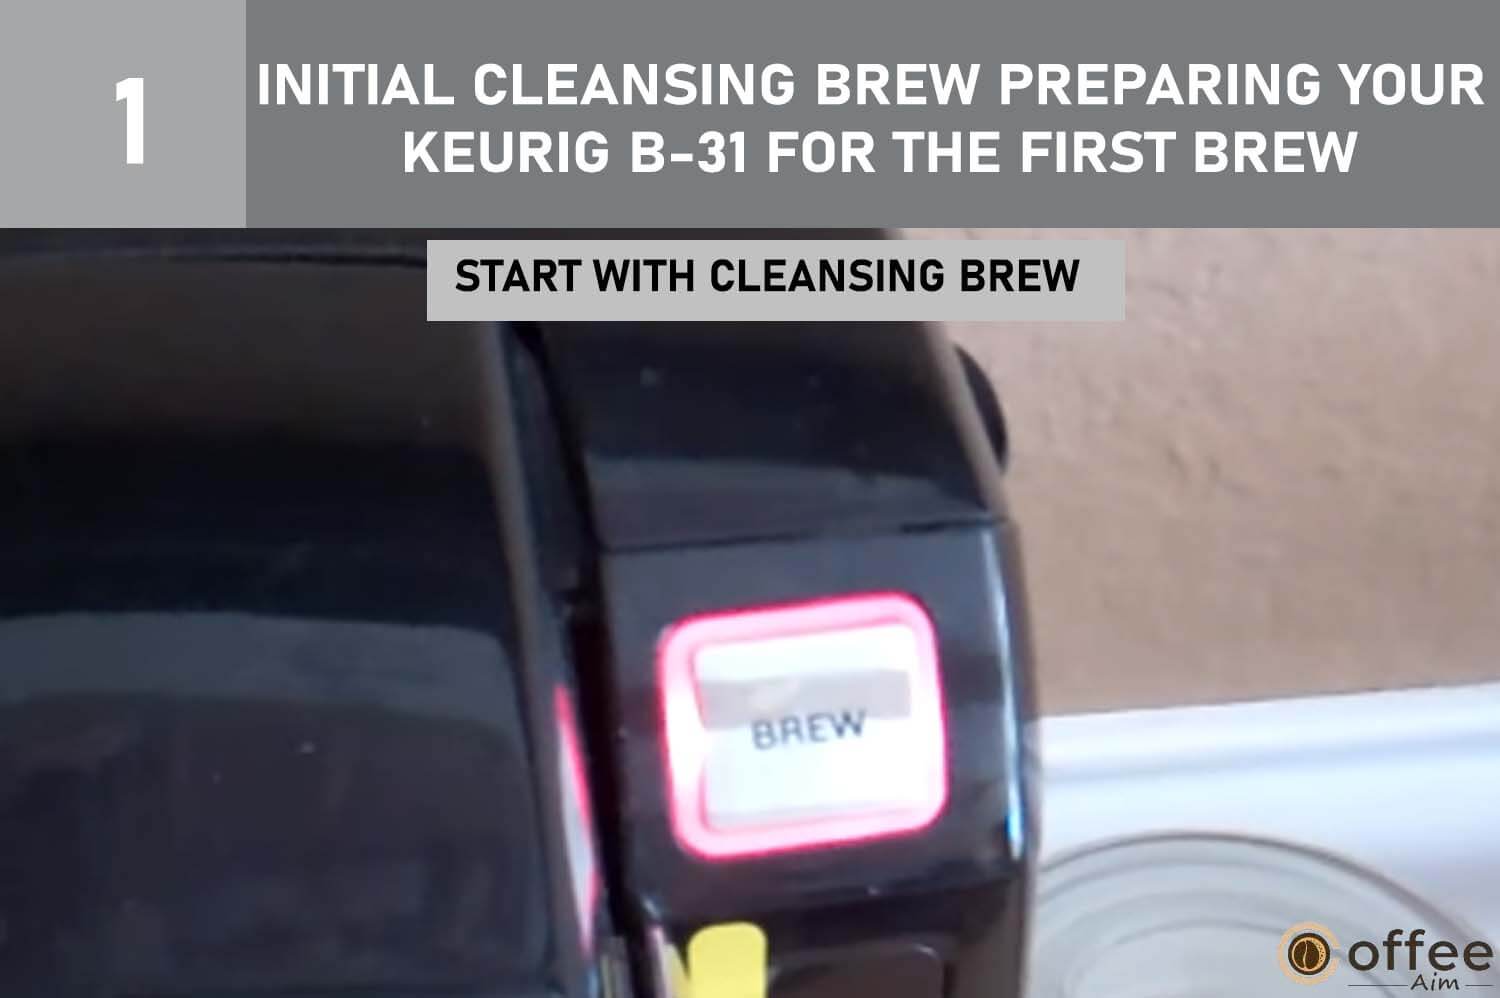
1. Perform Initial Cleansing Brew: Before your first beverage, follow these steps for initial cleansing. Skip steps 9 and 10. This brew doesn’t use a K-Cup®.
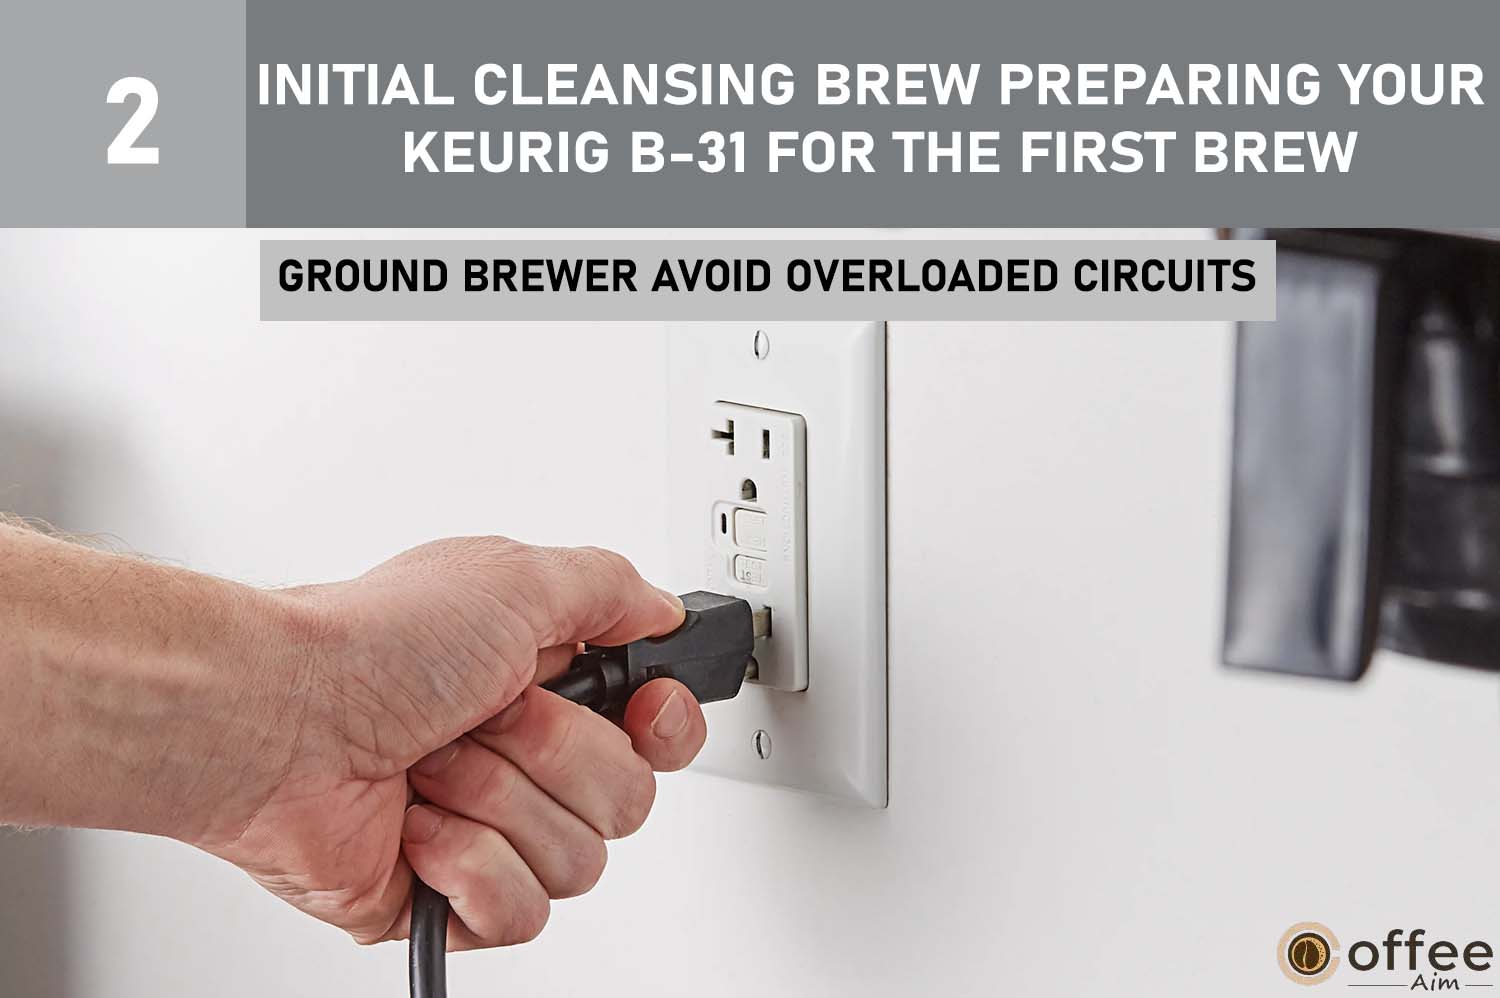
2. Plug the Brewer into a grounded outlet. Overloaded circuits may affect function.
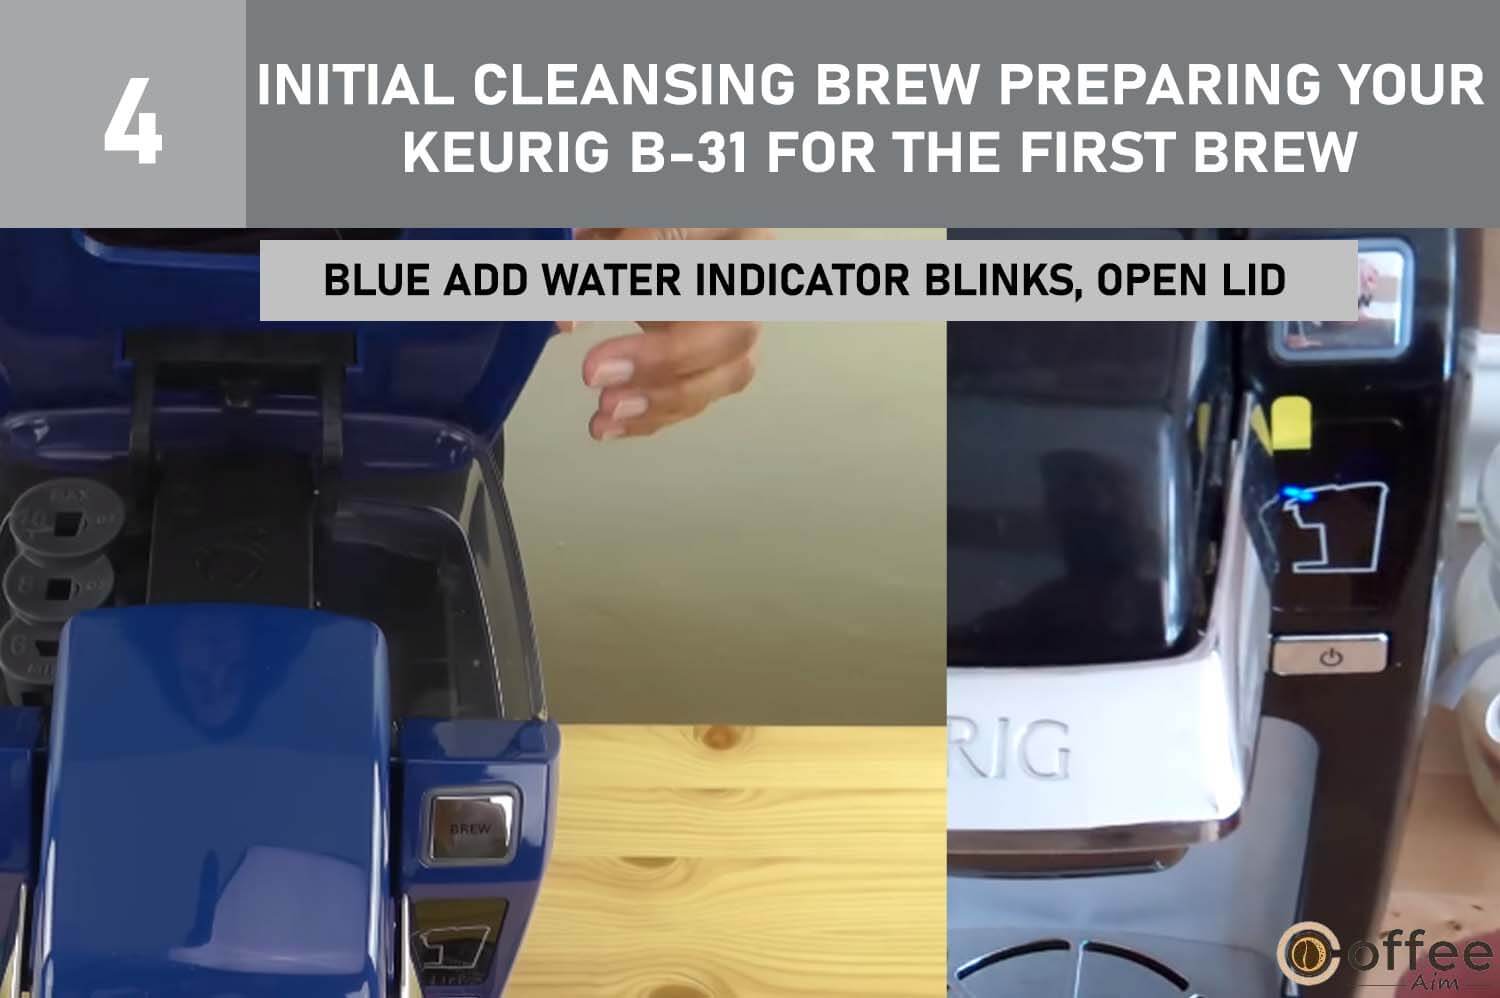
3. Press the Power Button on the front. Add Water Indicator flashes blue.
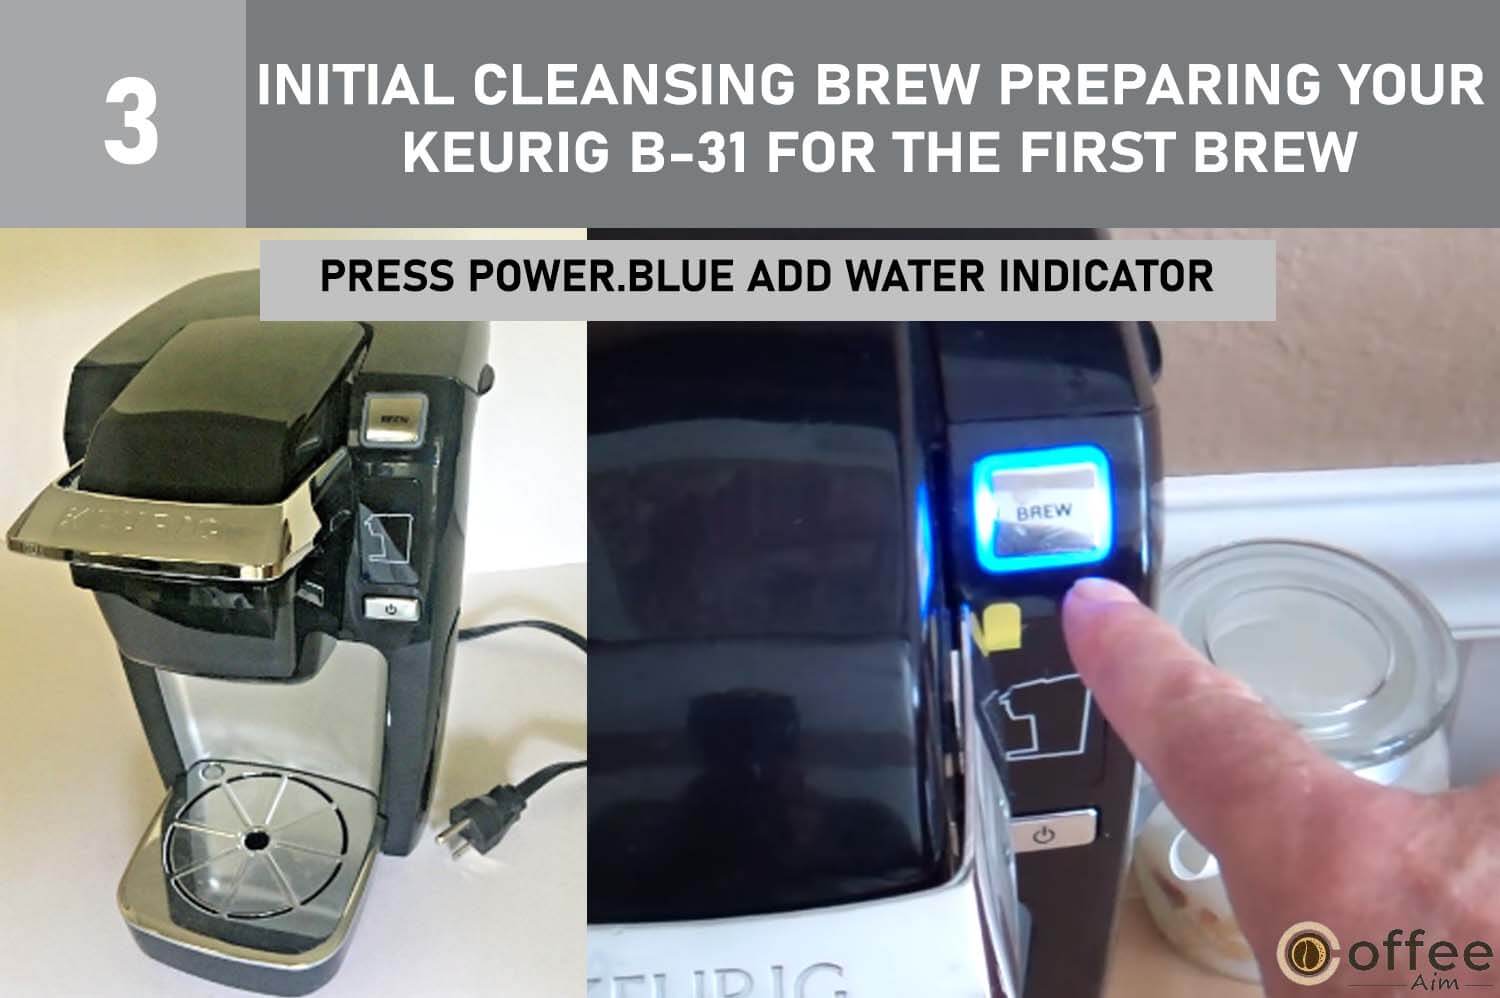
4. The blue Add Water Indicator will blink, prompting you to raise the lid of the Cold Water Reservoir for access.
5. Add water until the minimum level (6 oz.) is reached. Brewer Handle Indicator flashes blue.
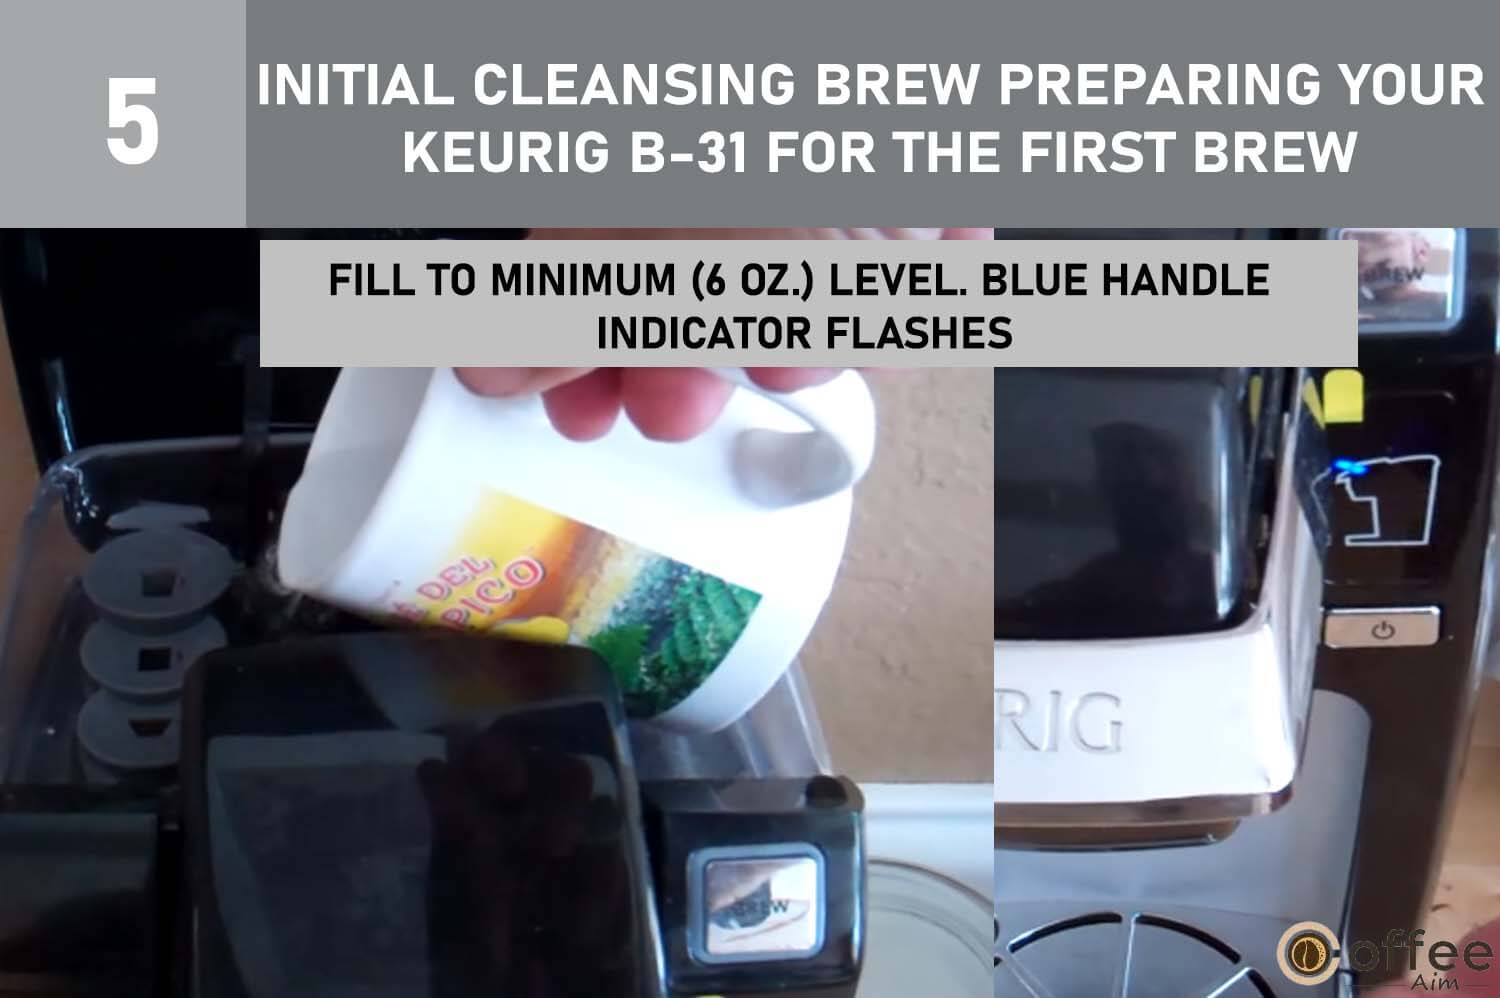
The Brewer offers three volume options: 6 oz., 8 oz., and 10 oz. Ensure accurate measurement by fully closing the Brewer Handle.
6. Close the Cold Water Reservoir Lid
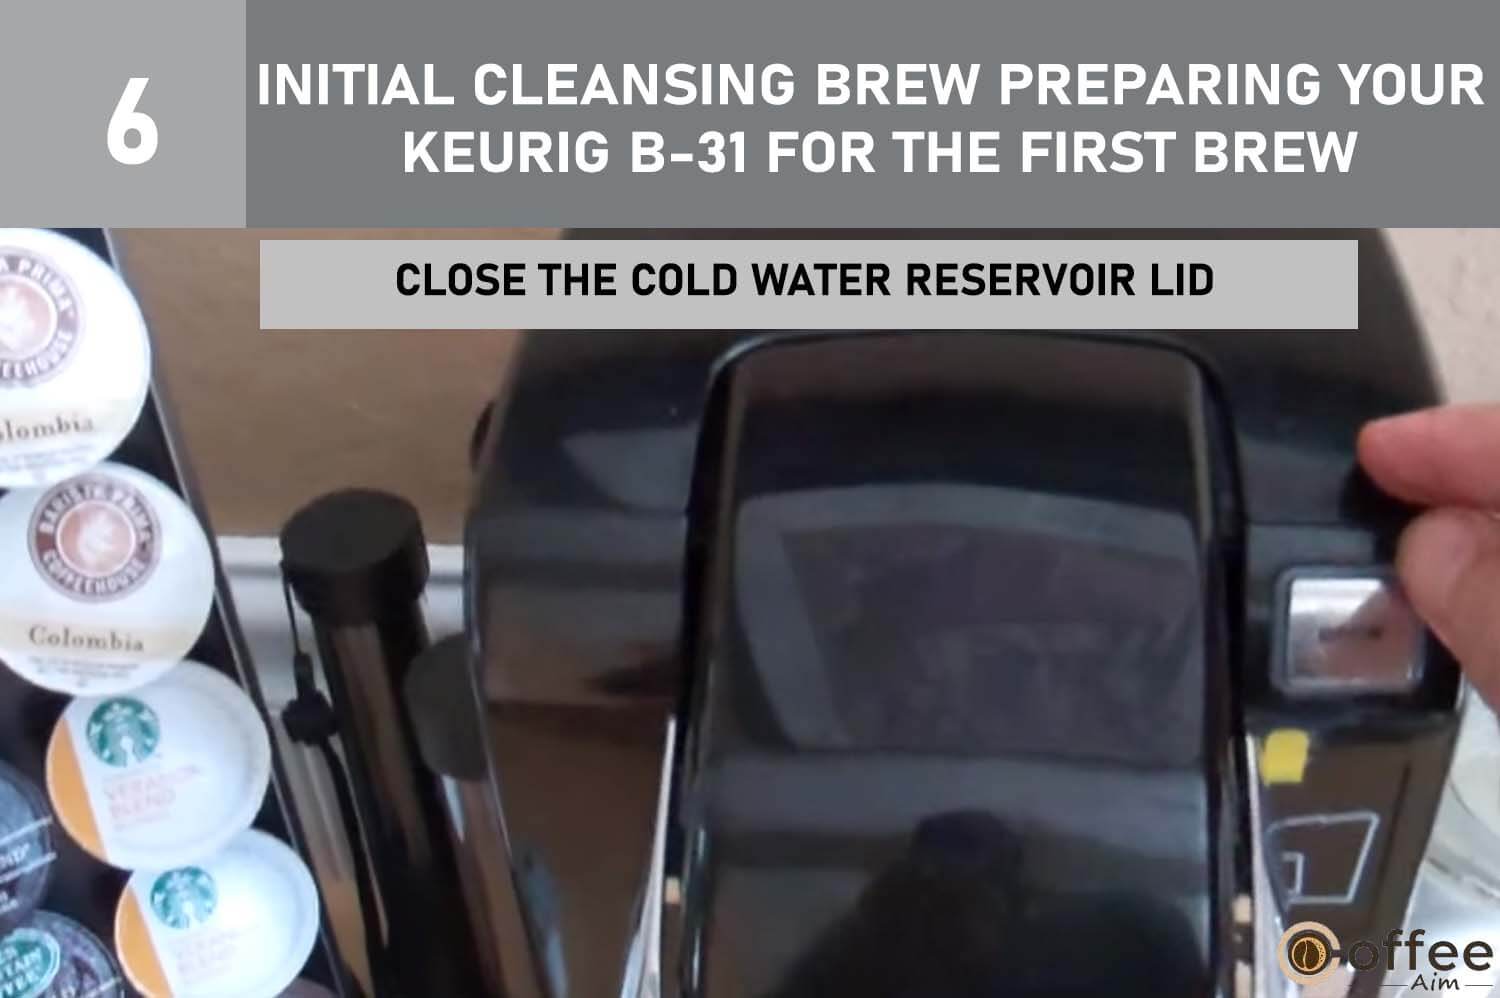
Should you accidentally exceed the Cold Water Reservoir’s capacity, any excess water will be collected in the Drip Tray.
7. Place a mug on Drip Tray Plate.

The Drip Tray can be extended to accommodate taller mugs.
8. Lift Brewer Handle to open. Water enters Brewer.
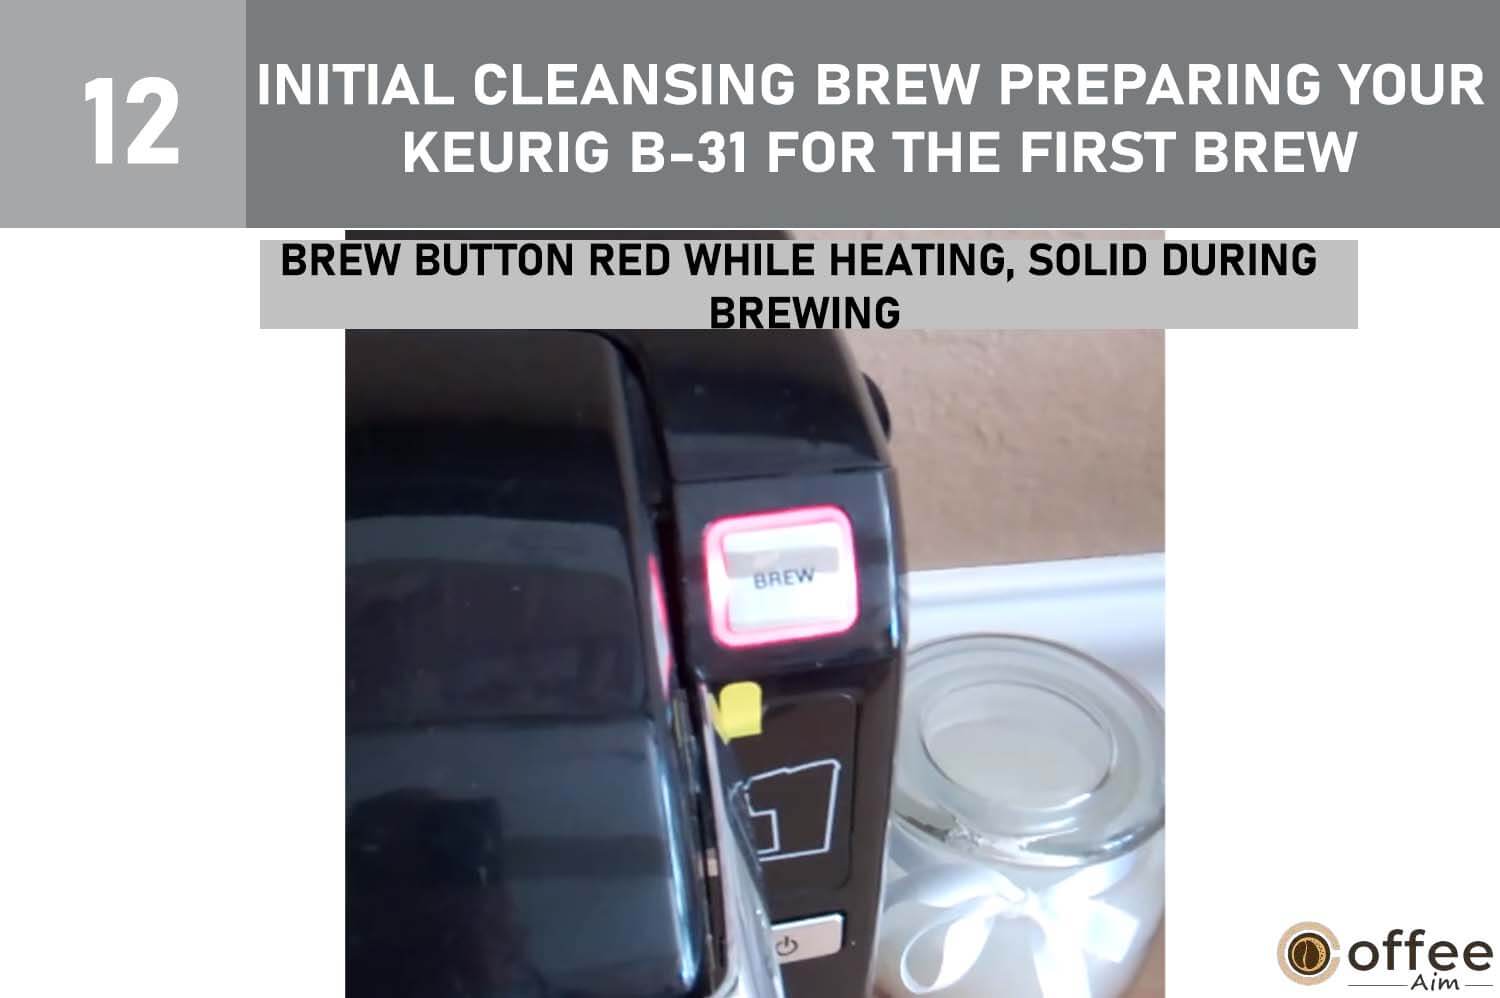
13. In about 2 minutes, water reaches temperature. BREW Button turns solid red, beverage dispenses.
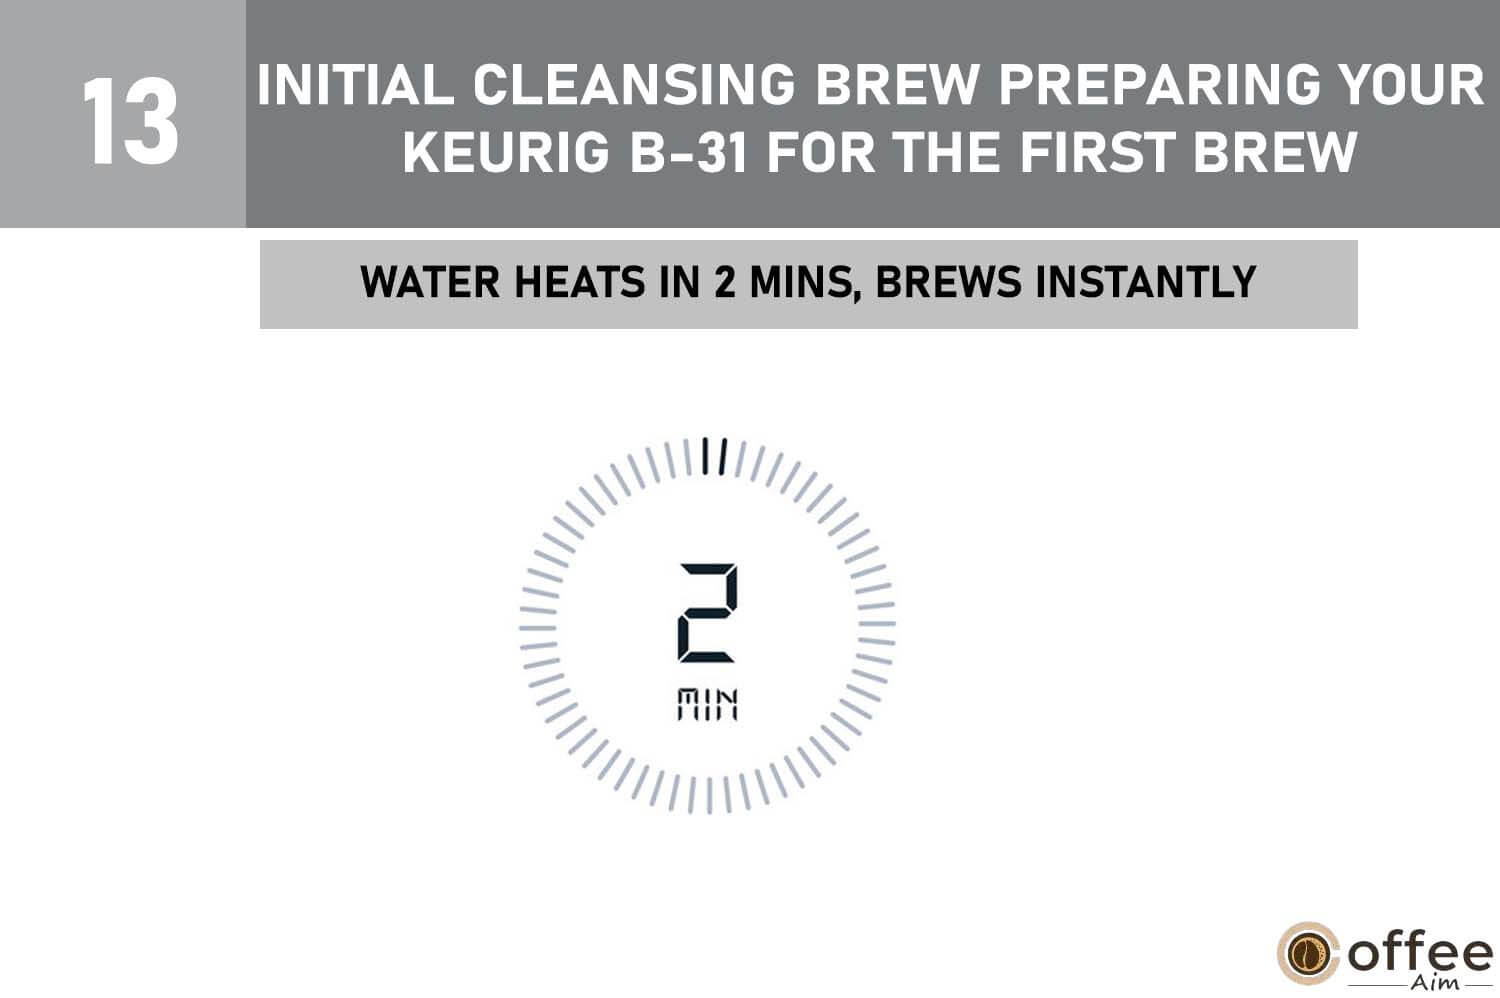
14. If already cleansed, enjoy your beverage.

Note. Utilize dishwasher settings with lower temperatures.
Remove from the K-Cup Holder, clean, and place in the dishwasher. Reattach it to the K-Cup Holder.
Note .Utilize dishwasher’s gentle cycles for cleaning. To reinstall the Funnel, simply snap it onto the K-Cup Holder Assembly.
If clogged by coffee grinds, use a paper clip to clear it. Remove the K-Cup Holder Assembly, detach the Funnel, and use the paper clip to dislodge the clog.
Note.Utilize gentle dishwasher cycles at lower temperatures. The Entrance Needle doesn’t need cleaning.
Note.Sharp needles puncture the K-Cup above the K-Cup Holder and at its base. To prevent injury, avoid inserting fingers into the K-Cup Assembly Housing.
Note.As time passes, you might notice discoloration, spotting, or staining in the Cold Water Reservoir. This occurrence is typical and depends on the mineral content of the water you use. It won’t impact the Brewer’s functionality, but it’s wise to clean the Cold Water Reservoir often to reduce any build-up (refer to page 14 for guidance).
Lift the Reservoir Lid and clean the inside with a damp, lint-free cloth. Remember, the Water Level Guide is not dishwasher safe.
Note. The Water Level Guide should not be placed in the dishwasher.
Power off the Brewer, Place a mug on the Drip Tray, press and hold the BREW Button until water is dispensed. Water dispensing will commence after a brief delay of approximately 3 to 4 seconds. Proper Storage and Usage After Storage Before storing, make sure to empty the Internal Hot Water Tank and Cold Water Reservoir. Store the Brewer upright in a frost-free environment. Storing it in cold temperatures can lead to condensation freezing and causing damage. Prior to using the Brewer after storage, wipe the Cold Water Reservoir and run three cleansing brews without a K-Cup portion pack. If the Brewer was in freezing conditions, let it rest at room temperature for 2 hours before powering on.
At the rear of the Brewer, there’s a practical compartment designed to store the Power Cord (fig. 7). This feature enhances portability and storage convenience.
In addition to these advised cleaning and upkeep steps, users shouldn’t attempt to service this Brewer. Refer to the Warranty section for assistance.
| Situation | Solution |
| Brewer Not Powering On | Ensure Power Button is pressed.Plug Brewer into an independent outlet securely.Try a different outlet or reset circuit breaker. |
| No Brew for First Use | Allow Brewer to rest at room temperature for 2 hours before powering on. |
| Brewer Not Brewing | Check power and press Power Button.If Add Water Indicator doesn’t flash blue, check power again.Clean K-Cup Portion Pack Holder Assembly if needed.De-scale Brewer as per instructions.If problem persists, contact Customer Service. |
| Partial Brews | Check for clogged Exit Needle or clean K-Cup Holder.De-scale Brewer if necessary.If issues continue after de-scaling twice, contact Customer Service. |
| Automatic Shut Off | Brewer normally shuts off after 90 seconds of idling.Restart by pressing Power Button.Contact Customer Service if shutdown happens mid-brew. |
| Water in Drip Tray | Overflow liquids collect in Drip Tray.Empty Drip Tray into sink as needed. |
| Drip Tray Red Indicator | Red indicator signals Drip Tray almost full.Empty Drip Tray carefully into the sink. |
Keurig provides a one-year warranty for Brewer defects, offering repair or replacement options. Warranty covers the United States and Canada, excluding consequential damages. Keurig disclaims additional warranties. For service, contact Keurig Customer Service before returning your Brewer.
In conclusion, mastering the art of using the Keurig B-31 coffee maker is a breeze with our detailed guide. From preparing your machine for its first brew to customizing your cup size and exploring maintenance tips, you’re now equipped to enjoy a seamless coffee experience. Remember to always follow safety precautions, clean your machine regularly, and enjoy the versatility that the Keurig B-31 offers. With its user-friendly features and efficient brewing process, you’re on your way to savoring the perfect cup of coffee anytime you desire. Cheers to convenient and delicious coffee moments with your Keurig B-31!
Here’s a quick guide on using your Keurig B31:
Using a Keurig is simple: add water, insert a K-Cup, close the lid, select cup size, and press brew. Enjoy!
Using your Keurig for the first time is simple. First, ensure it’s plugged in and powered on. Lift the handle and place a mug on the drip tray. Insert a K-Cup pod into the holder, close the lid, and select your desired cup size. The brew button will flash; press it to start brewing. Once done, enjoy your cup!
Turning off your Keurig when not in use is advisable.
Copyright © 2024 CoffeeAim.com