| Please Wait Loading ..... |
 |
Quick Navigation
Freshly extracted coffee is the only source to kickstart your day or keep you going during an afternoon slump. And with the Keurig K-Suite Coffee Brewer, getting this perfect cup of coffee has become super easier.
Whether you’re a coffee connoisseur or a newbie who is looking for an easy guide to making a delicious cup of coffee with Keurig K-Suite Coffee Brewer, this guide is perfect for you.
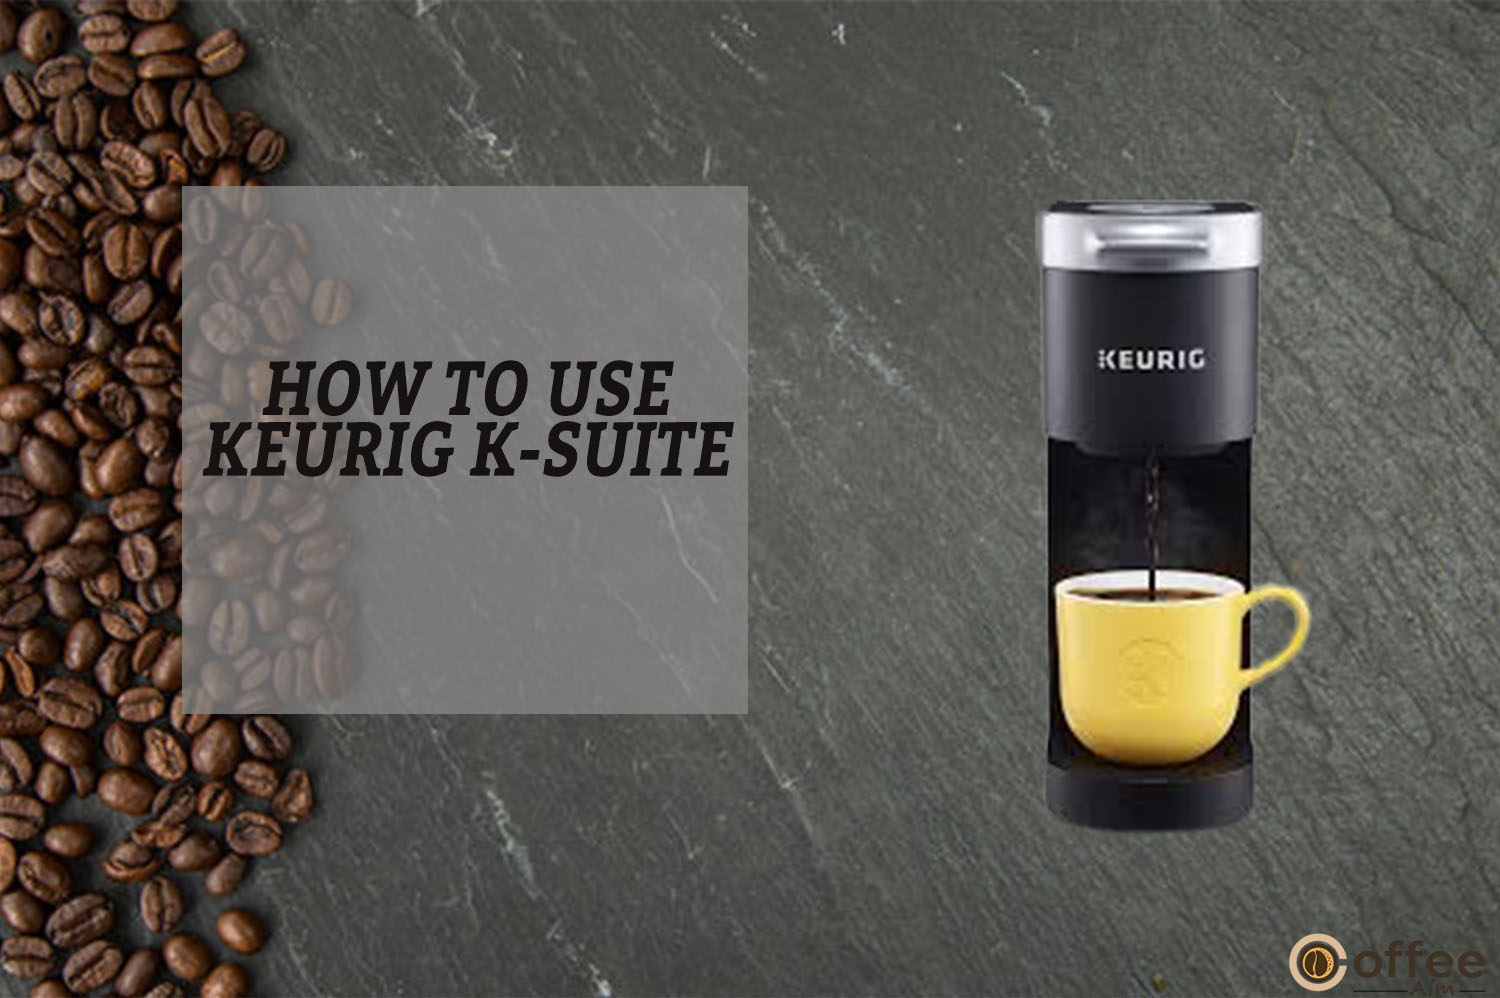
In this step-by-step guide, I will take you through each step you should know on “How to use Keurig K-Suite”, from setting it up to brewing your first cup so that you get the most out of your Keurig.
In this article, I will cover all the basics of “How to use Keurig K-Suite” to ensure that you get the most out of your coffee brewing experience. And even include some tips and tricks to help you customize your coffee to your liking.
Thus, no matter if you are an expert at coffee brewing, facing a problem at some point, or a newcomer to the world of brewing, this guide will resolve all your problems. Let’s get started!
Basic safety precautions should always be the priority to get acknowledged when using electrical appliances. Now you have Keurig with you, and as you’re starting your yummy coffee journey, just take my advice and first read the safety precautions of this appliance, as without reading, there’s a chance of mistakes and disasters like; fire, injury, damage, etc. and I am sure you don’t want that to happen.
To make yourself safe from these horrifying accidents, click the link and thoroughly read all the precautions.
Related: Safety precautions of using Keurig K-55.
With its multiple cup sizes, strong brew option, and programmable settings, the K-Suite allows you to customize your coffee according to your preferences. I have brought Keurig’s specifications in detail for you! So that you can check them thoroughly and decide if these are in accordance with your household or not. If not, then replace it before using the brewer. Let’s get started!
| Specifications | Details |
| Product Line/System | K-Commercial |
| Brew Sizes | 6 oz (177.4 ml)8 oz (236.6 ml) |
| Water Reservoir | 8 oz |
| Display | Button control panel with brew button only |
| Temp Control | No |
| Strength Control | No |
| Dimensions | 4.5” W 11.3” D 12.1” H |
| Weight | 4.5 lbs |
| Other Features | UL Commercial listedAuto-Off, drainable internal tankMug sensorEnergy-saving mode |
Step into the world of Keurig K-Suite and unlock a treasure trove of exceptional features designed to elevate your brewing experience. But before immersing yourself in this realm of innovation, take a moment to explore and scrutinize each feature meticulously.
| Features | Details |
| Multiple Cup Sizes | The K-Suite allows you to choose from multiple cup sizes (coffee volume), so you can brew the perfect coffee cup according to your choice. |
| Strong Brew Option | For those who prefer a bold coffee cup, the K-Suite offers a strong brew option that intensifies the flavor of your favorite coffee. |
| Programmable Settings | With its programmable settings, the K-Suite allows you to customize the brew strength, temperature, and auto-off feature, ensuring that your coffee is brewed just the way you like it. |
| Large Water Reservoir | The K-Suite features a large water reservoir with a water holding capacity of 78 oz, so you can continue brewing without needing to refill the tank. |
| K-Cup® Pod Compatibility | The K-Suite is compatible with all K-Cup® pods, so you can cherish your tastebuds with a variety of coffee flavors and brands. |
| Stylish Design | The K-Suite carries a sleek and modern design that can make your kitchen or office elegant. |
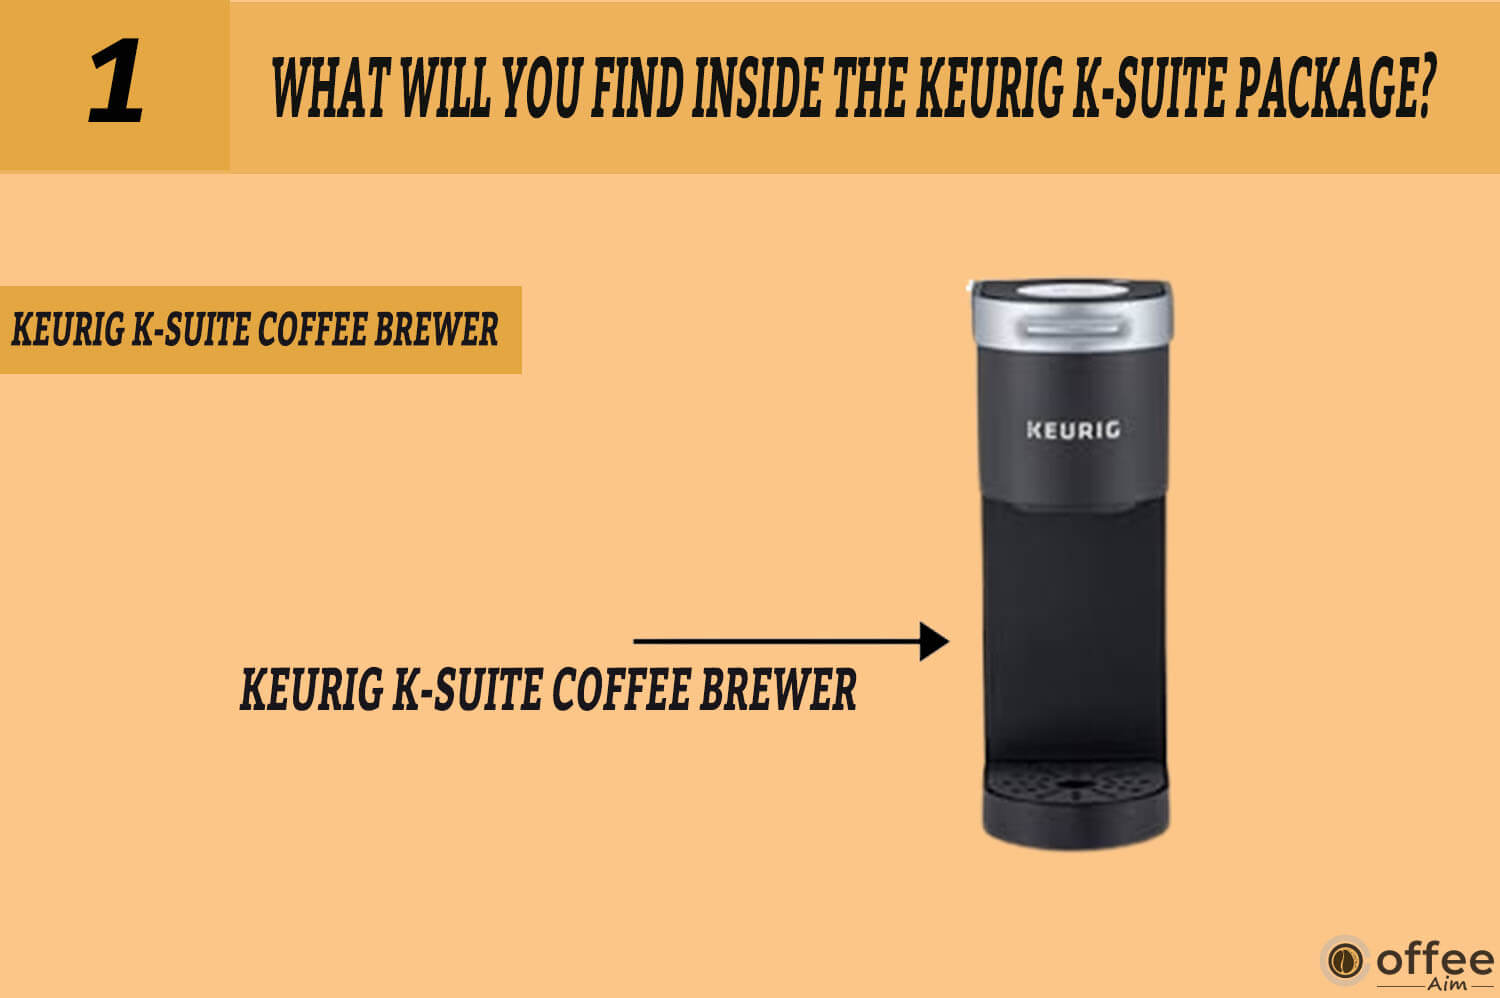
Now the exciting part just came! Whenever we buy something, we just can’t wait to unbox it and see what we got in our package. But, let me tell you first about what you will find inside the box. So make sure that all those things are available in the box. If not, then complain to the store and get that part. These following items you’ll get when unboxing Keurig K-suite.
The star of the package, the Keurig K-Suite Coffee Brewer is a compact and stylish machine that brews coffee using K-Cup® pods.
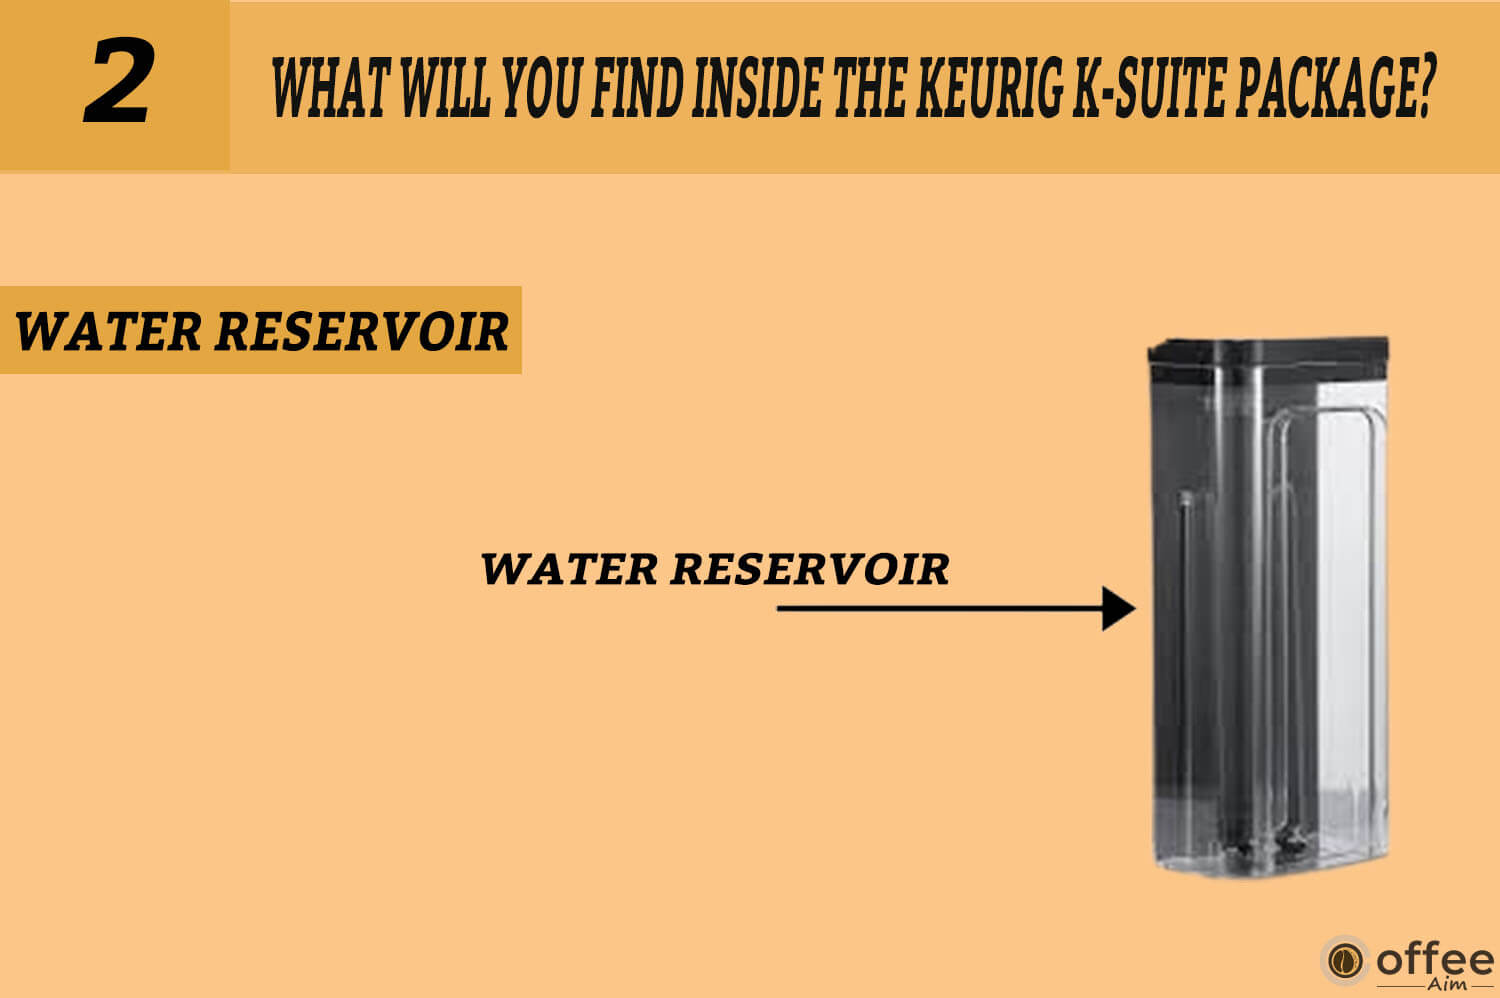
The package includes a large, removable water reservoir that holds up to 78 ounces of water, allowing you to brew multiple cups of coffee without needing to refill the tank.
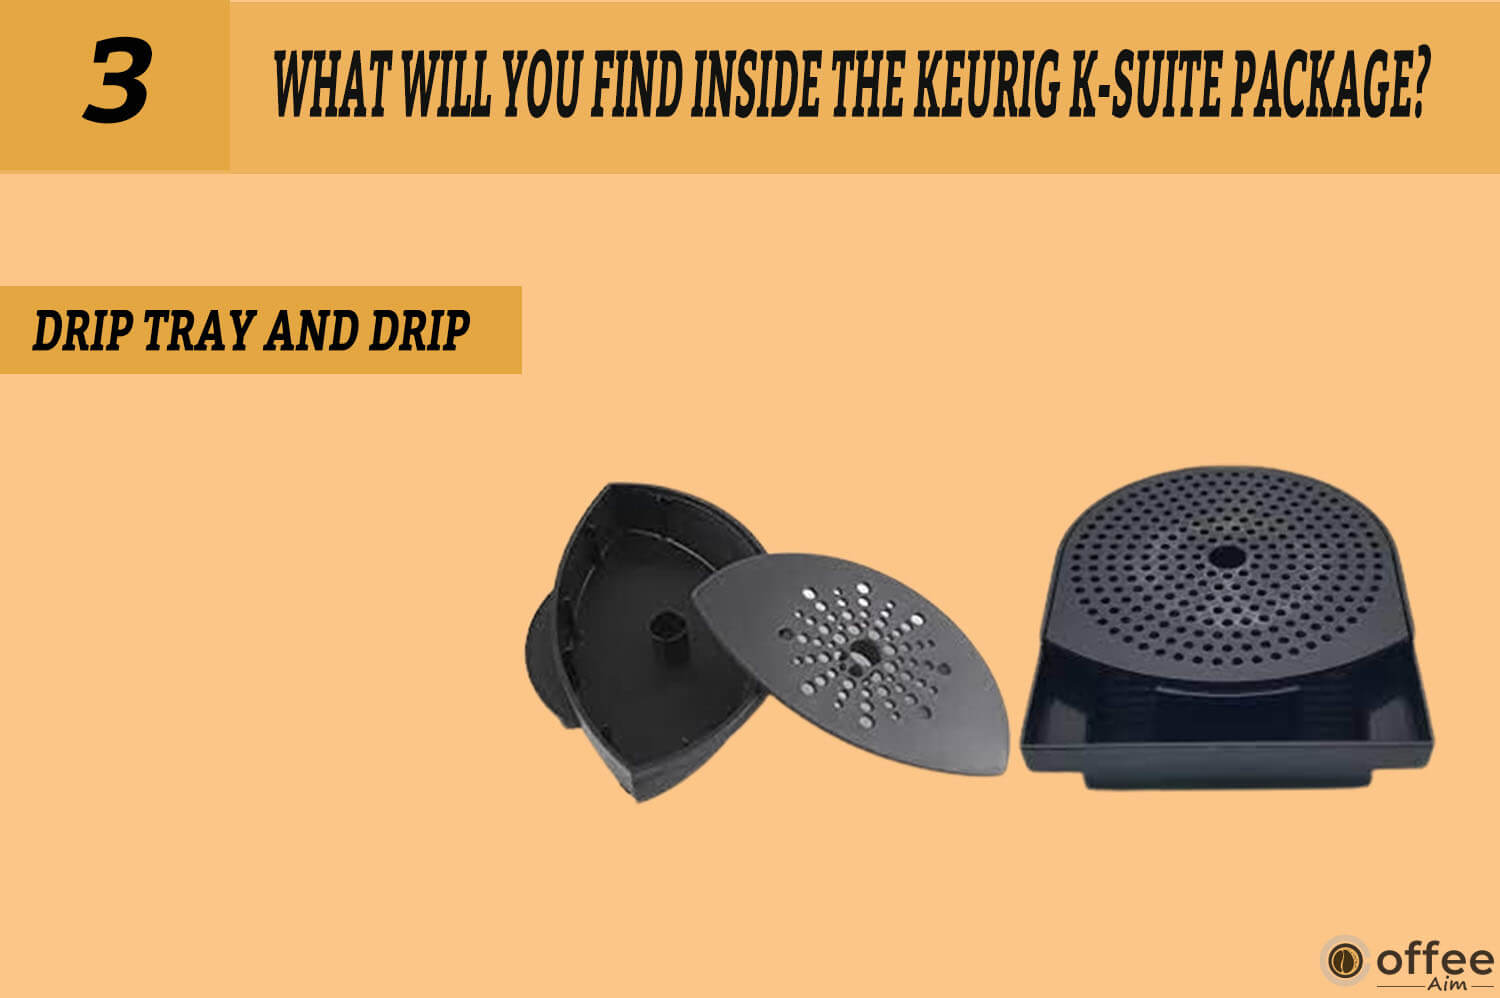
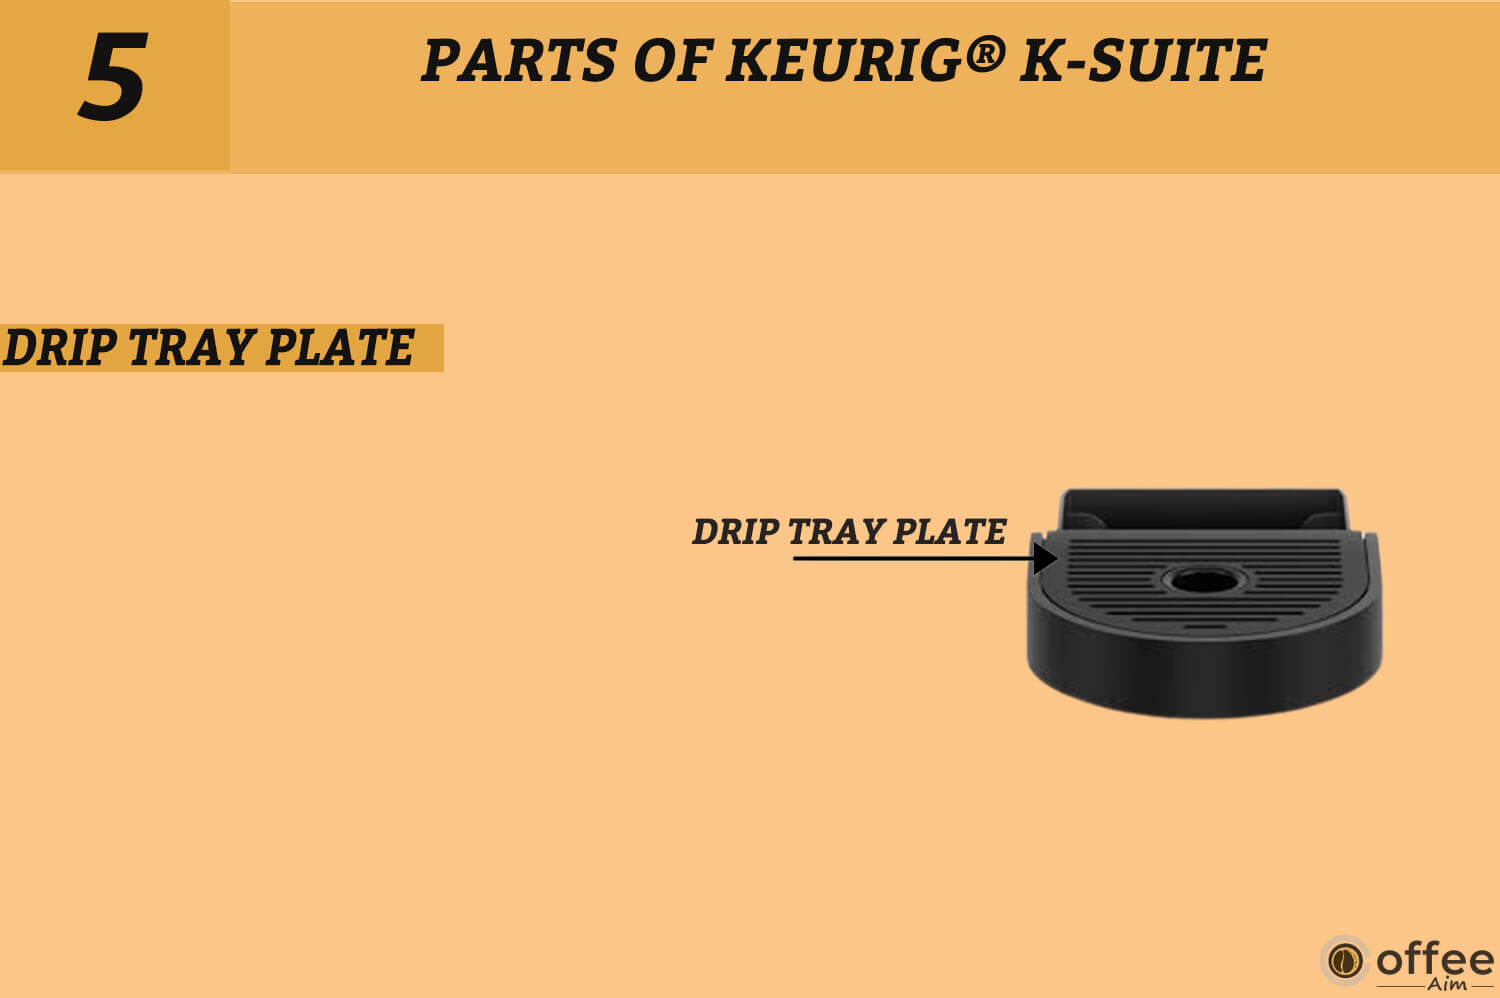
The drip tray and drip tray plate are included to catch any excess coffee and prevent messes on your countertop.
The package comes with a Quick Start Guide and User Manual to help you set up and use the K-Suite Coffee Brewer.

To get you started, the package includes a variety pack of K-Cup® pods featuring different coffee flavors and brands.

The package also includes a Brewer Maintenance Accessory, which helps clean and descale the machine for optimal performance and longevity.

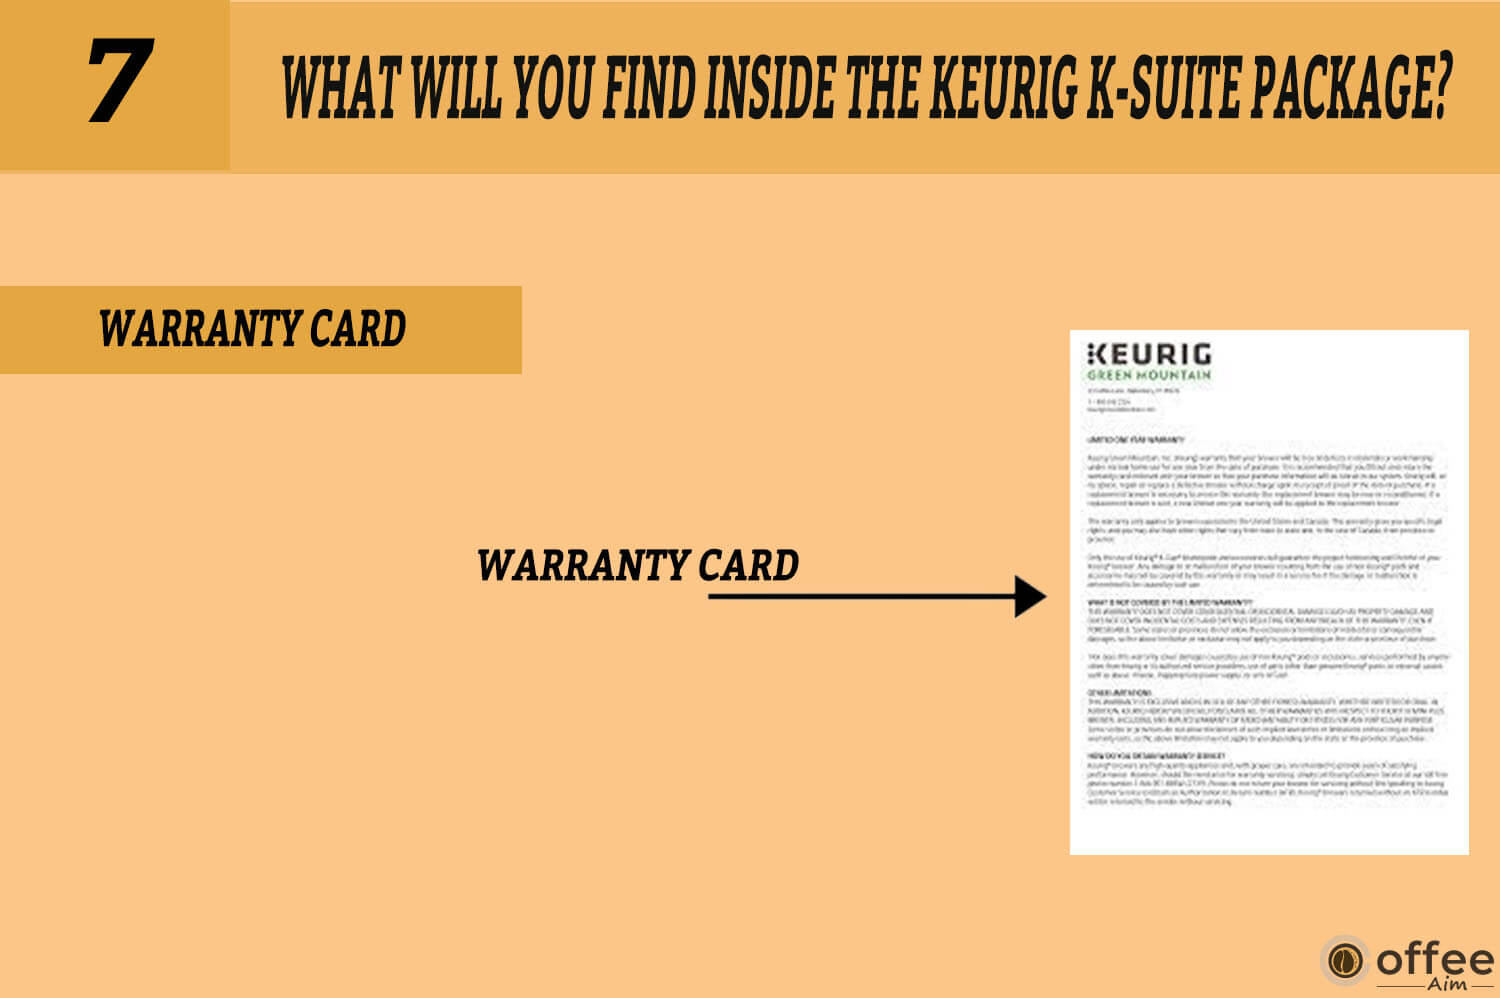
Keurig K-Suite Coffee brewer comes with a one-year life warranty card, so in case anything happens with your Keurig Coffee brewer, you can contact Keurig’s Store, and they will resolve your issue or exchange the machine.
The Keurig® K-Suite coffee brewer is made up of several parts that work together to create the perfect cup of coffee. Here are some of the key parts of the K-Suite and what they do;
The handle is used to open the lid of the pod holder assembly by lifting it.

K-Cup pod holder is a container where you insert the coffee pod.

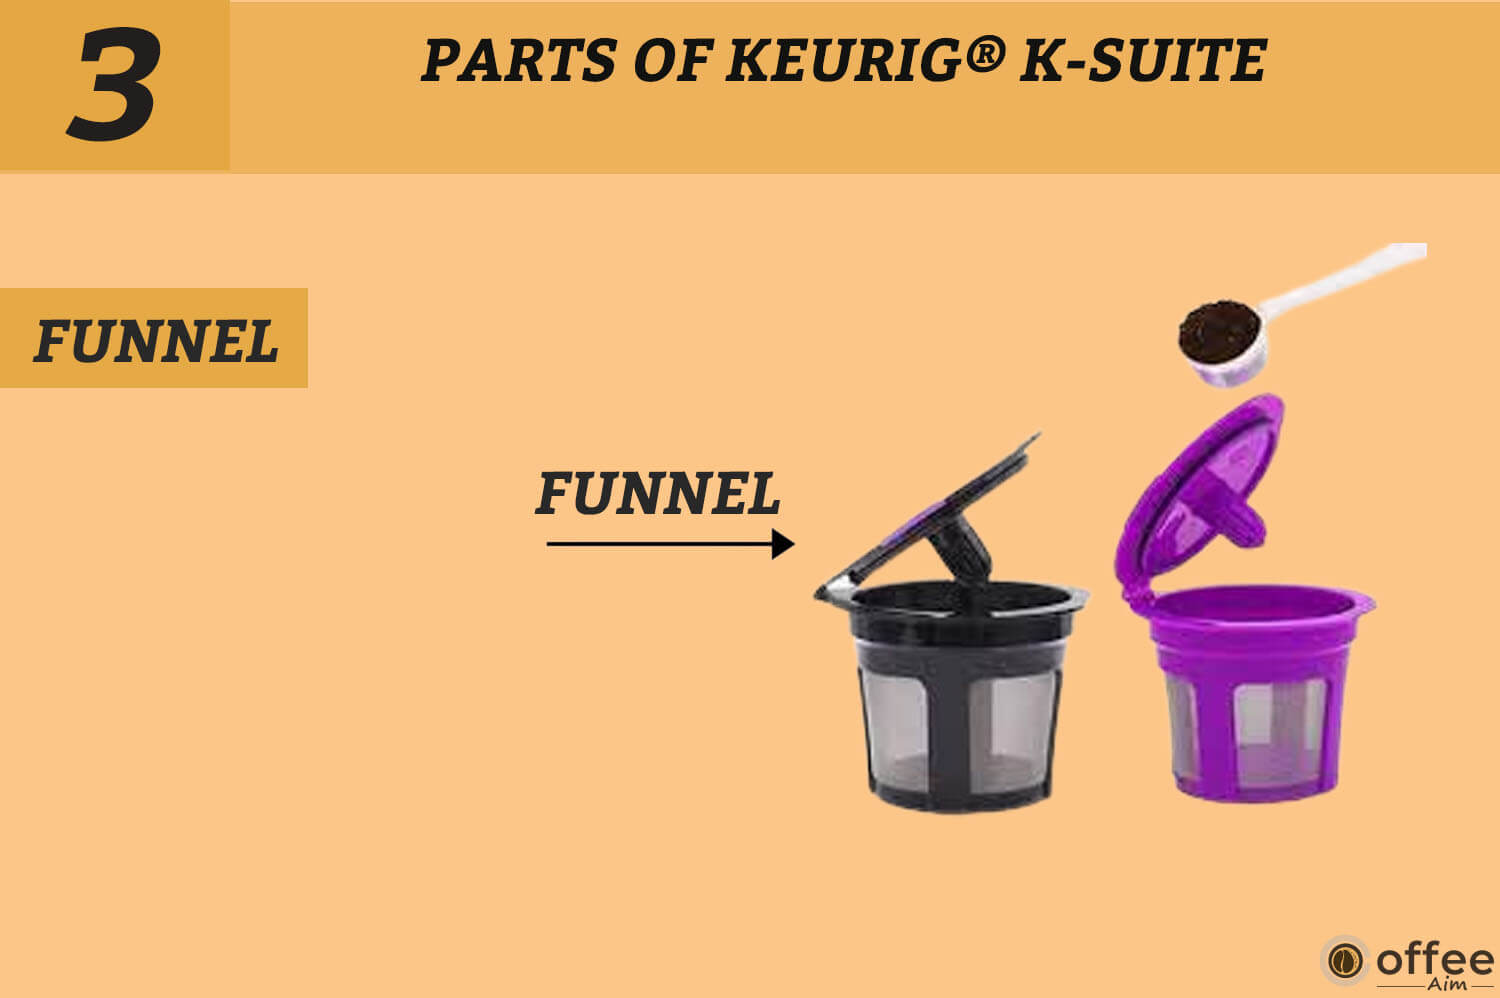
Funnel attachment for the portafilter prevents coffee grinds from overflowing to help reduce mess and waste – no one wants to waste precious coffee
The pod holder and funnel are collectively called pod holder assembly. So the place where the pod holder assembly is occupied is called pod holder assembly housing.

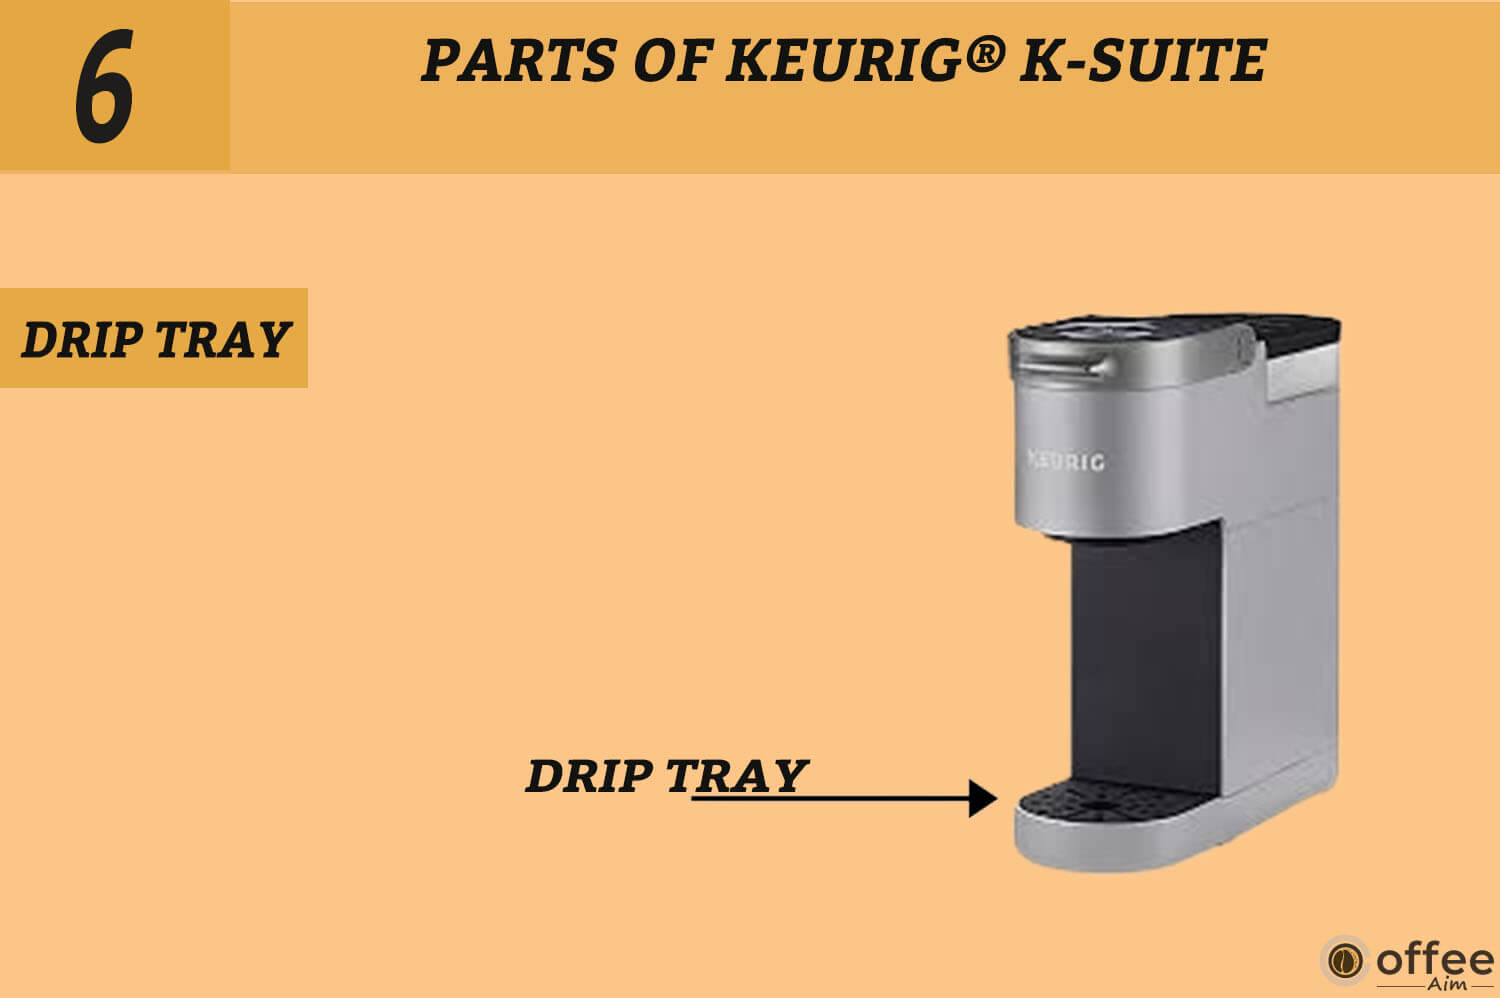
The countertop drip tray is used under coffee makers to catch spills. It is also used to place your coffee mug.
The Drip Tray is a removable tray located at the bottom of the Keurig K-Suite coffee brewer that catches any excess coffee or water that may drip from the brewer during the brewing process, keeping your countertop clean and mess-free.
The Drip tray base accommodates tall mugs such as travel mugs. So, if you want to place a travel mug, remove the drip tray and put it directly on the base.

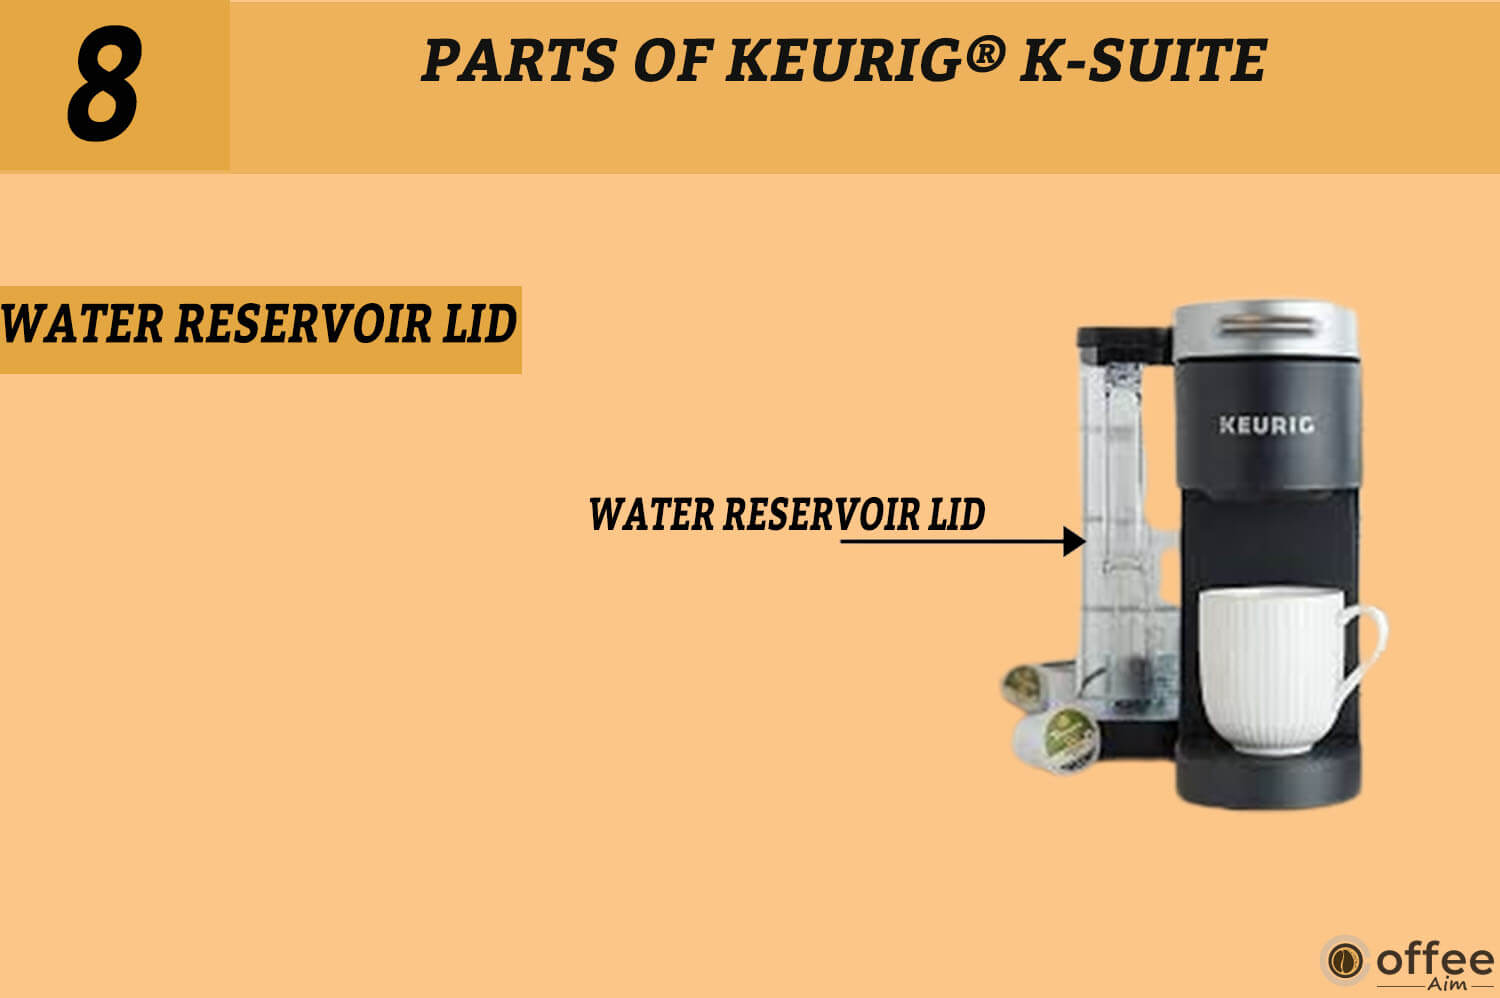
It is present over the water reservoir to keep water dirt-free or overflowing during the brewing process.
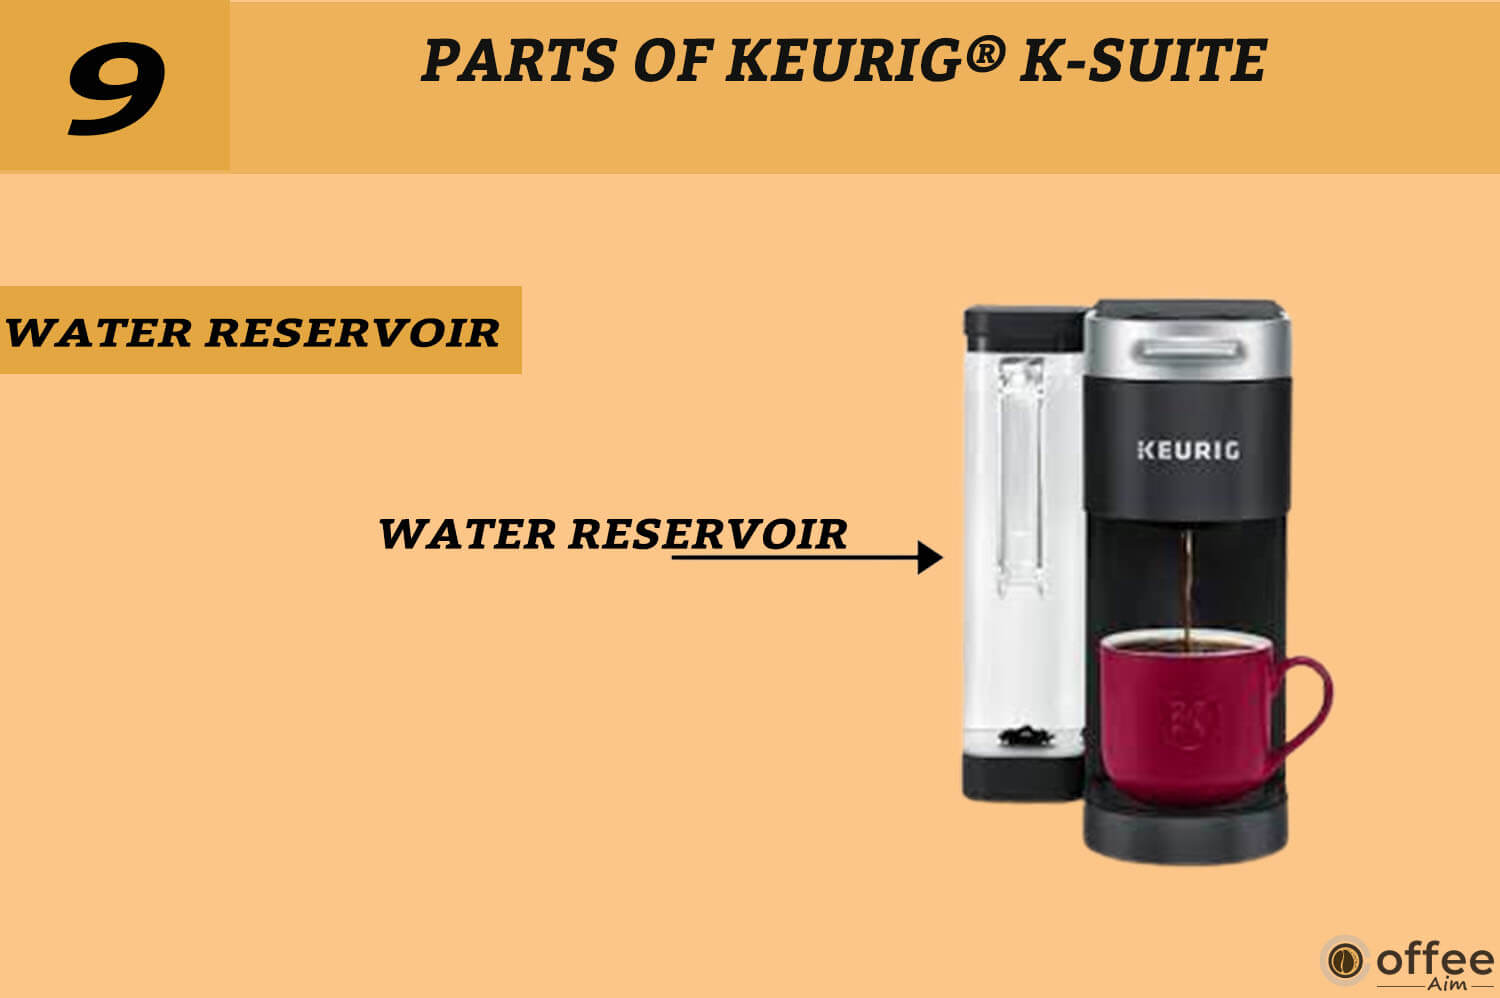
In the water reservoir, you can pour water, which will be used for brewing, cleaning, and descaling.
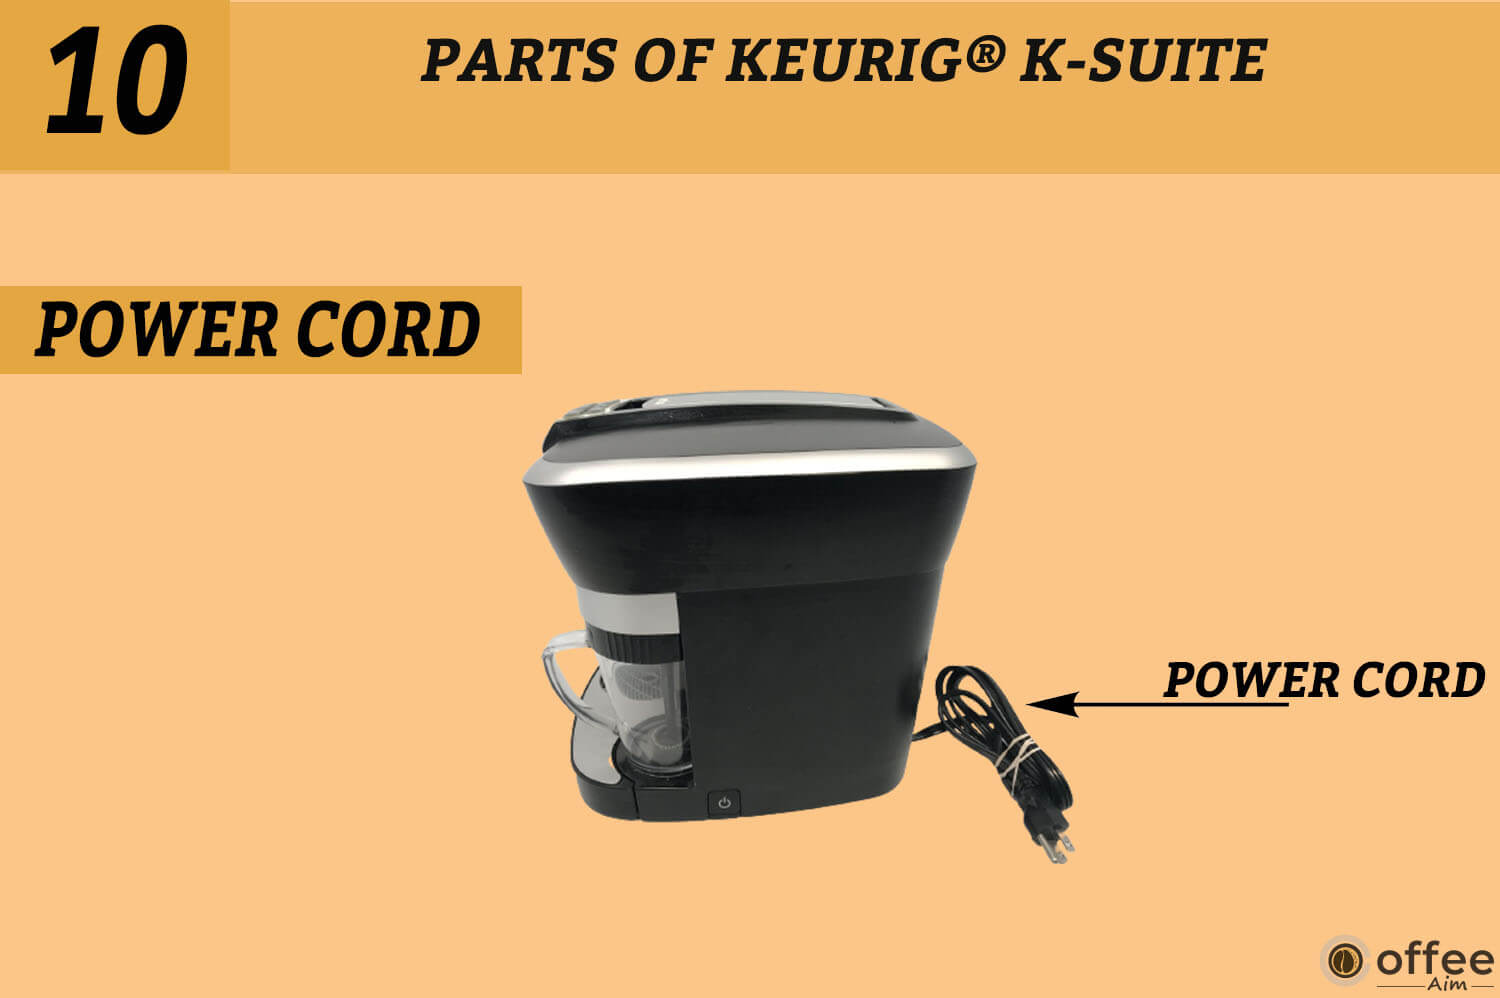
The power cord runs power to the Coffee machine. The Coffee Bar cannot function without it, and it can be very dangerous if damaged.
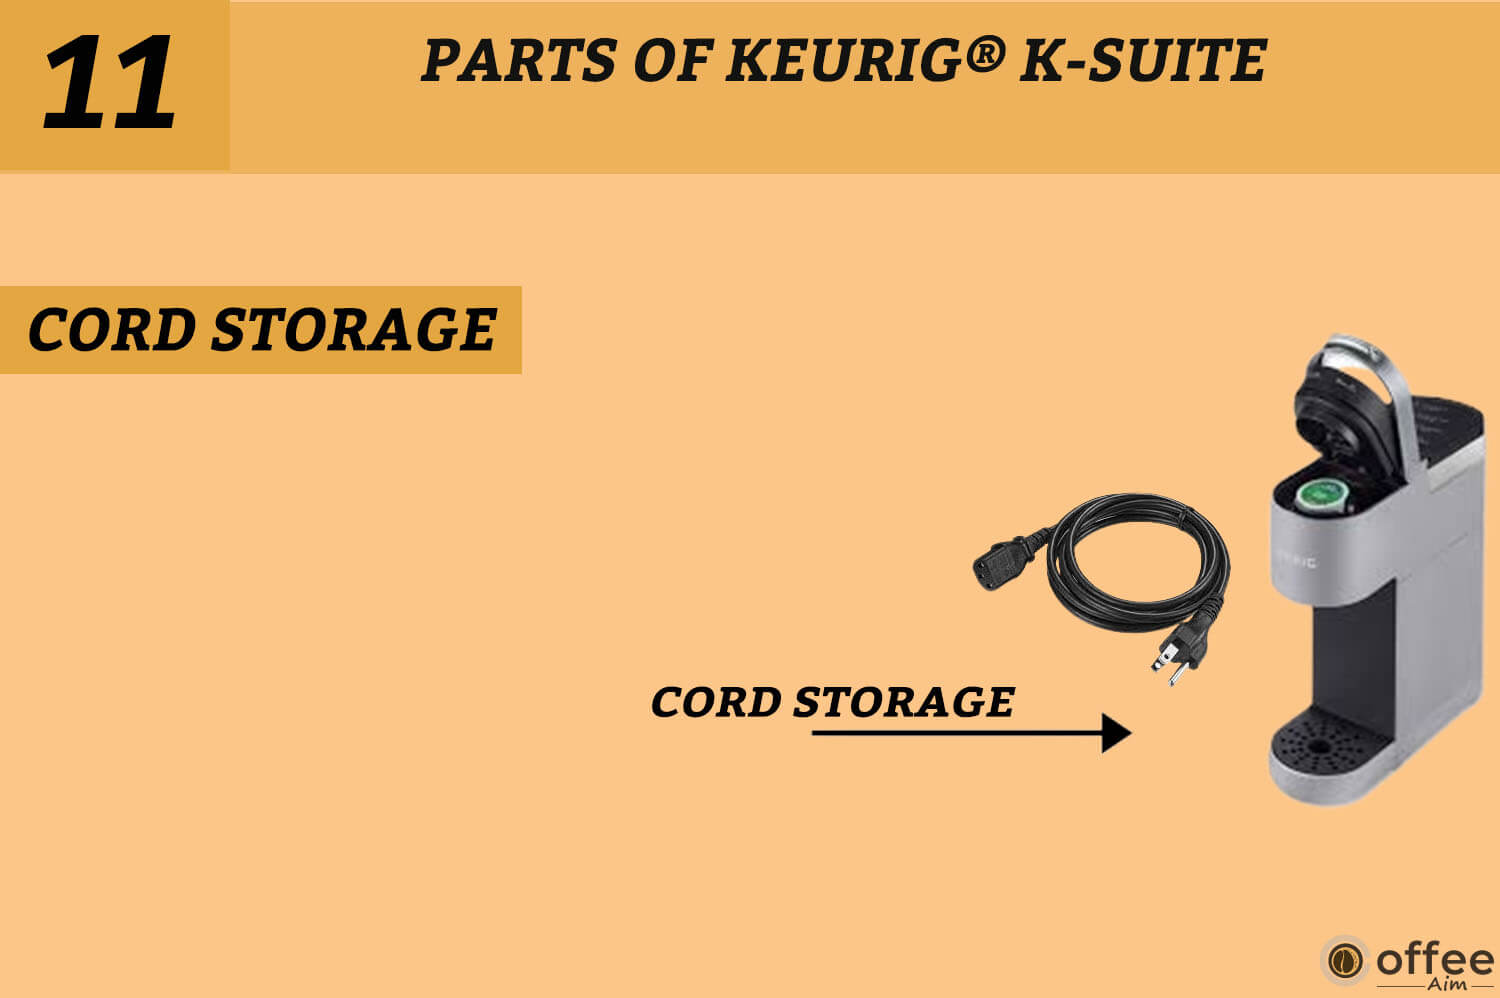
Cord storage is a compartment at the back of the coffee machine to store the extra cord length.
It feels great when you buy a new thing for your home/office, and honestly, we all get super excited too to brew the first cup of coffee. But do you know what you should do before brewing your first cup of coffee or after a long period of non-use?
No? It’s fine! I am here to acknowledge you about what you should do to set up your machine.
The following six steps are one-time set-up for the Keurig K-suite coffee brewer. Let’s start!
First, remove the packing tape from the coffee machine and set it in a suitable place in the kitchen.
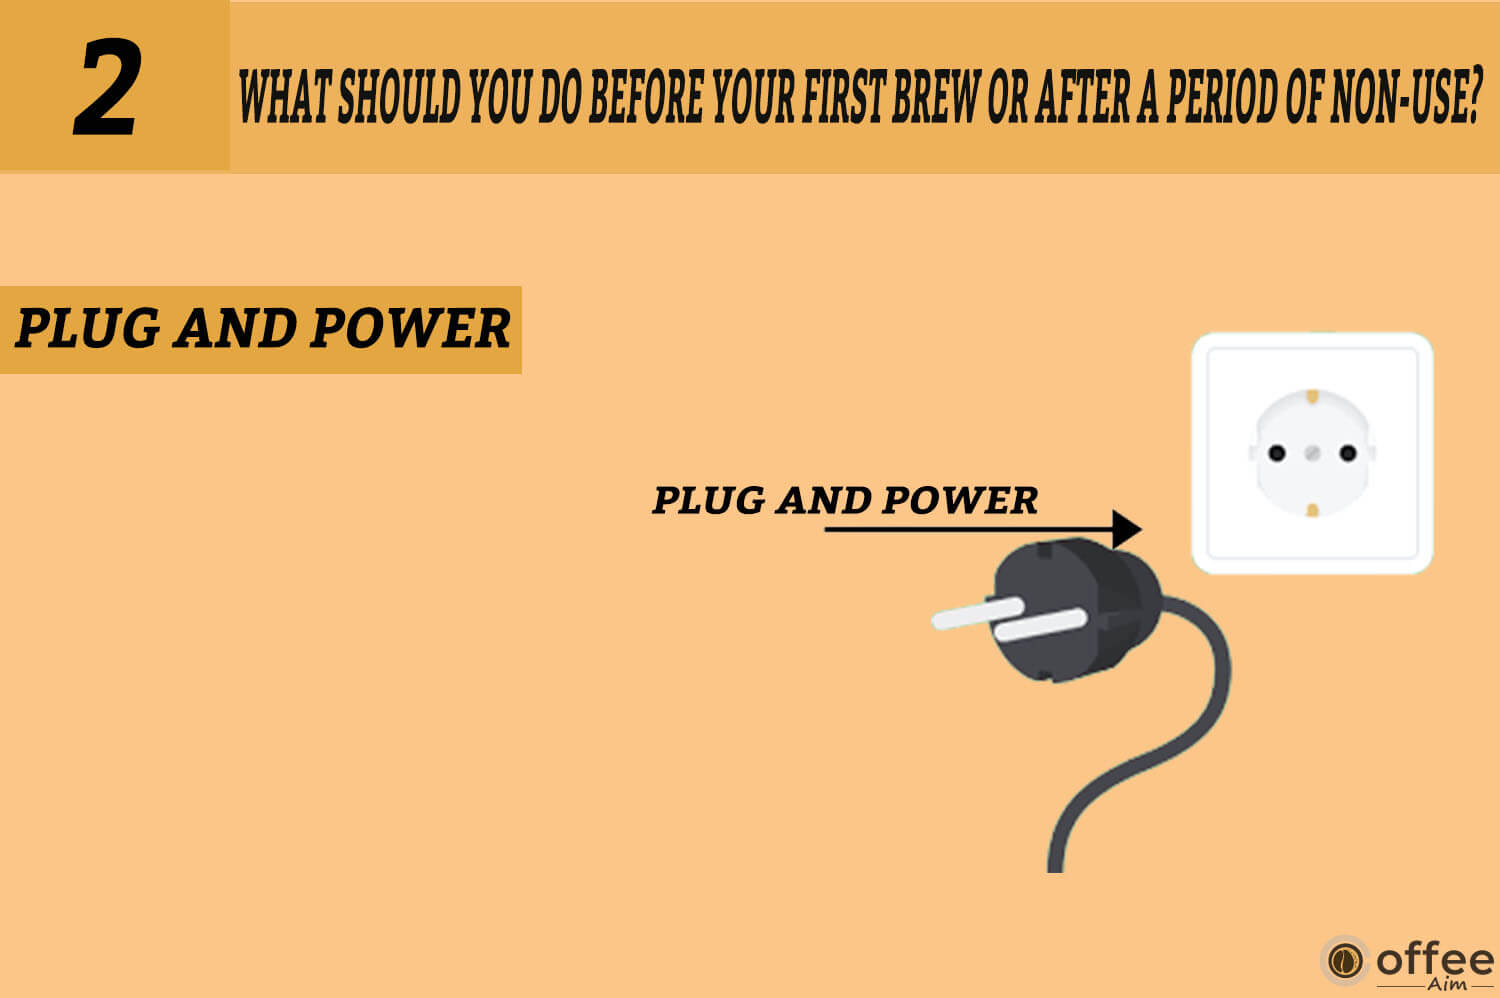
Pull and extend the cord from cord storage at the back of the brewer and plug it into a grounded outlet.
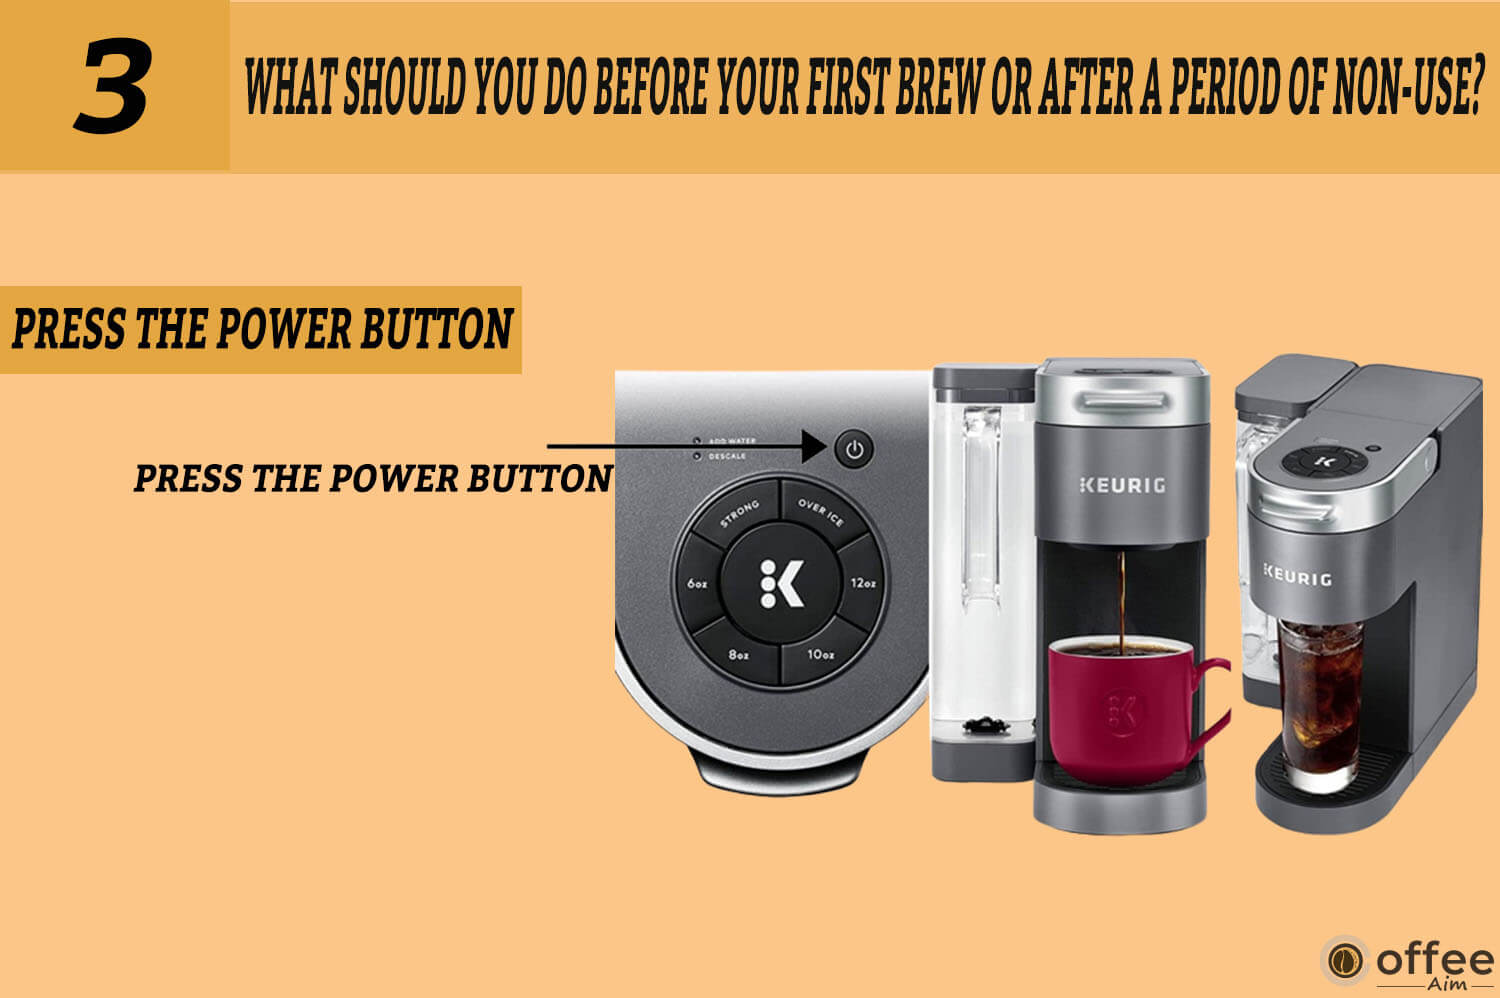
The power button will light up after you press it.
Lift and lower the handle. The brew indicator light will flash to indicate the brewer is ready.
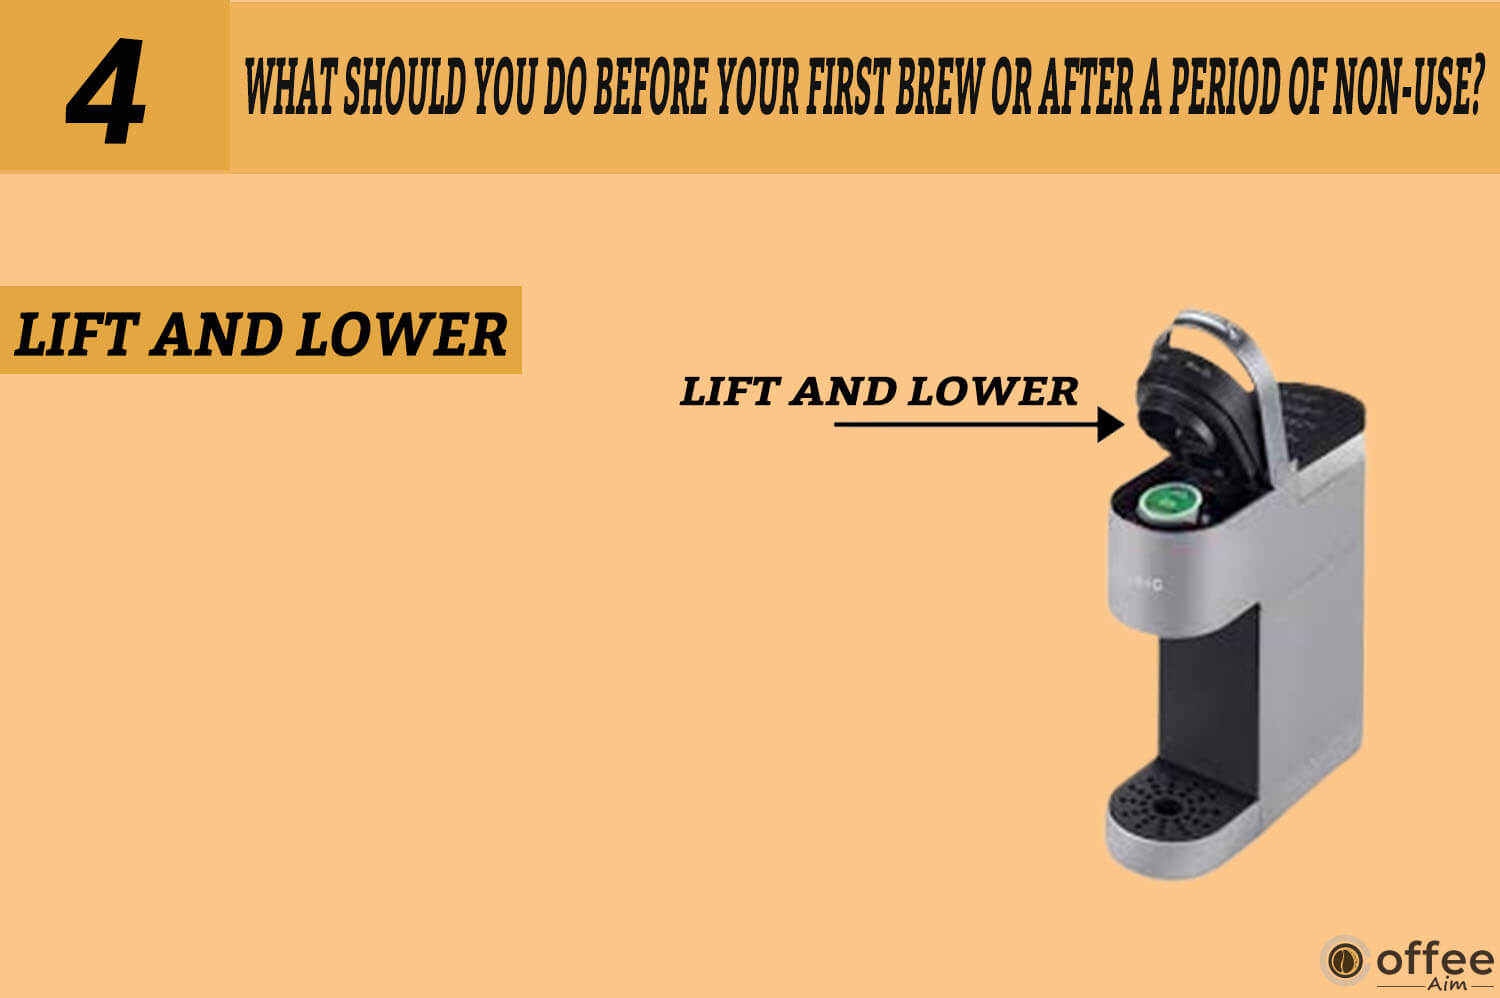
NOTE: Do not insert a K-Cup® pod.
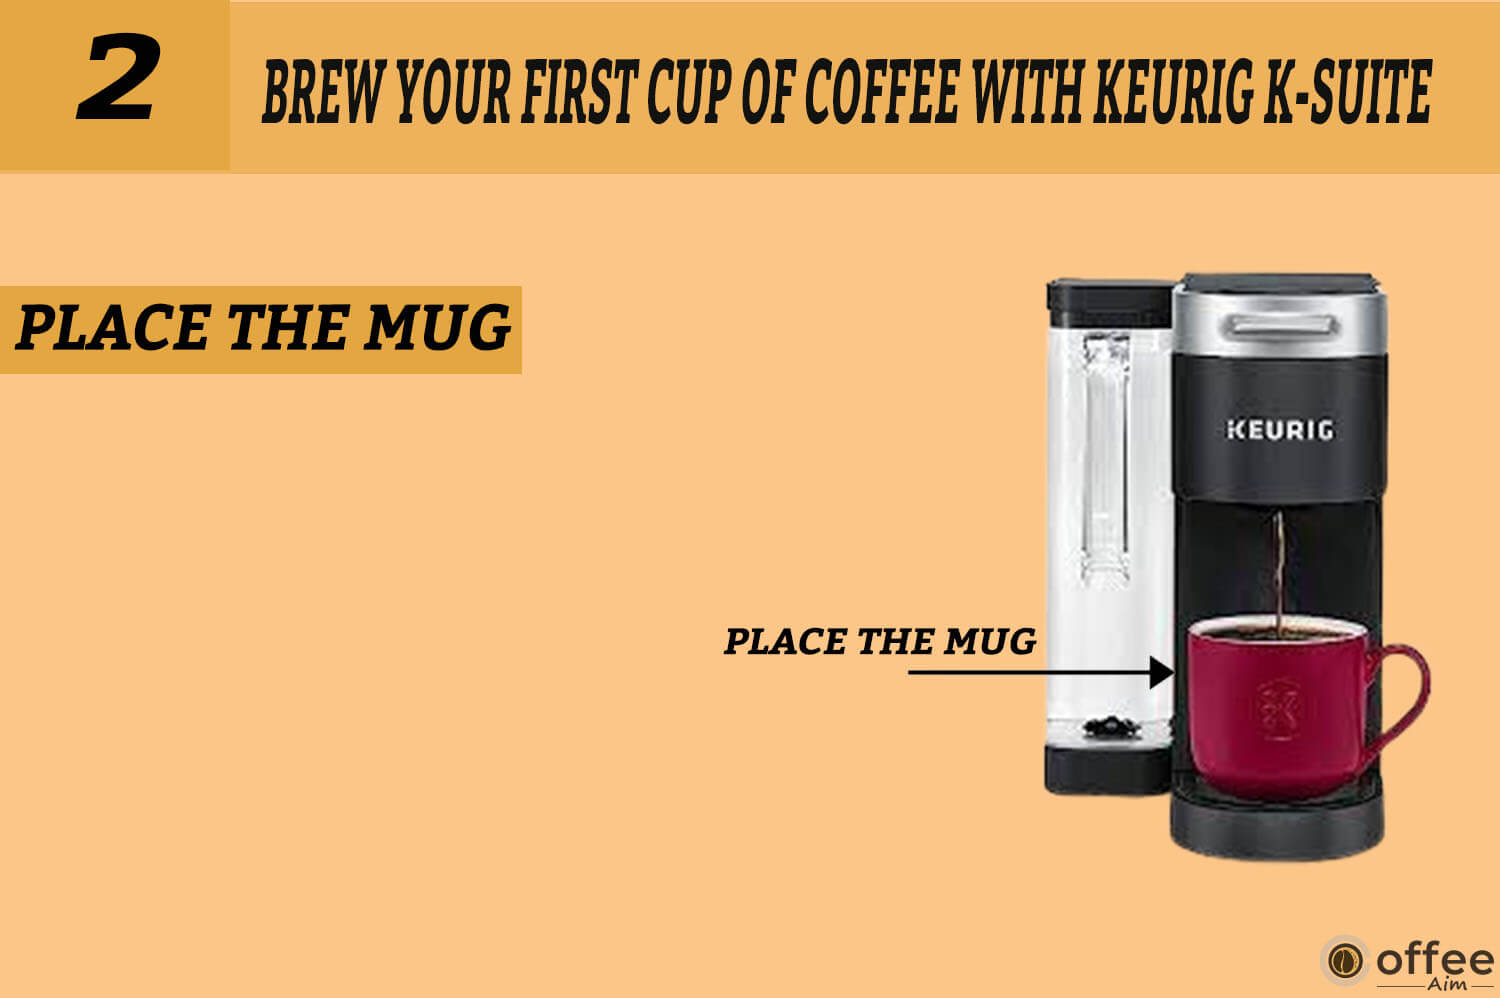
Lift the water reservoir lid and pour the water into the reservoir. Do not fill past the maximum or below the fill lines (below 8oz). Now, lower the lid. Take a large mug and place it on the drip tray.
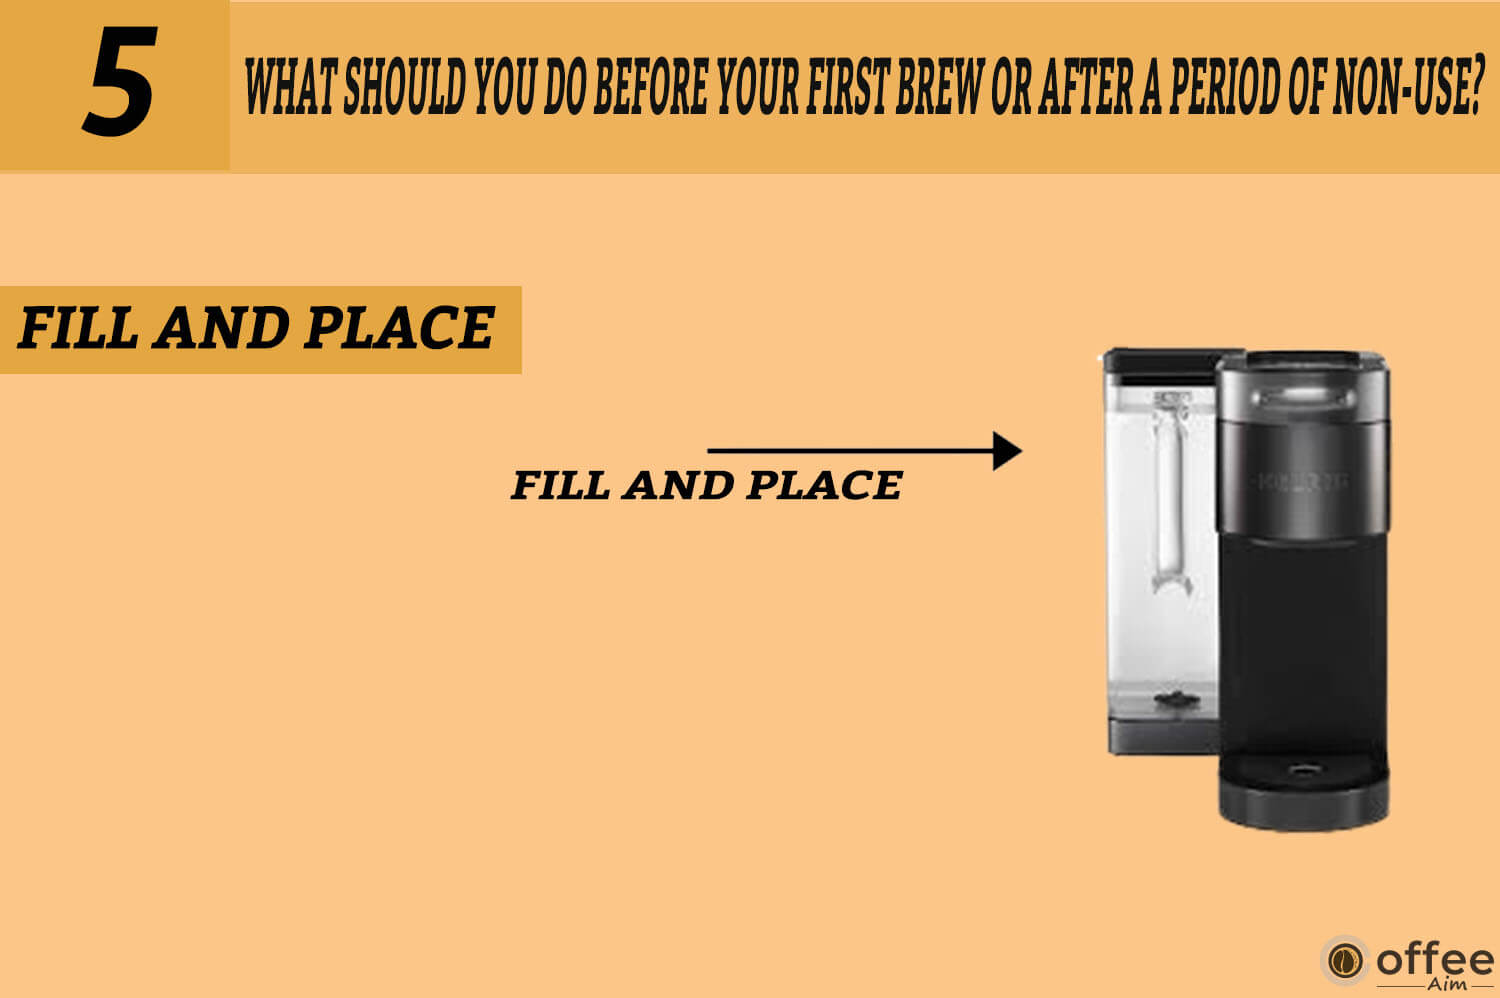
NOTE: Do not use distilled /unfiltered water.
Press the brew button. The brew indicator light will illuminate the solid; then, it flashes during preheating. Preheating will take approximately 120 seconds (2 minutes). After this time, the light will become solid again. At this point, the dispensing of water will begin. Now, empty the hot contents from the mug into the sink.

Brewing your first cup of coffee with the Keurig K-Suite is quick and easy. Here are simple steps to get you started:
Add the desired amount of water into a mug (6oz minimum, 8oz maximum). Lift the reservoir lid and pour the water into the reservoir from the mug. Lower the lid.

NOTE: Do not fill past the maximum or below the fill lines.
Now, place your mug on the drip tray, and if you want to brew in a large mug, then detach the drip tray and put your mug on the drip tray base.
Raise the handle and insert your favorite K-Cup pod inside the pod holder. Now, close the lid by lowering the handle. When you close the lid, the brew indicator light will start flashing to indicate that your Keurig is ready.
Lift the handle. Place a K-Cup® pod in the K-Cup® pod holder. Lower the handle completely to close the lid. The brew indicator light will flash to indicate that the brewer is ready.
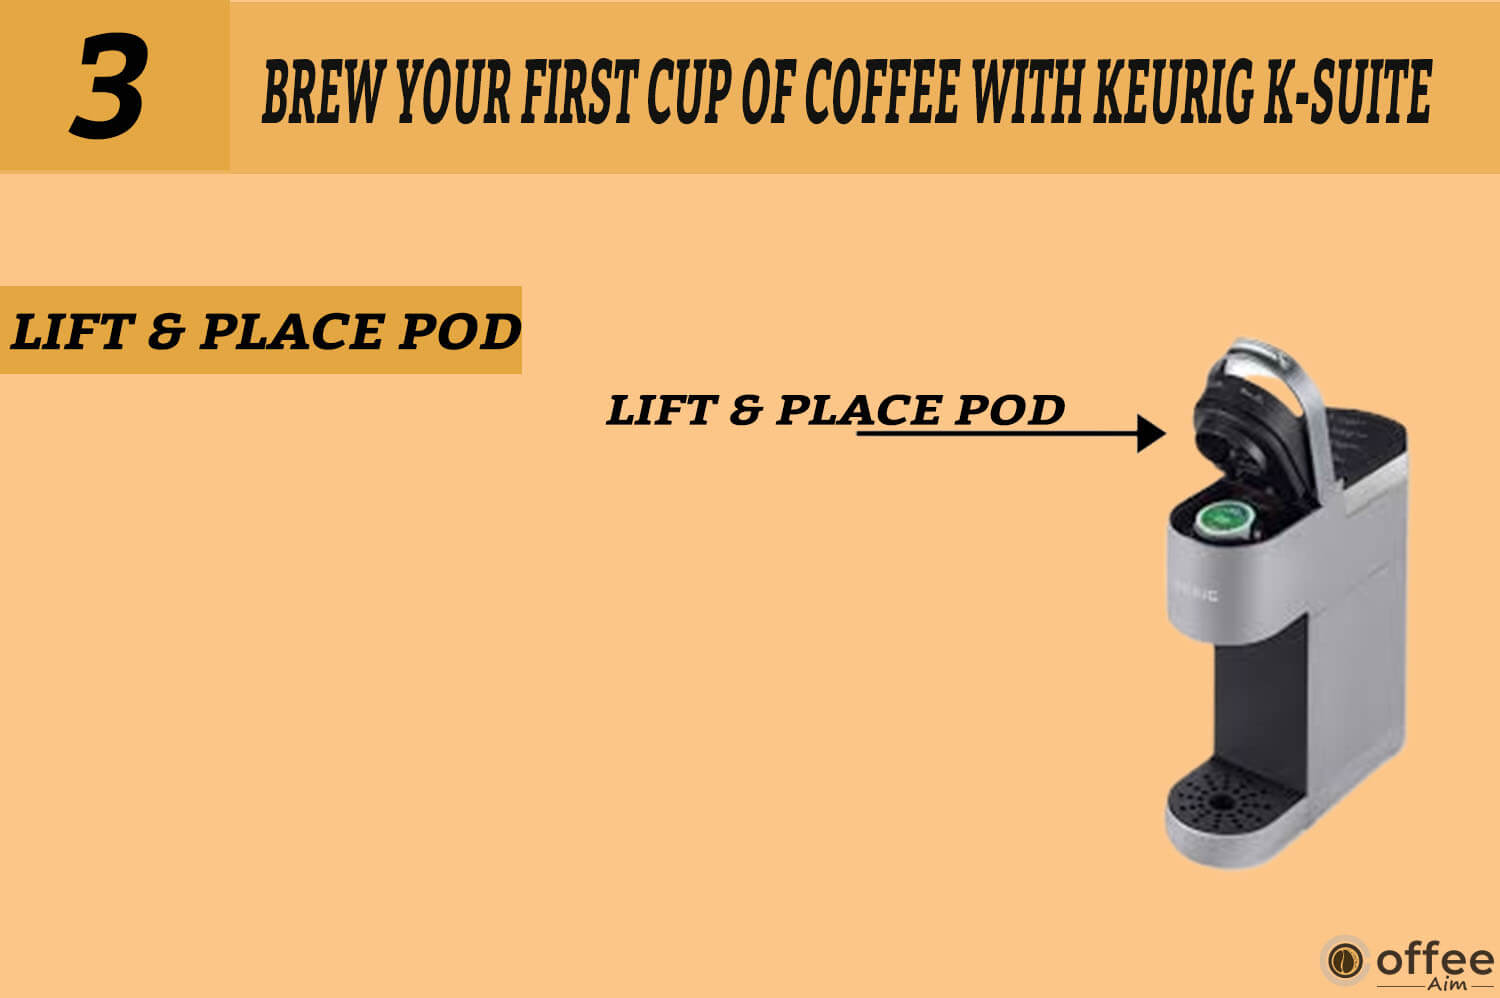
NOTE: Do not remove the foil lid on the K-Cup® pod.
While holding the brewer handle, push down slowly on the K-cup pod in the holder until the bottom of the K-Cup pod is punctured by the exit needle.
Press the power button. The brew indicator light will illuminate the solid, then pulse while the brewer is heating.

Your beverage will start dispensing after about 2 minutes, and the brew light will become solid.

Brewing is complete when the brew indicator light is no longer illuminating. Now, lift the handle and dispose of the used K-Cup® pod.

Note: There is boiling water in the K-Cup® pod holder while brewing. Lifting the handle while brewing is risky; therefore, avoid this act.
Regular cleaning keeps your brewer running smoothly. But what if you went on a vacation or an office trip for a long time? Does that make your coffee machine get damaged?
The answer is NO! Not at all. But yes, you must clean your coffee machine before brewing your coffee again.
For safety, turn off your Keurig before subjecting it to cleaning.
Following are the cares you should do to make your coffee machine get clean & run longer.
Cleaning the outside of your Keurig® brewer occasionally can help it maintain its finest appearance. Simply use a non-abrasive, lint-free, moist, soapy cloth to clean. Never submerge the brewer in liquids, including water.

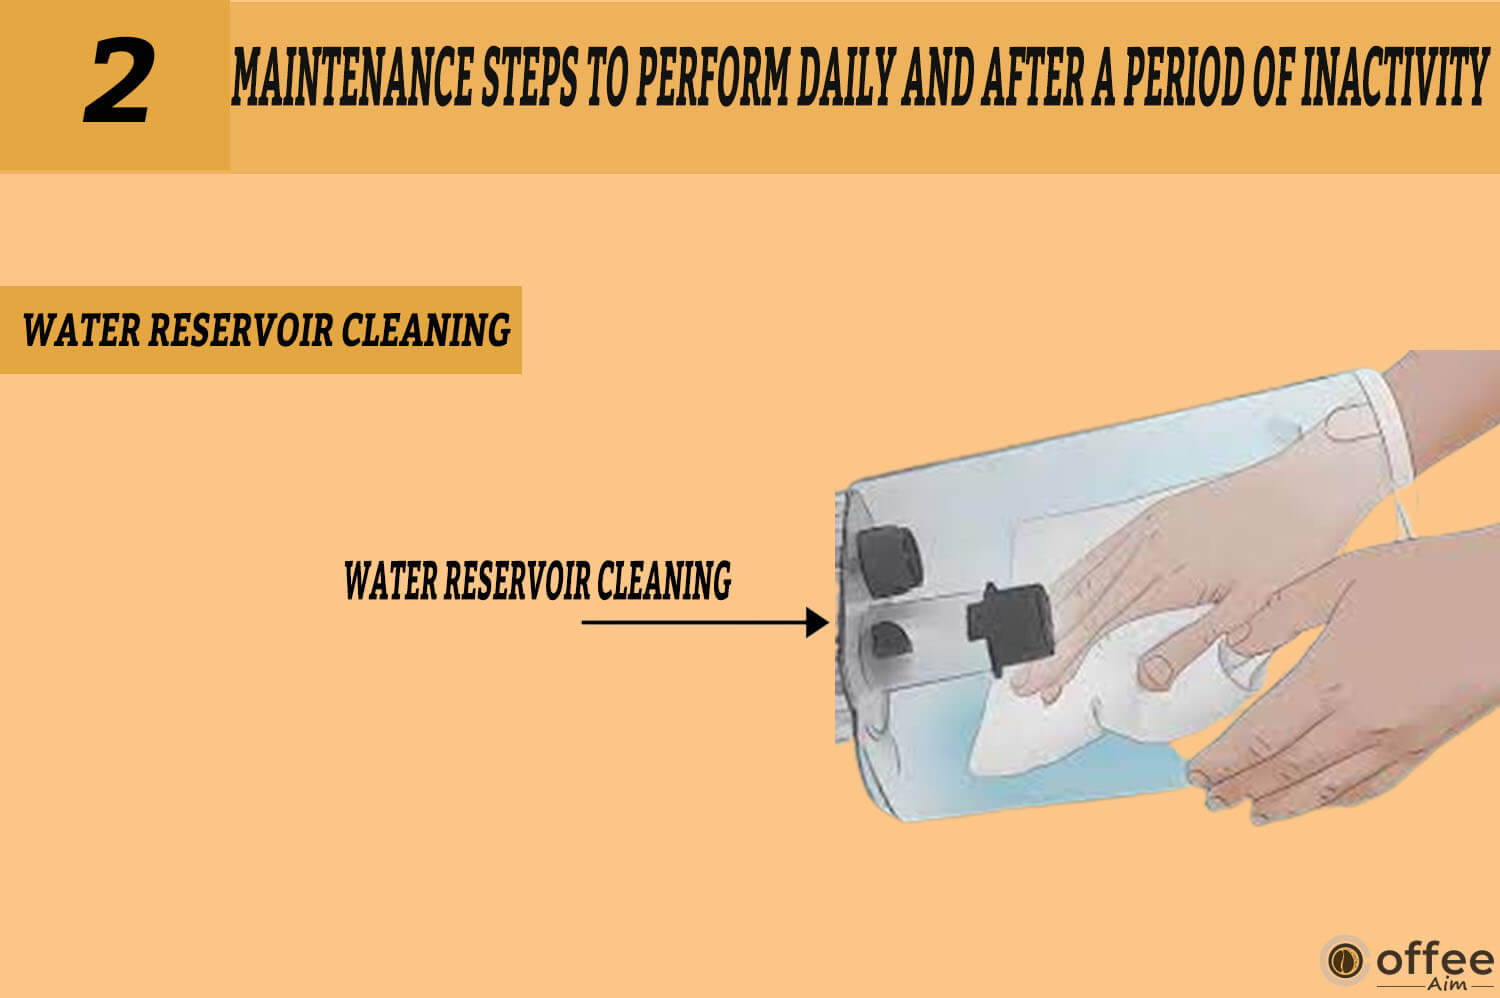
Periodically, the water reservoir should be cleaned by cleaning the interior of the reservoir and the bottom of the lid with a moist, non-abrasive, lint-free cloth. Avoid using a cloth to dry the interior of the water reservoir since lint may be left behind. Permit the reservoir to finish drying.
The drip tray needs to be periodically cleaned and emptied since it may store up to 8 ounces of excess. Slide it away from you while keeping it level to prevent spills. Use a moist, soapy, lint-free, non-abrasive cloth to rinse and clean.

To remove the K-Cup® pod holder from the brewer:
1. With one hand, hold the top of the K-Cup® pod holder while pressing up with the other hand until the bottom of the K-Cup® pod holder releases. Lift the handle.
2. After cleaning, align the K-Cup® pod holder with the opening using the two front ribs as a guide and snap it into place from the top.

NOTE: It is an important safety precaution to remove the used K-Cup pod after brewing has been finished.
CAUTION: Both the top of the K-Cup® pod holder and the bottom of the K-Cup® pod holder include sharp needles that puncture the K-Cup® pod. To reduce the chance of harm, avoid sticking your fingers inside the K-Cup® pod holder.
Take away the pod holder. Construct and take apart the funnel. Find the exit needle within the K-Cup® pod holder’s bottom. To loosen the coffee grinds, insert a paper clip that has been bent into the exit needle.
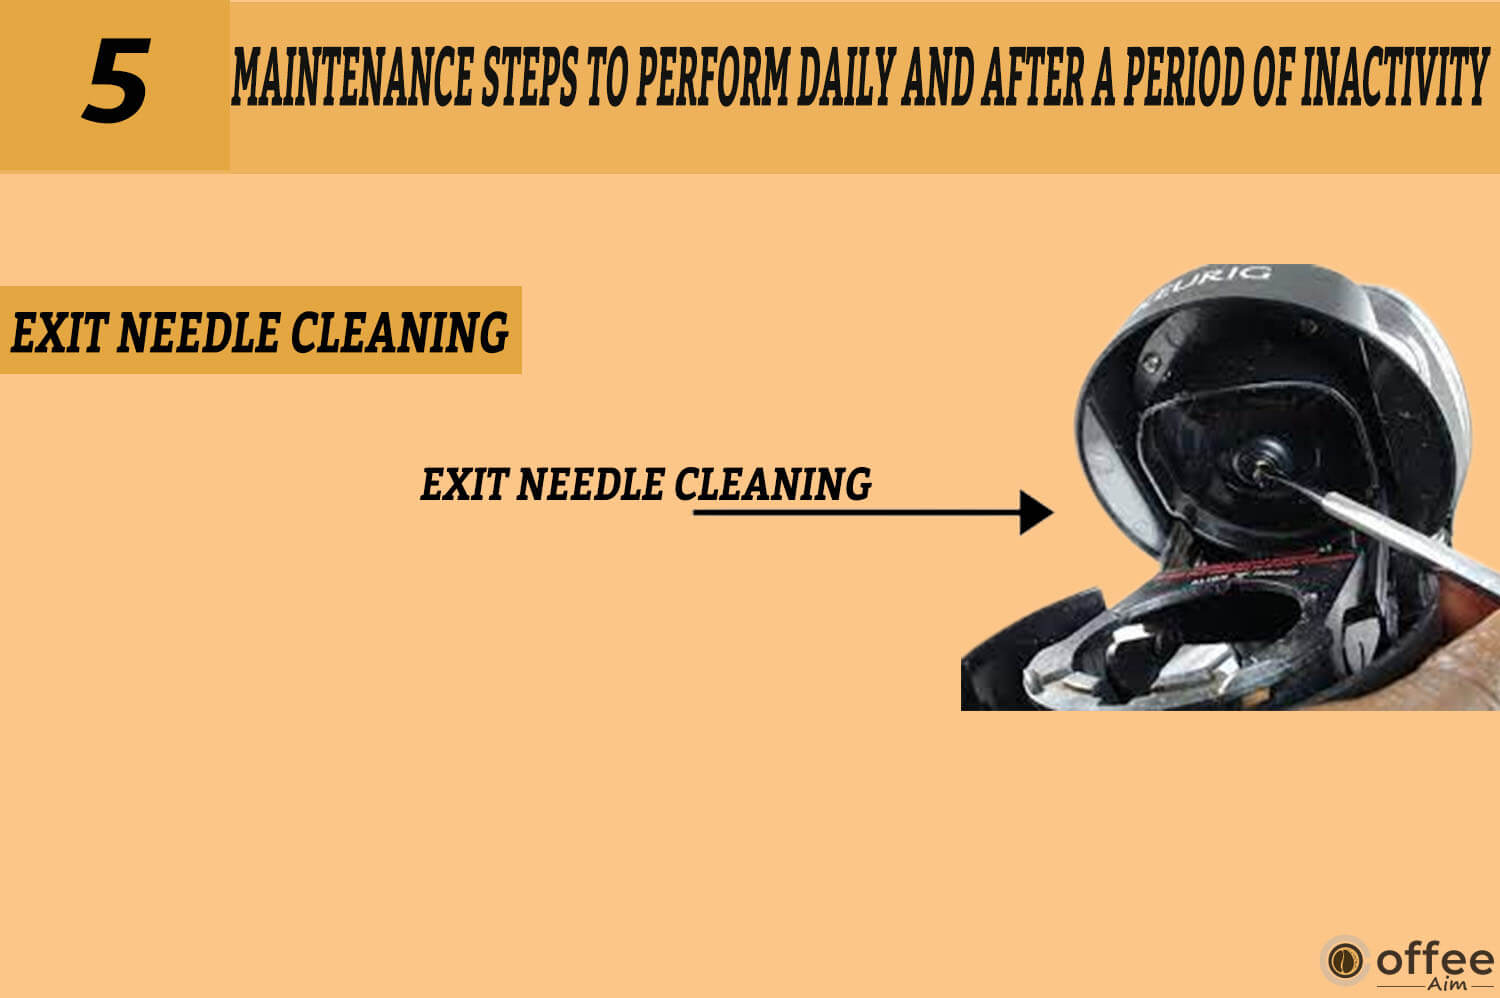
Washing the funnel ensures a fresh beverage experience. The funnel should be washed regularly and removed from the K-Cup® pod holder by pulling on it until it pops off. Orient the snaps to the indent and snap it back onto the K-Cup® pod holder to replace it.

The entrance needle is found on the bottom of the lid if you lift the brewer handle. Holding the brewer handle in the upright position, gently slide a straightened paper clip into each of the needle’s two holes with your other hand. This will clean both holes. To remove any coffee grounds, gently move it around. Completely lower the handle and do two water-only brew cycles.

NOTE: Do not insert a K-Cup® pod.
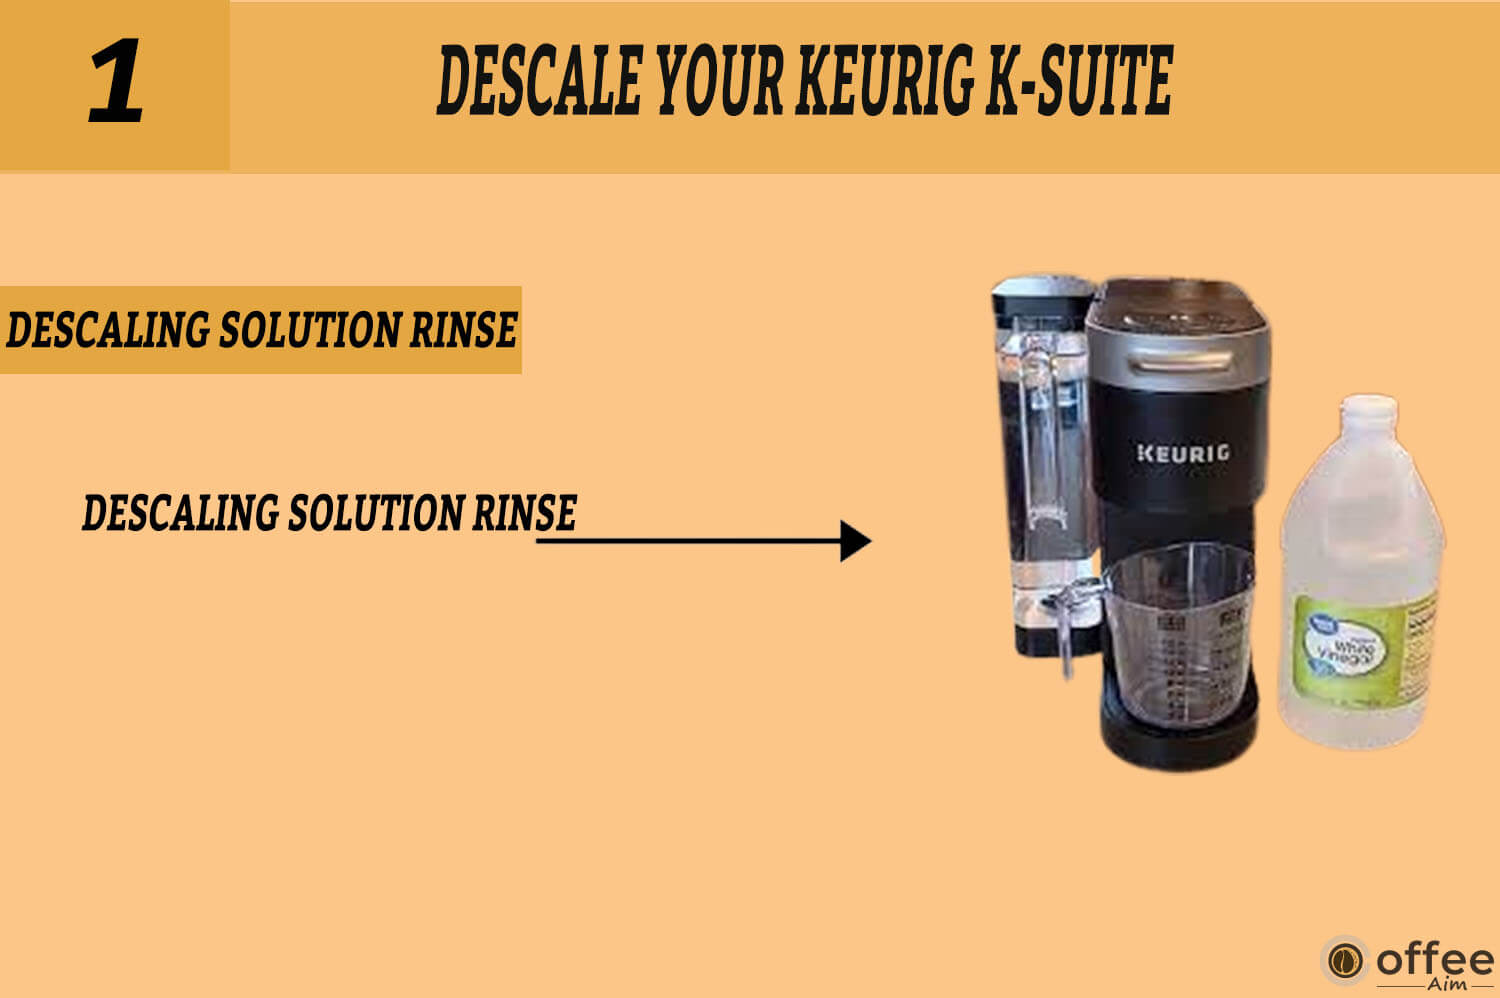
Descaling your coffee brewer is essential to keep your coffee tasting fresh and your machine running smoothly. Over time, mineral deposits and buildup can clog your machine, affecting the taste and performance.
It would be best to describe your brewer every 3-6 months. Properly follow the descaling procedure. To start the process, collect the following things;
Before you begin, you will need the following things on hand;
Use a cup other than paper. Verify that the K-Cup® pod holder is empty of any beverage cups. Please wait for the descaling process to take around 45 minutes.
1. Repeat step 1, but this time hit the power button as soon as the brew indication light goes solid and the brewer begins dispensing.
2. Allow the coffee maker to stand for at least 30 minutes.
3. Hold down the brew button while waiting for the solution to start dispensing. Holding the button down will cause all of the solutions to be dispensed.
4. Empty the mug’s contents into the washbasin.


The cleaning action of Keurig® Descaling Solution may result in a “foam” dispensed from the brewer. It is natural, don’t worry, as the solution is reacting. For a heavily scaled brewer, the brewer may not fill appropriately after the descaler is added. If this occurs, you may see only a small or no output dispensed, followed by the sound of air blowing out. If this happens:
If you experience any problems with your Keurig K-Suite coffee brewer, don’t worry, there are usually simple solutions.
Here are some common issues you may encounter, along with their possible causes and solutions;
| Troubleshooting | Causes And Solution |
| Grounds in Your Coffee: | It’s because the coffee grounds have been clogged inside the exit or entrance needle. A bent paper clip or another similar instrument can be used to clear out any grounds that may have amassed in the exit or entrance needles. Clear the K-Cup® pod holder’s exit needle. Consult the Exit Needle care guidelines. Clear the entrance needle. See the instructions for caring for the entrance needle. |
| Brewer Will Not Brew | The most common cause of the Keurig not brewing is a blockage in the machine’s needles. This can happen when the machine is not cleaned regularly, causing coffee grounds or other debris to clog the needles.A minimum of 6 oz of water is required to brew. Add 2 oz of water to the reservoir to ensure the minimum fill level has been met, then press the brew button.Repeat until the brewer begins to dispense. |
| Brewing a Partial Cup | The exit needle may be clogged. Refer to the Exit Needle care instructions.Press the power button. Keep on pressing the “brew button” for approximately 5 seconds and wait until all the liquid beverage has been dispensed. Discard the contents into the sink. Press the power button to restart.The exit needle may be clogged. Refer to the Exit Needle care instructions.Clean the K-Cup® Pod Holder; see K-Cup® Pod Holder care instructions.It may be necessary to descale the brewer. Contact customer service if your brewer is still only making a partial cup after you have performed the descaling process on it twice. |
| Brewer Doesn’t Have a Light indicator Or Switches Off. | Plug the brewer into its own grounded outlet. Your brewer may malfunction if the electric circuit is overloaded with other appliances. The brewer should be operated on its circuit, separate from other appliances.Verify that the power switch is switched on.Plug the brewer into its own grounded outlet. Your brewer may malfunction if the electric circuit is overloaded with other appliances. The brewer should be operated on its circuit, separate from other appliances.To save energy, the brewer automatically shuts off 90 seconds after the final brew. To restart, press the power button.If the brewer still doesn’t have power, contact your Keurig® Authorized Service Provider. |
There is a variety of water. I recommend bottled or filtered water if you notice a bad taste in your beverage, such as chlorine or mineral flavors. Distilled water should not be used.
This brewer is not user-serviceable beyond these recommended cleaning and maintenance procedures. See the “Warranty section” below in this article for service.
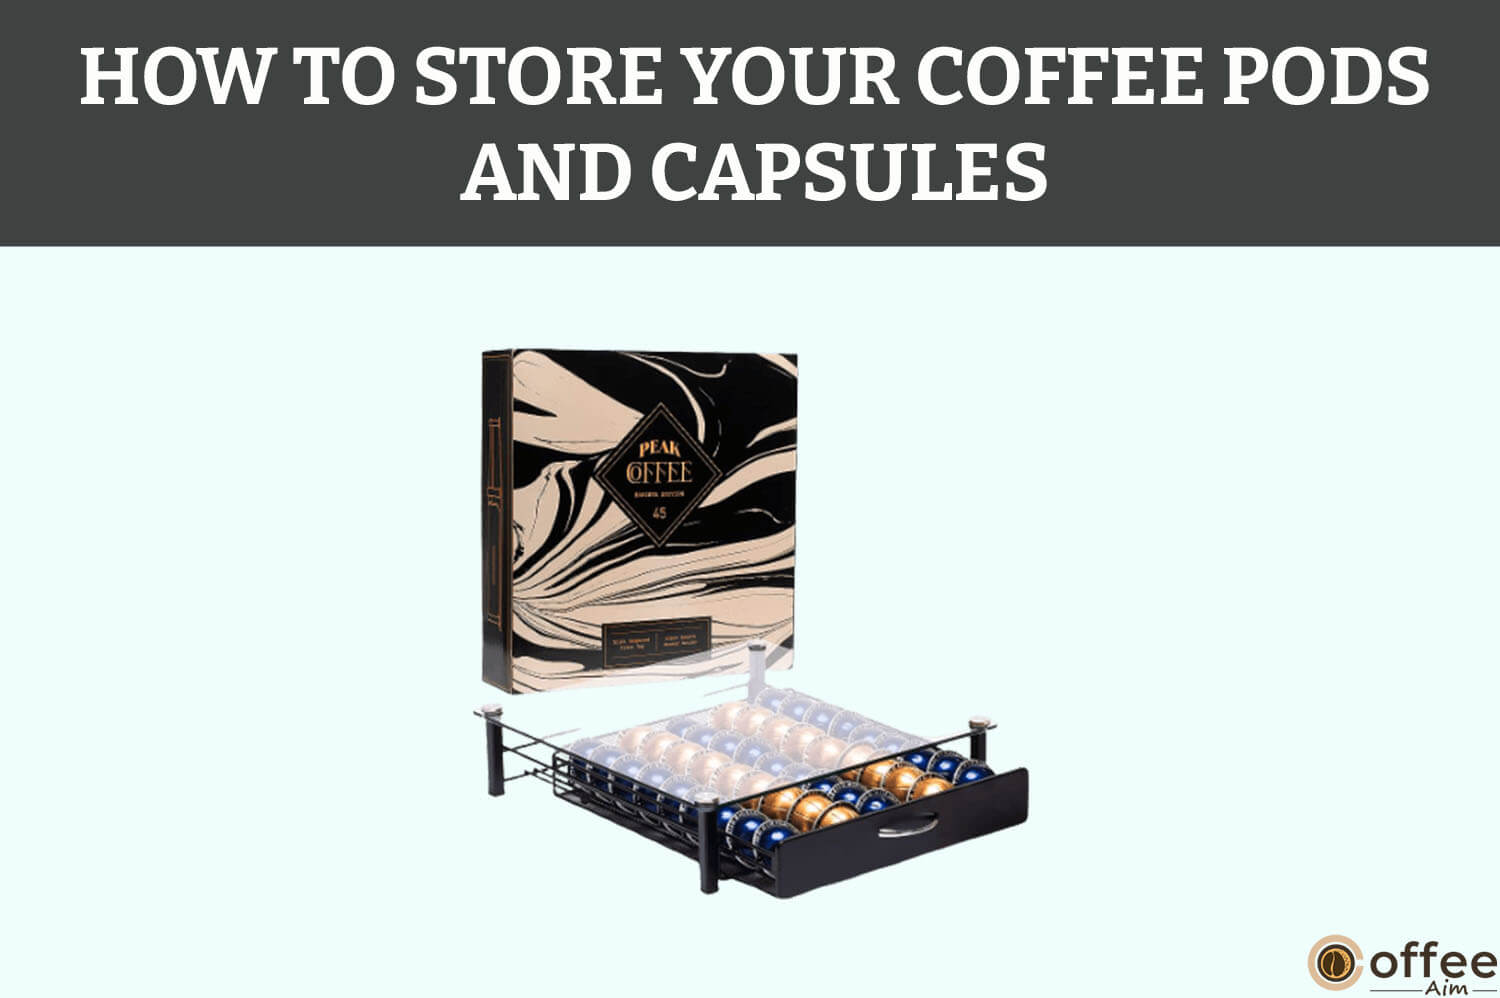
Before storing or transporting your brewer, empty the water reservoir and make sure it is stored safely. I recommend rinsing the water reservoir with fresh water and descaling the brewer before using it after storage, as described in the section Descaling your Brewer.
Turn the brewer off, unplug it, and empty the water reservoir if you intend to relocate the appliance.
Please ensure that your brewer has been brought up to room temperature for at least two hours before use if it has been in a temperature below freezing.
Now that you have come to the Keurig K-55 warranty section, let me give you some brief details about your Keurig K-55 warranty to give you confidence about your machine.
Keurig Green Mountain, Inc. (Keurig) warrants that your coffee machine be free from defects in materials or quality under everyday household use for one year from the date of purchase.
You should register your coffee machine at Keurig.com/new so that your purchase information is stored in the Keurig system.
Keurig will repair or replace the defective coffee machine free of charge of its choice upon receipt of proof of purchase date.
If a replacement brewer is required to fulfill this warranty, a replacement brewer may be new or reconditioned. If a replacement brewer is sent, a new limited one-year contract will be applied to the replacement brewer.
Only using products with the Keurig® K-Cup® trademark will ensure the correct operation and longevity of your Keurig Brewer. The use of non-Keurig® pods and accessories may cause your Brewer to malfunction or sustain damage that is not covered by this warranty. If the malfunction or damage is found to have been caused by such usage, you may also be charged a service fee.
NOTE: Only brewers in the United States and Canada are covered by this guarantee. You may also have other legal rights that vary from state to state and, in the case of Canada, from province to province. This warranty offers you certain legal rights.
Consequential or incidental damages (property damage) are not covered by this guarantee. It does not include unanticipated expenditures and expenses brought on by a breach of this warranty, even one that was foreseen.
Depending on the state/province where the transaction was completed, the aforementioned exclusion or restriction may not apply to you, as certain states or provinces may not allow the exclusion of incidental or consequential damages.
It also does not cover damage that occurred by the use of non-Keurig® cases or accessories or services performed by anyone other than Keurig®.
Keurig or its authorized service providers, the use of parts that are not genuine Keurig® parts or external causes such as abuse, misuse, improper power supply, or natural disasters.
Regarding your Keurig K-Suite Coffee Brewer, Keurig makes no further promises, including any implied guarantees of merchantability or suitability for a specific use. Disclaimers of implied warranties and restrictions on how long an implied warranty lasts are prohibited in several states and provinces. Therefore, depending on the country or region where you made the purchase, the aforementioned restriction could not apply to you.
NOTE: ANY OTHER EXPRESS WARRANTY, WRITTEN OR ORAL, IS REPLACED BY THIS WARRANTY, WHICH IS EXCLUSIVE.
Keurig® brewers are high-end devices that, with careful maintenance, should last for many years with pleasing performance. However, However, if there has arisen a need for obtaining warranty servicing, simply call your Keurig Authorized Distributor (KAD), who originally sold you the brewer, or your Keurig Authorized Service Provider (KASP) for full support. To be re-connected with your KAD or KASP, please call Keurig at 1.888.287.2739 ext.5. If in Canada, please call: 1.800.361.5628.
Keurig Green Mountain, Inc. 33
Coffee Lane Waterbury,
VT 05676
Coffee machines are essential for coffee lovers and office workers to stay active. But functioning a coffee machine sometimes feels so hard, especially for those who don’t use it. I summed up this work for you in the easiest way possible. Now use the Keurig K-suite coffee brewer like a pro. Reread the article if you still encounter any problems. Additionally, “CoffeeAim” has helpful material if you want to learn more about coffee makers and beans.
Have a delicious cup of coffee!
A clogged needle can prevent the machine from puncturing the K-Cup® pod and releasing the coffee. Try cleaning the needle with a paper clip or using a needle-cleaning tool to clear any blockages.
The machine might not have enough water to make a complete cup of coffee if the reservoir’s water level is too low. If required, check the water level and replace it.
If the machine isn’t turning on or is turning off unexpectedly, there may be a problem with the power source or the machine’s electrical components. Check the socket and power cable for any problems, or try disconnecting the device for a while and plugging it back in. Get help from Keurig customer service if the issue continues.
Copyright © 2024 CoffeeAim.com